Not-Too-Sweet Homemade Gluten-Free Cherry Pie
By Amanda Paa – Updated February 21, 2025
Jump to Recipe
This post may contain affiliate links. Please read my disclosure policy.
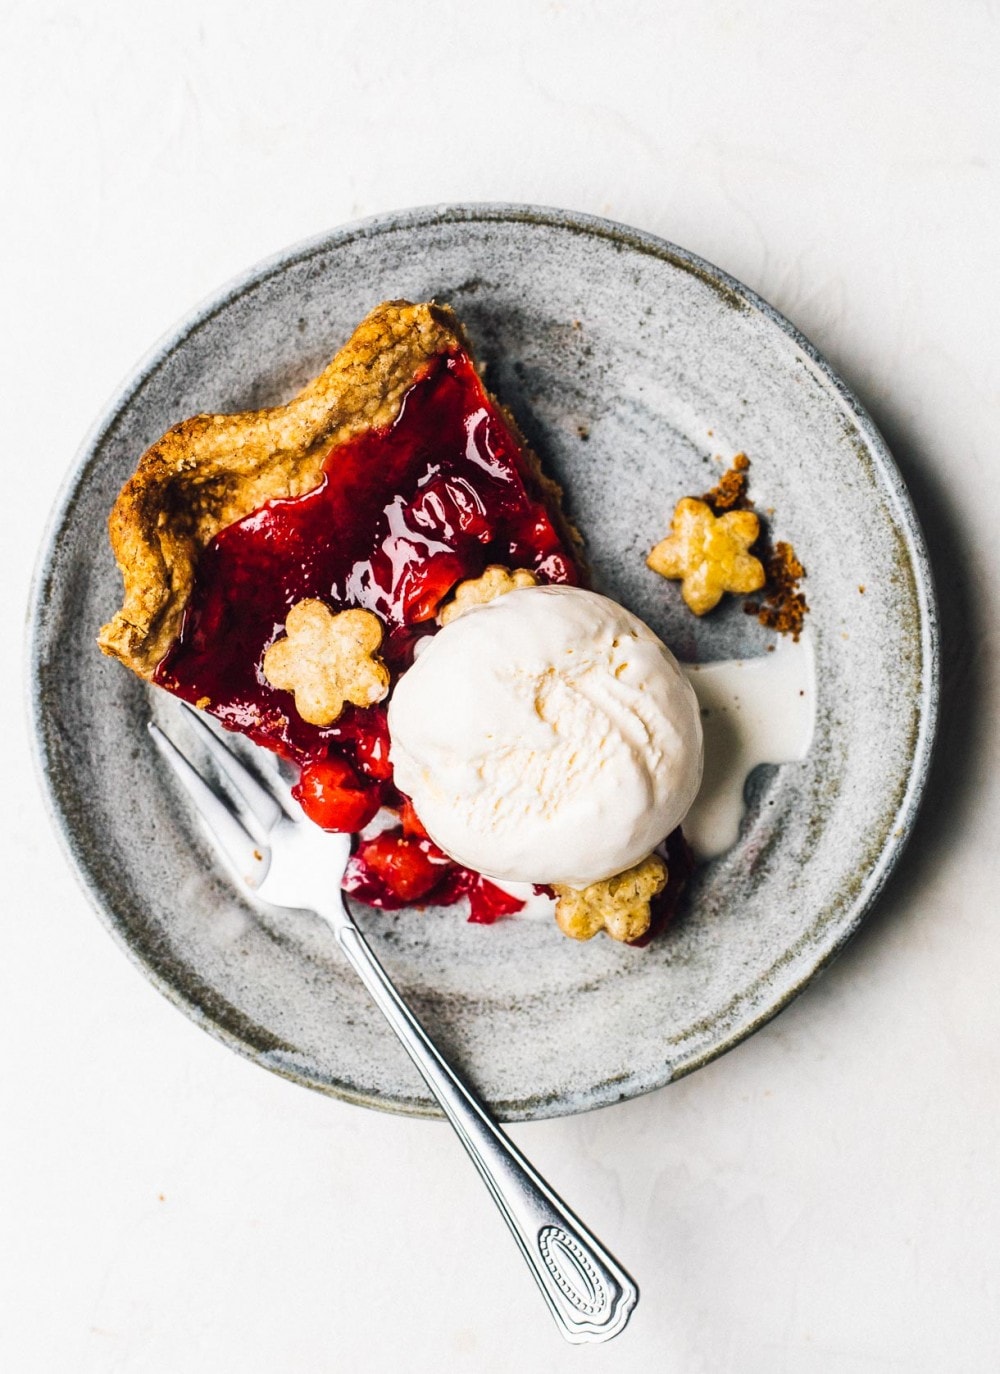
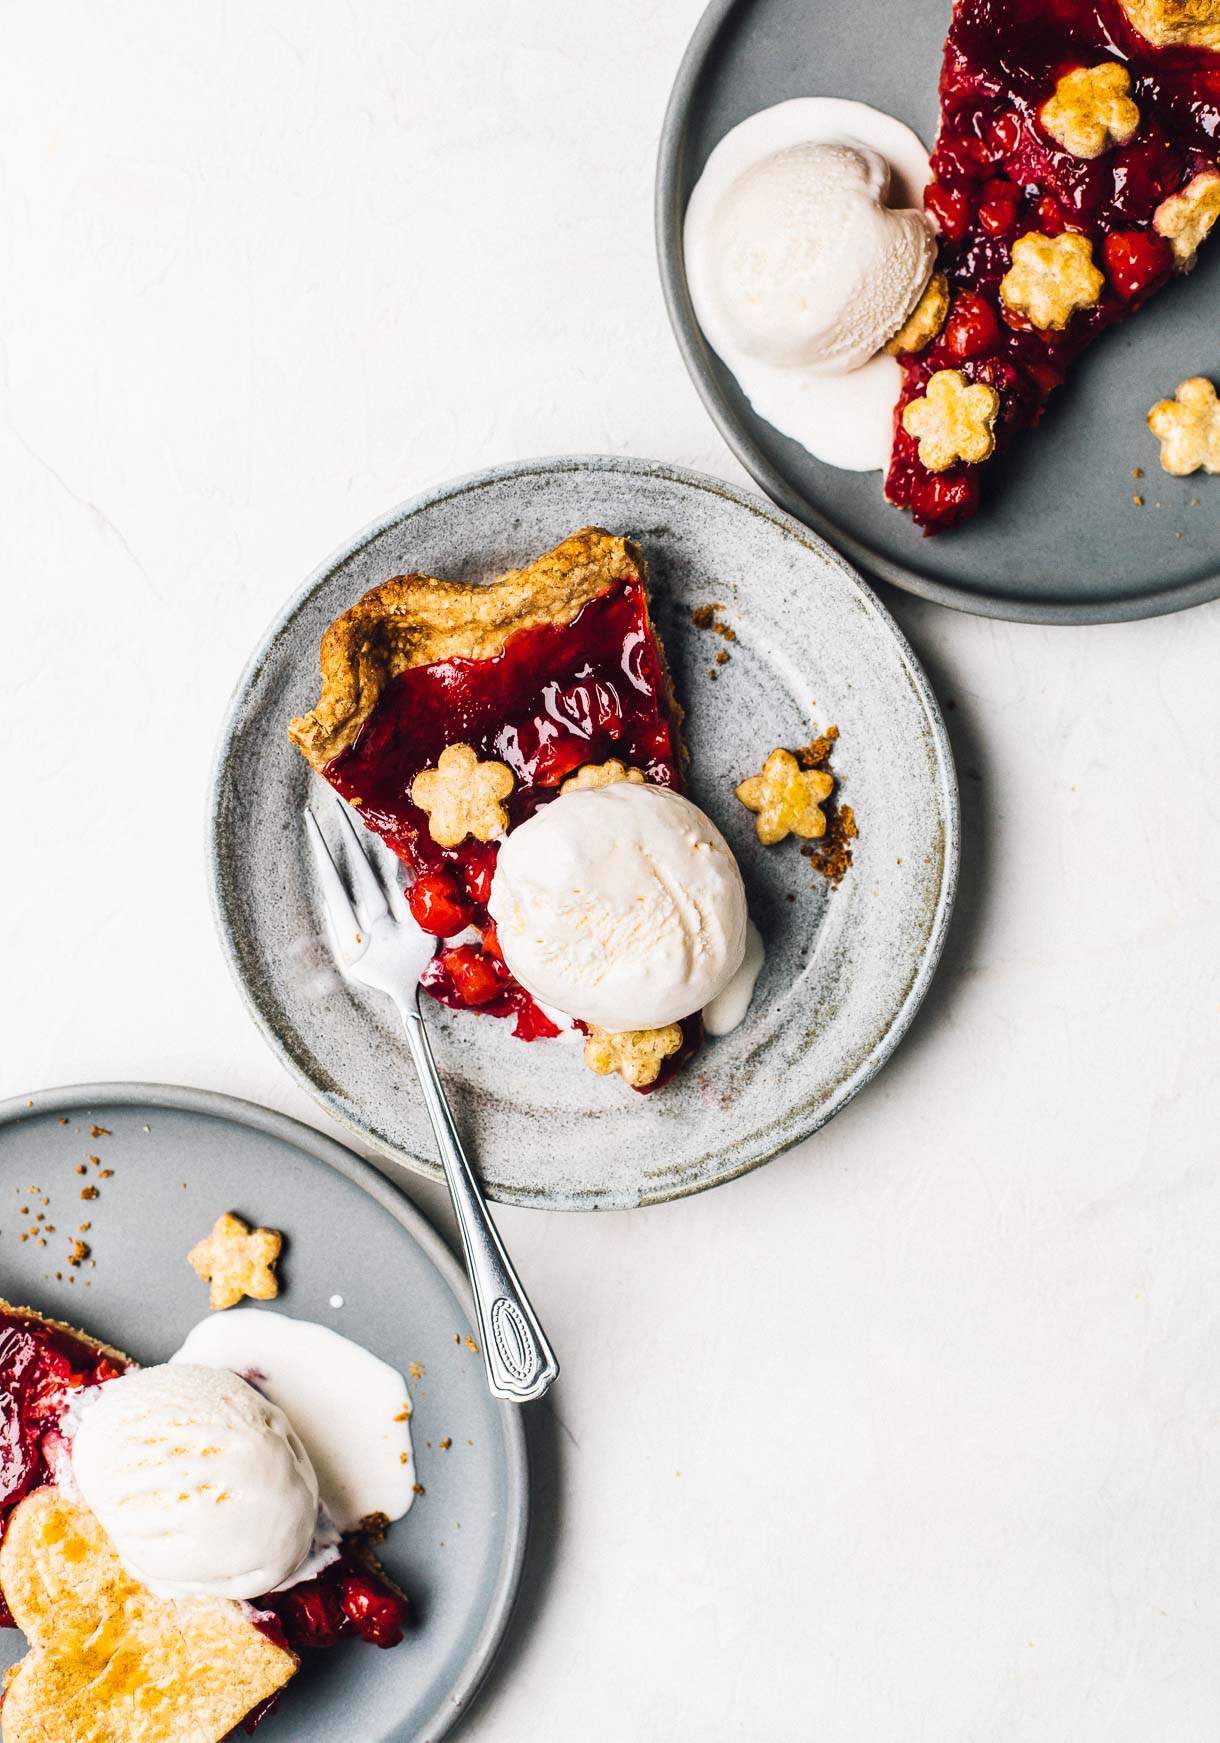
A homemade gluten-free cherry pie recipe, made with tart (sour) cherries that are cooked on the stovetop. No canned pie filling here! The gluten-free pie crust is made without xanthan gum, and is incredibly flaky. Serve it with vanilla ice cream and you’ve got a classic!

I didn’t grow up eating pies. Something about pie crust being more savory than sweet didn’t appeal to the child in me. I liked things sweet, like cake and cookies.
Now that I’m older, I not only appreciate an incredibly flaky, all butter crust, but prefer my desserts less sweet than most American renditions. And Montmorency tart cherry pie in particular, with it’s juicy bursts of sweet and tart tang is what my adult palette finds so interesting and delicious.
Gluten-Free Pie Making
And after years of being intimidated by making gluten-free pie crust, I was also able to settle on a the recipe I’m sharing today, that’s easy to make and roll out. Everything I know, I learned from The Bojon Gourmet and A Cozy Kitchen!
When I visited Michigan a few years ago, the Tart Cherry Capital of the World, I quickly learned that sweet cherries are the types sold fresh in the summer, but Montmorency tart cherries are available year-round in frozen, dried, canned, and juice forms. They’re THE cherry that makes a blue-ribbon winning pie.
How to make tart cherry pie filling:
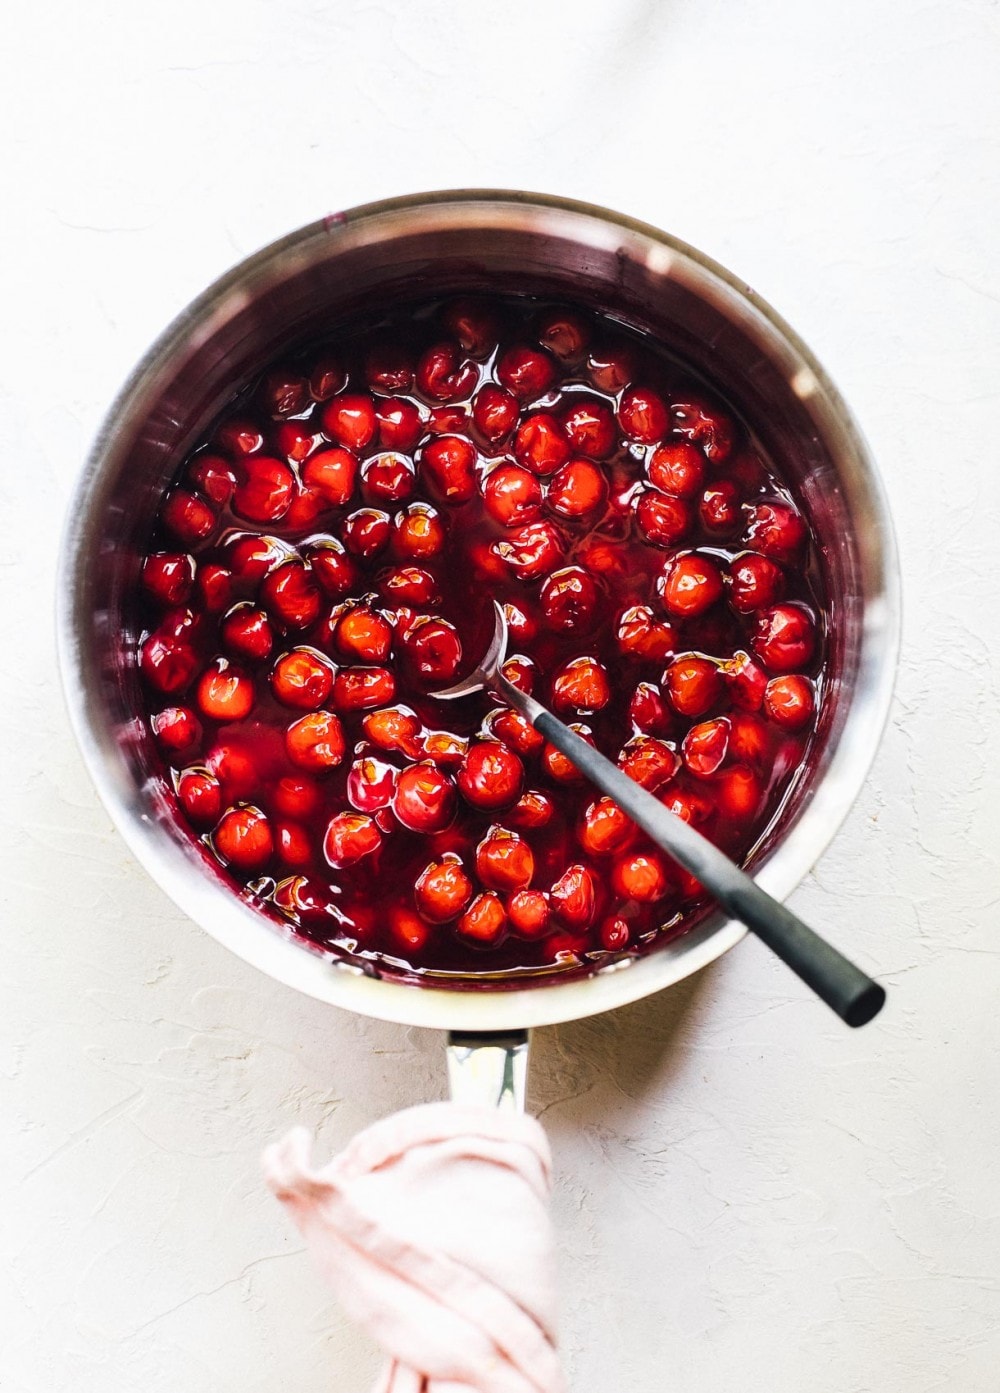
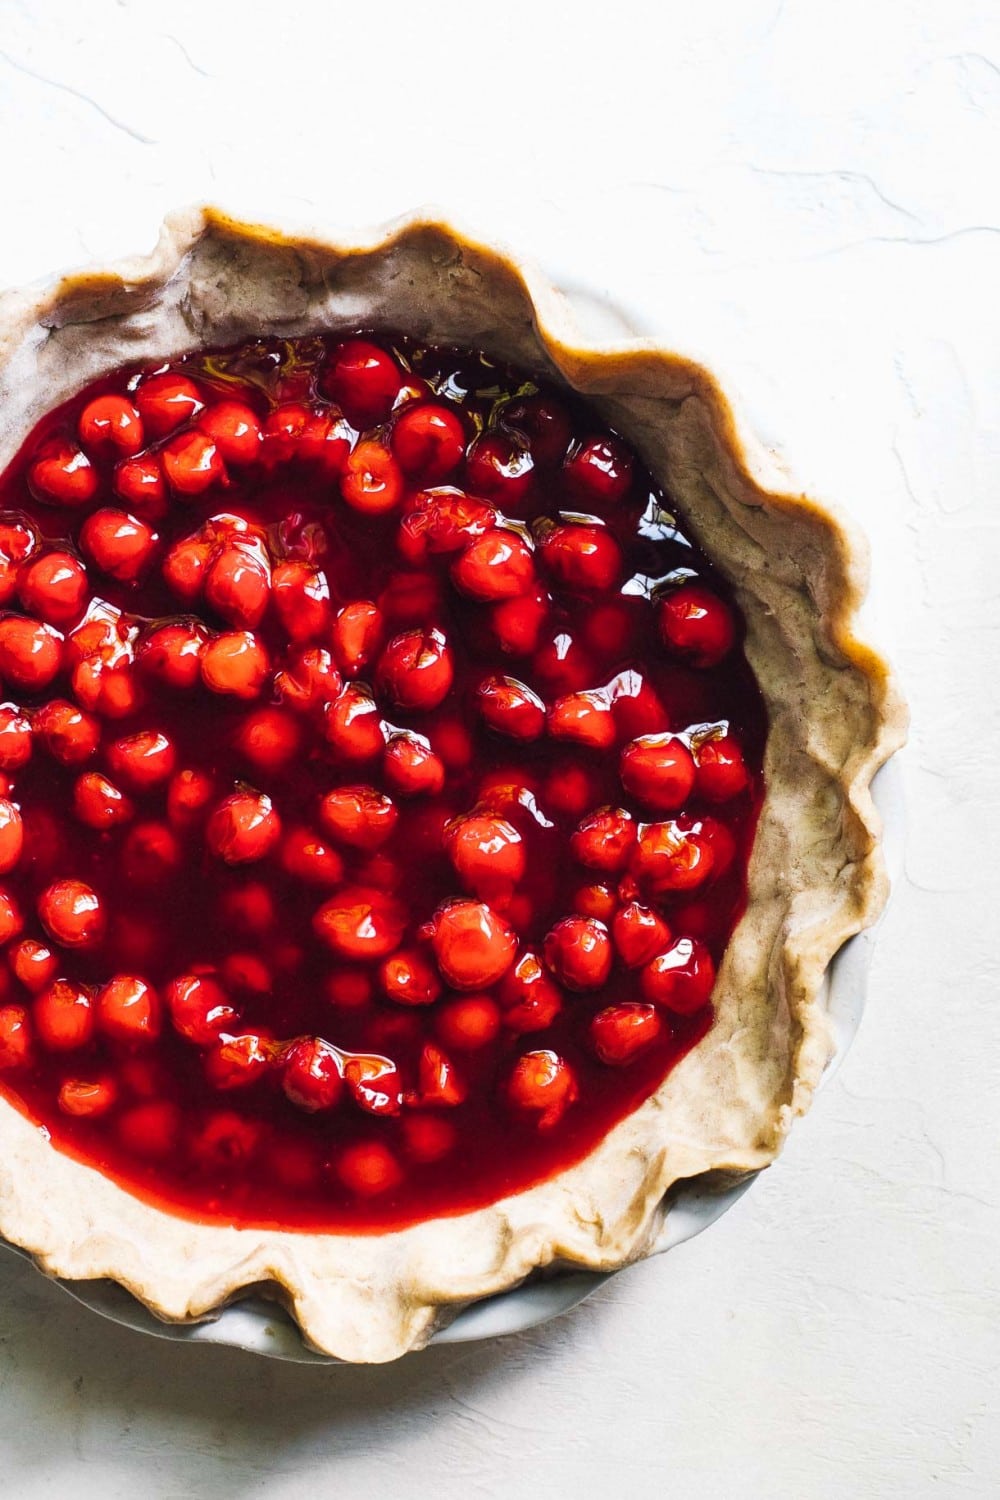
A stovetop filling is best for cherry pie, and what takes the guess work out of ensuring your filling sets up.
What we all love about Montmorency tart cherries – their lush, ruby-red juices — can also cause sogginess in pie if you don’t treat them correctly. Fruits like cherries, peaches, and plums need to be pre-cooked to draw out their juices and thicken them into a jammy filling. This helps keep the pie crust stay crisp, rather than soaking up the juices.
Since we use cornstarch for stability, this homemade cherry pie stays juicy and lets the flavor of the tart cherries shine, but is solid enough for cutting some gorgeous slices.
The white balsamic vinegar in the filling adds a unique depth of flavor that’s quite different from the lemon juice you may be used to using in cherry pie as the acid component. I find that white balsamic is delicate, yet compliments the flavor of Montmorency tart cherries best.
How to prevent a soggy gluten-free pie crust:
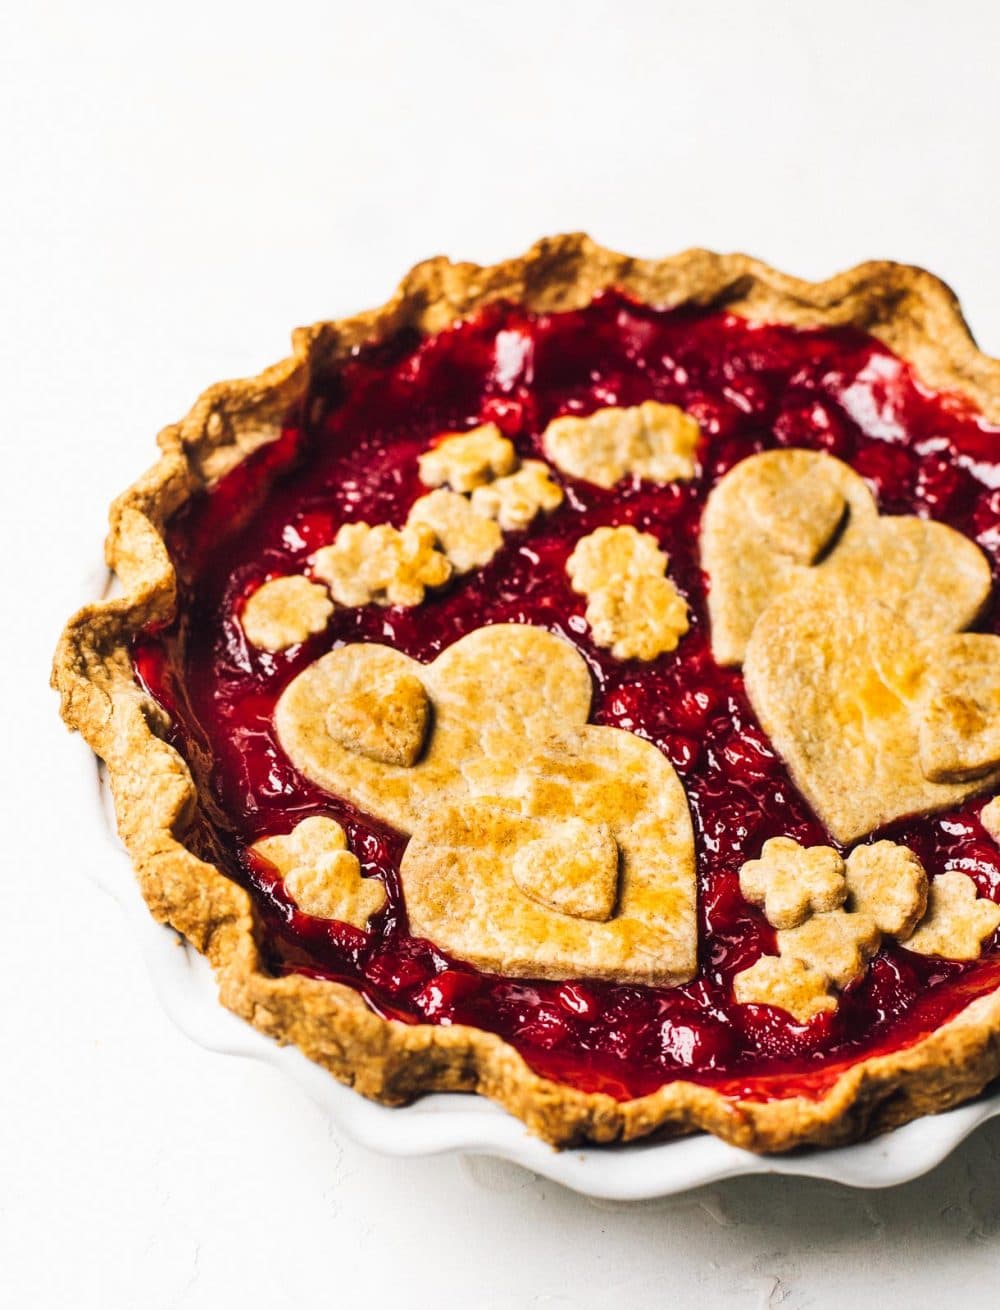
Cooking the filling will help the pie crust stay crisp. But also making a lattice or heavily vented crust! The steam created in the oven needs to escape for the filling to thicken properly, and releasing that steam prevents the bottom crust from getting soggy.
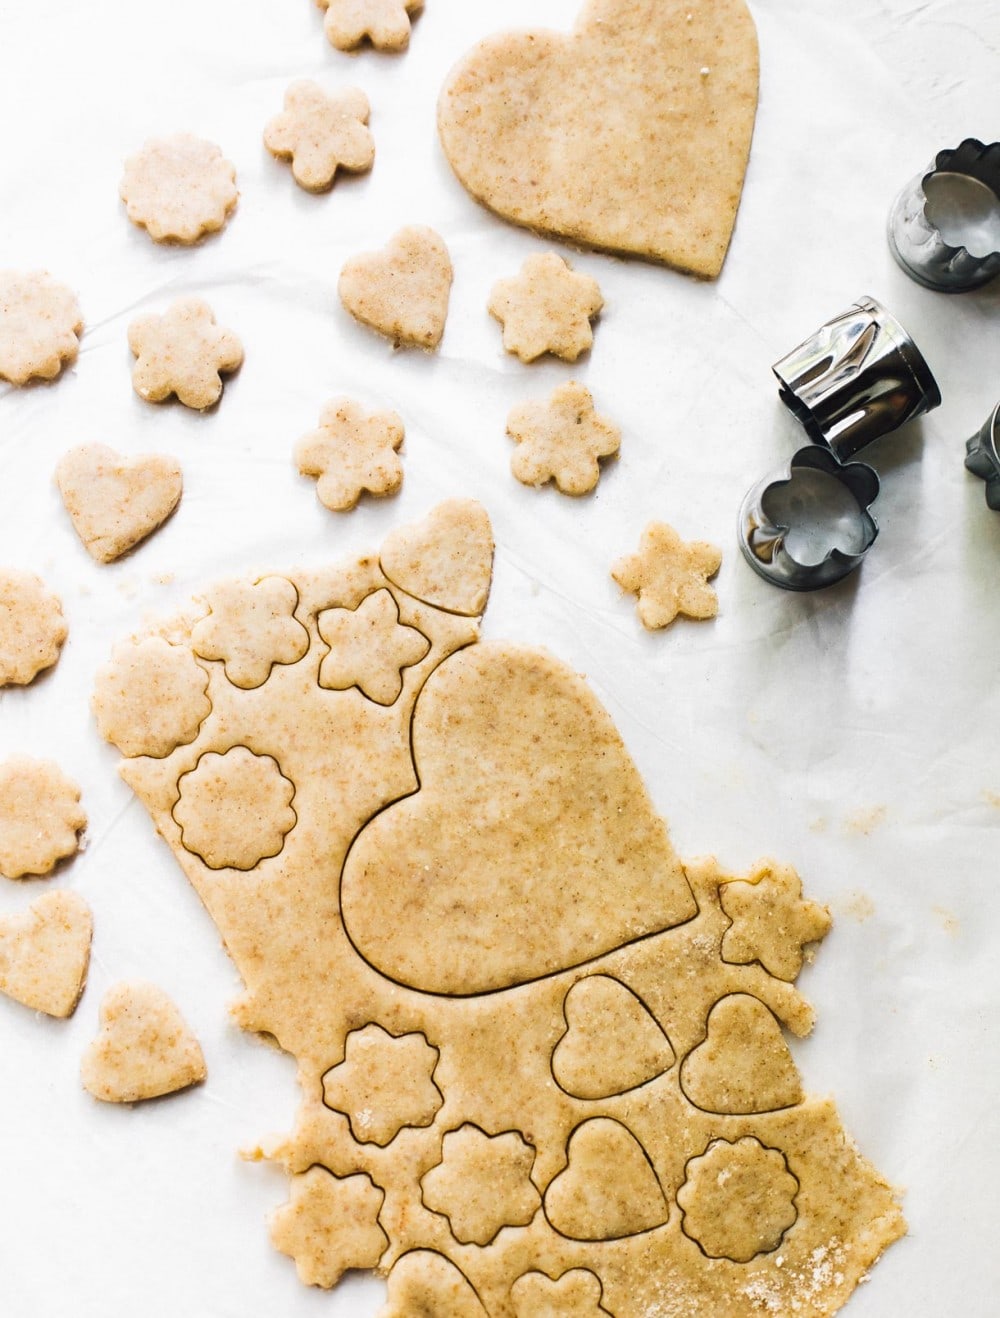
A classic lattice crust provides plenty of ventilation, but you can also use a small cookie cutter to make circular, decorative vent holes, instead. Which is what I did!
To make the fun cut-outs for the top crust, I used a combination of regular sized cookie cutters, and these mini cutters.
Tips for making a foolproof gluten free-pie crust:
- Above all, know that your pie crust doesn’t have to look perfect. It will still taste amazing! Pie crust takes practice to make it look aesthetically like you envision.
- Instead of using xanthan gum, you’ll use ground chia seed to make the gluten-free crust pliable, and mimic the gluten binding power of all-purpose flour. Alanna did a lot of testing to find that this is the best way to make gluten-free pie crust without using gums, and I’m so glad she did!
- Have a shelf cleared out in your refrigerator for storing the crust as it chills.
- Make sure your butter is very cold, straight out of the refrigerator.
- Use a box grater to shred the cold butter.
- Roll out your pie crust in between two sheets of parchment paper. This will prevent sticking and make things much easier.
- Let your cut-outs for the top crust chill before you try to remove the outer scraps.
Tools and ingredients you’ll need to make this gluten-free pie crust:
As I mentioned, this pie crust recipe is adapted from the gluten free baking queen, The Bojon Gourmet. I prefer the taste of sorghum flour over millet flour, and had great results using it in combination with sweet rice flour and cornstarch.
Besides those flours, you’ll also need chia seeds, which I grind into a fine powder with an inexpensive coffee bean grinder. Or whatever you grind spices in.
You’ll need quality butter – and lots of it. 🤗 No regrets.

Yield: 1 (9 inch) pie
Ingredients
- 105 grams sorghum flour
- 110 grams sweet rice flour
- 70 grams cornstarch
- 25 grams finely ground chia seeds
- 3/4 teaspoon fine sea salt
- 1 1/2 tablespoons organic cane sugar
- 12 tablespoons cold unsalted butter
- 2 teaspoons almond extract
- 1 1/2 teaspoons apple cider vinegar
- 1/2 cup ice cold water
- 1 egg yolk whisked
Filling
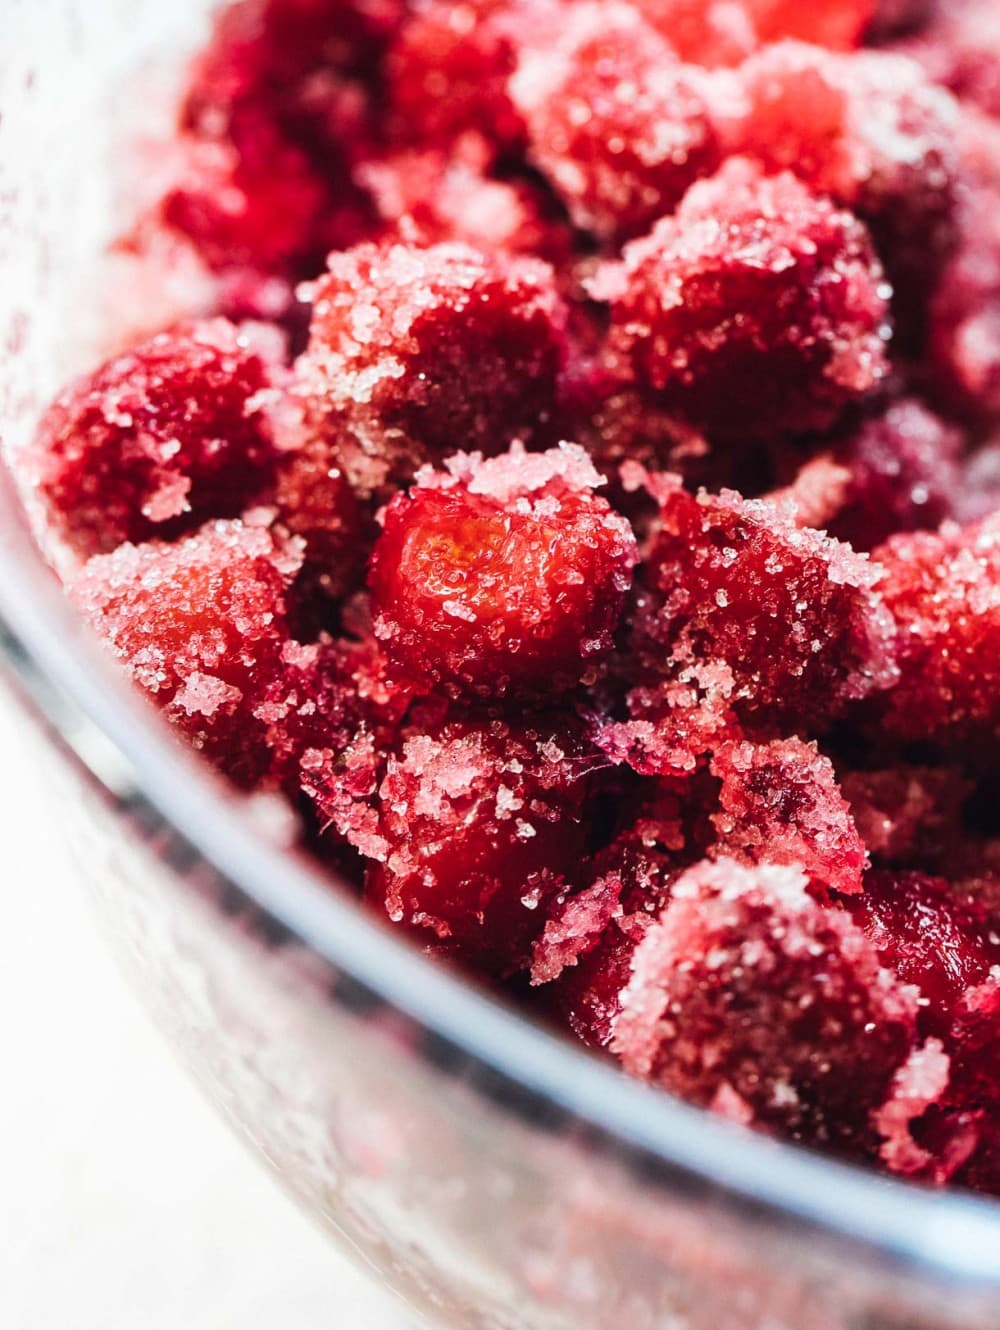
- 5 1/2 cups frozen Montmorency tart cherries thawed
- 1 cup organic cane sugar
- 4 tablespoons cornstarch
- 2 tablespoons white balsamic vinegar
- 1 1/2 teaspoons vanilla extract
- 1/8 teaspoon sea salt
Instructions
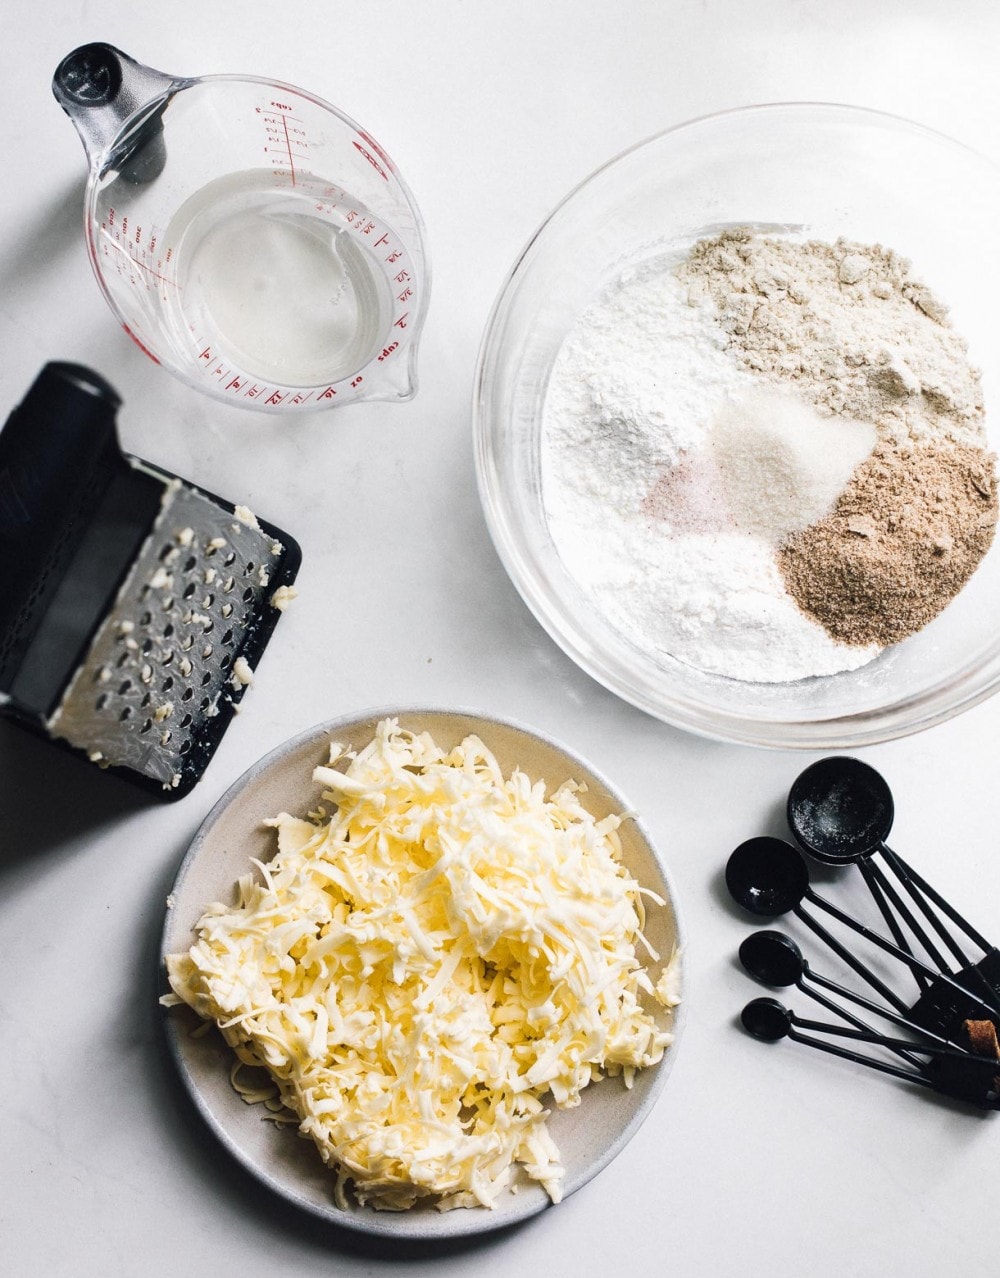
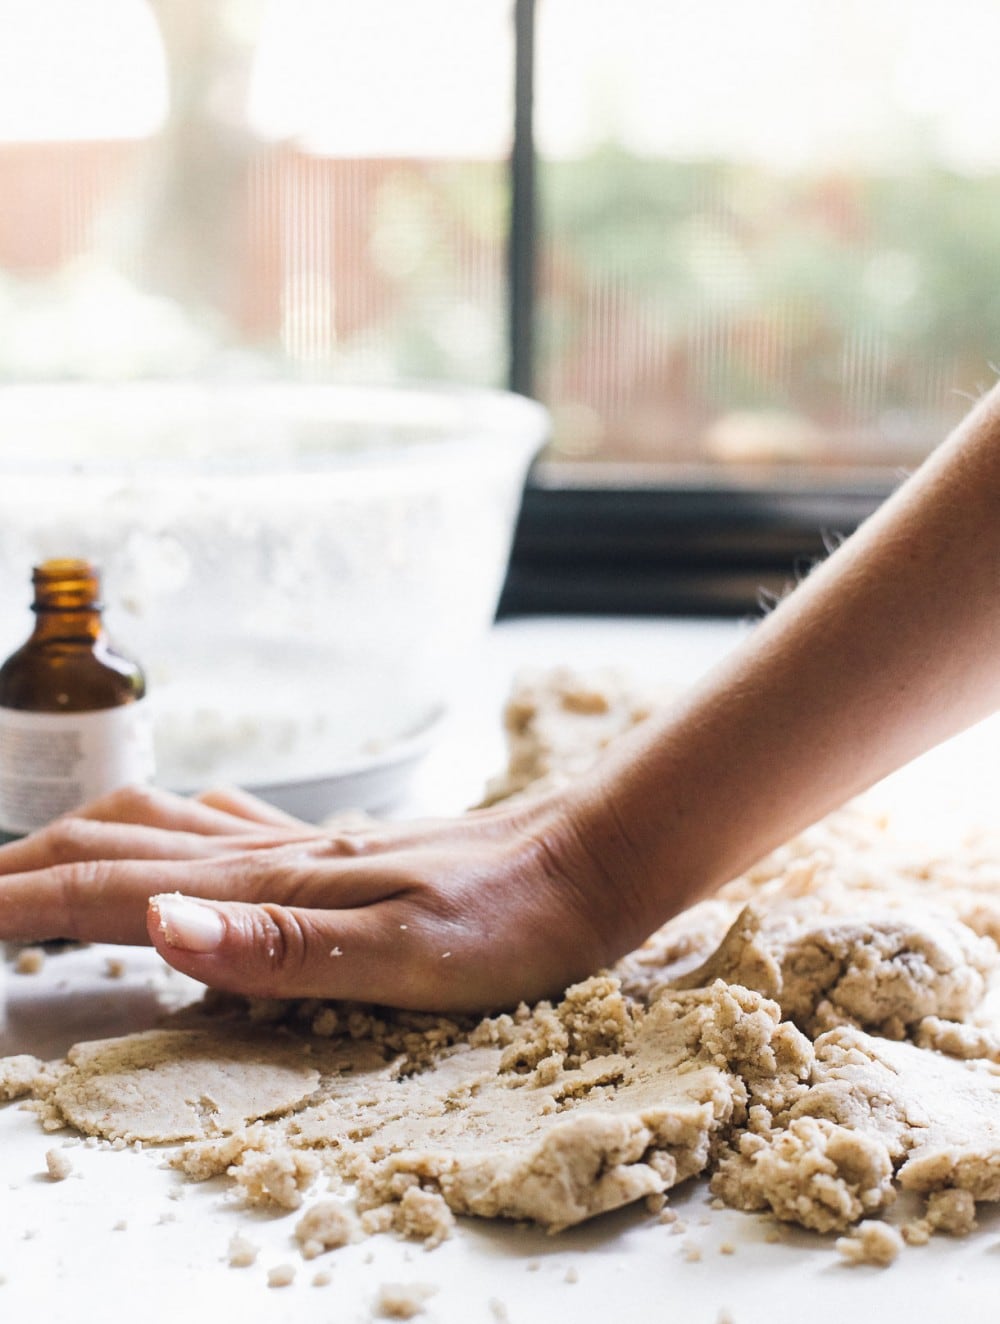
- To make the dough: In a large bowl, combine the sorghum, sweet rice flour, cornstarch, ground chia seed, sugar, and salt. Grate the butter on onto a plate. Scatter the butter over the flour mixture and your fingers until the mixture resembles gravel, with lots of butter chunks the size of almonds.
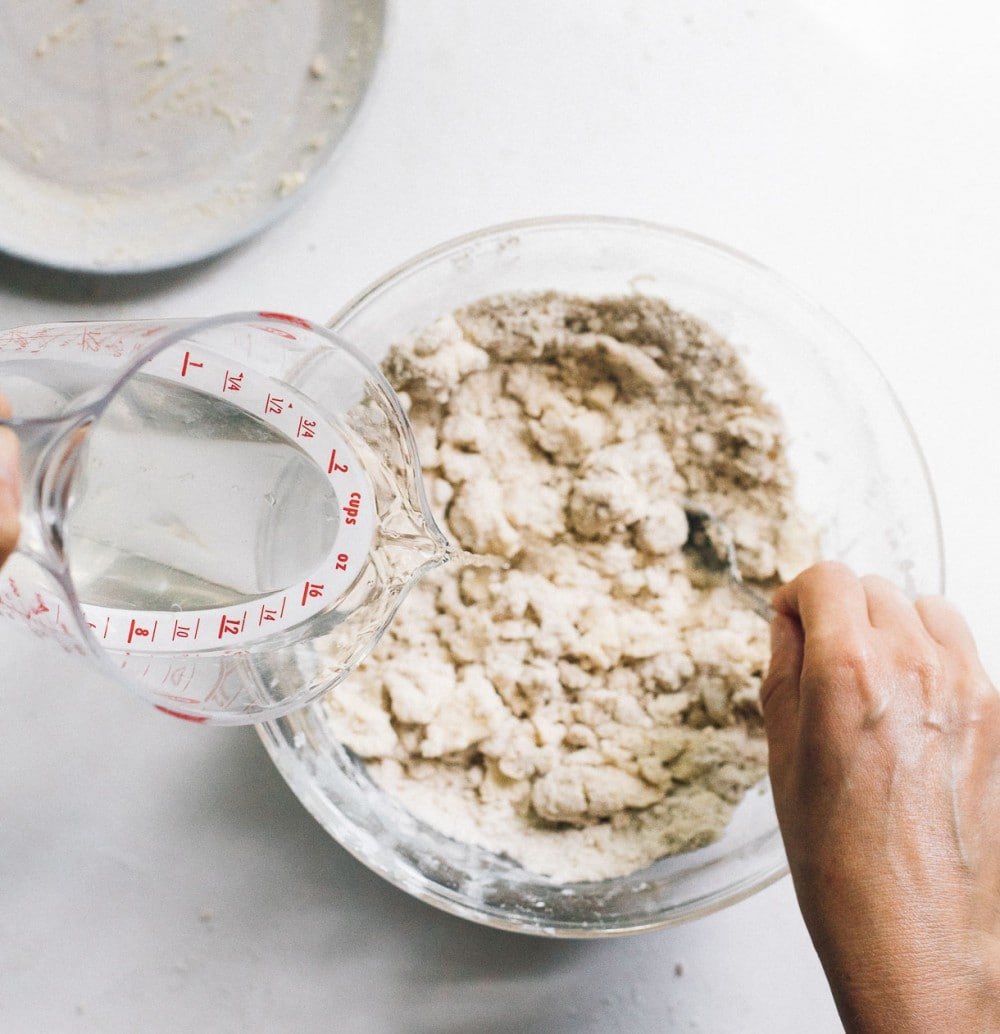
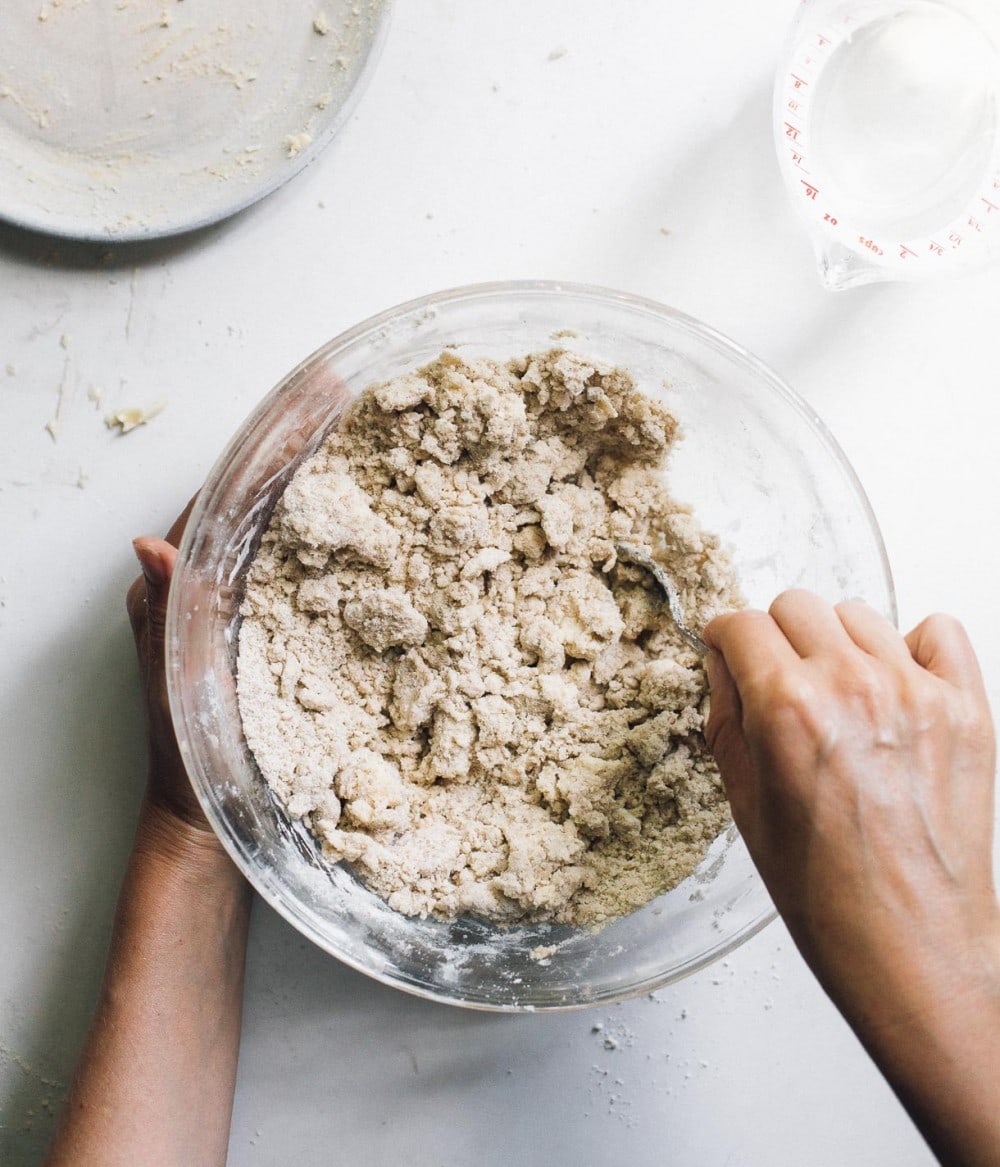
- Add the almond extract and apple cider vinegar to the ice cold water, and slowly add it to the flour mixture, 2 tablespoons at a time, working the water in with a fork, being sure to moisten evenly. When you’ve finished adding the water, you should be able to squeeze the dough and it will stick to each other, yet still be shaggy and crumbly.
- Dump the dough out onto the clean counter and fraisage by pushing portions of the dough across the counter with the heel of your hand (this makes for a flakier dough). Then gather the dough into a ball, using a bench scraper. Wrap in plastic wrap or parchment, and flatten into a thick disk. Chill the dough for 30 minutes. Either way, gather the dough up into a ball. Use bench scraper to cut off 1/3 of the dough. Make both back into a ball. The smaller ball will be for your top crust cutouts. Wrap loosely in plastic wrap, and flatten it into disks. Chill the dough 30 minutes.
- Take the dough out of refrigerator and let it sit for 5-10 minutes. Put the large disk of pie dough on a large sheet of parchment paper that has been dusted with sorghum flour. Dust the top of the dough with flour as well. Place a large sheet of parchment over the top of dough and begin to roll out into a circle, about 11-12 inches in diameter, turning the dough as you go. Put the sheet of dough that’s in between parchment onto a baking sheet, and chill for 5 minutes. Then take out, remove parchment sheets, and gently slide dough into your pie pan. Trim it to a one inch overhang using a scissors, then fold edge up and under to create a thicker edge. Flute the edges with your fingers, or press with a fork to create pretty indents.
- Prick the bottom and sides in random spots, then place pie plate with dough in freezer for 30-45 minutes. You can also refrigerate it overnight at this point, wrapped in plastic bag.
- Roll out smaller disk of dough in between parchment, so it is about 1/4 inch thick. Remove top sheet of parchment and cut out shapes. Place this sheet of parchment with dough onto baking sheet and refrigerate for 15 minutes. Then remove scraps from the edges, and keep the cut out shapes in the refrigerator until you are ready to top the pie.
- To make the filling, mix thawed cherries with sugar and cornstarch. Add to a saucepan, and cook over low-medium heat, so just simmering at the sides, constantly stirring, until thickened to a syrupy consistency. It should coat the spoon. This will take about 8-10 minutes. Remove from heat and stir in balsamic vinegar, vanilla extract, and sea salt. Let cool.
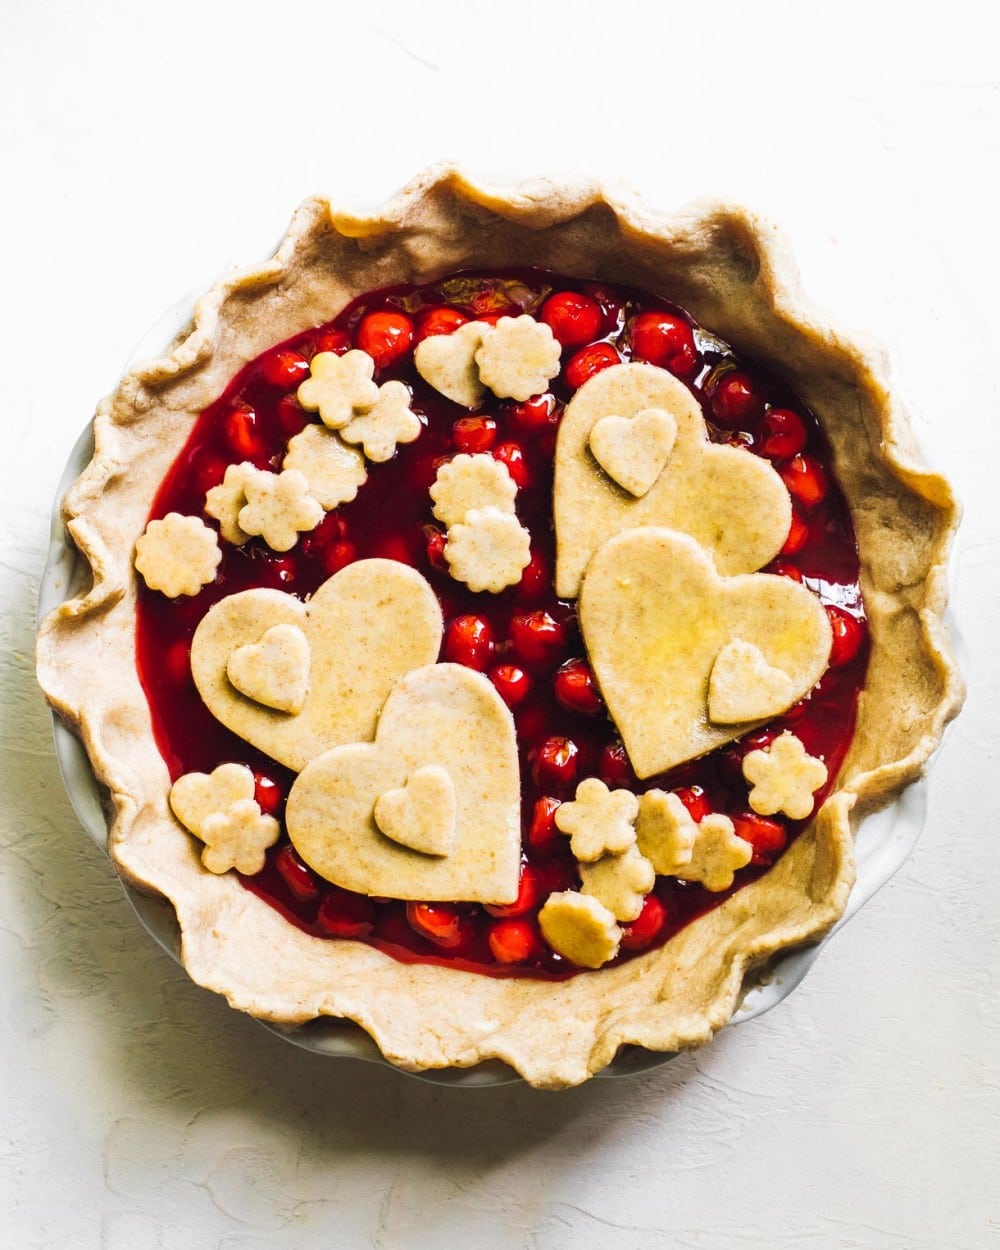
- Preheat oven to 400 degrees F.
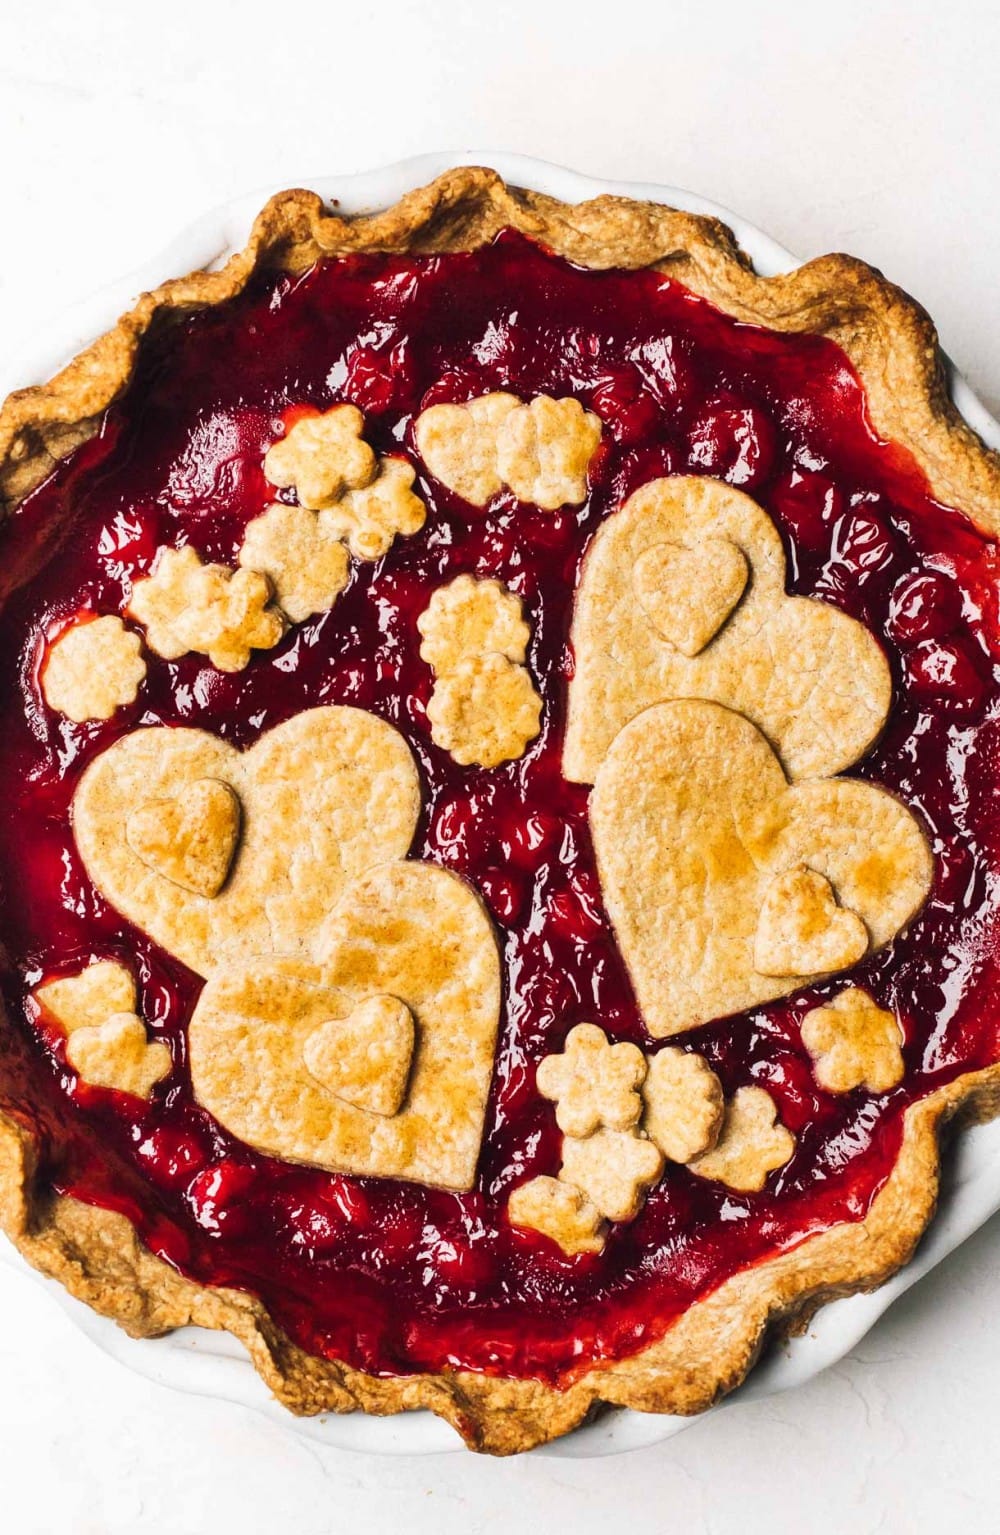
- Remove pie crust from freezer, and add cherry filling. Bake for 10 minutes, then remove. Brush pie crust cut-outs with egg wash, and place on top of filling. Return pie to oven for another 40 minutes, adding foil to the edges if they start to get too brown. Pie will be bubbling and golden brown when done.
- Store pie at room temperature for two days, then refrigerate.
Notes
This gluten free pie crust is adapted from The Bojon Gourmet‘s recipe. She was the one who originally discovered that ground chia seed is the best replacement for xanthan gum in gluten free pastry!
Did you make this?
tag @heartbeetkitchen on instagram and hashtag it #heartbeetkitchen
July 22, 2020