Crispy Baked Salt & Pepper Tofu
This post may contain affiliate links. Please read my disclosure policy.
Tofu is one of those ingredients that I find people to be skeptical of if you didn’t grow up eating it. But it’s absolutely delicious when made well. With a few simple preparation steps, you can create savory tofu recipes that even a non-vegetarian will enjoy.
Tofu is a wonderful source of protein and soaks up the flavor of whatever marinade or coating you use.
The texture is determined by the type of tofu you buy, as well as how it’s prepared (baked, fried, scrambled, grilled, etc).
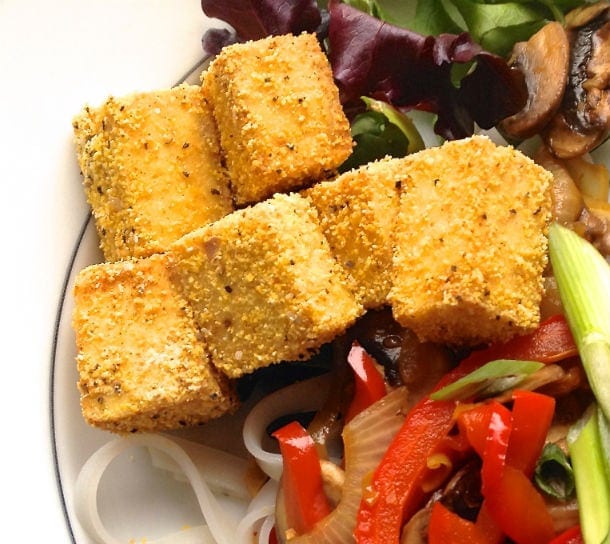
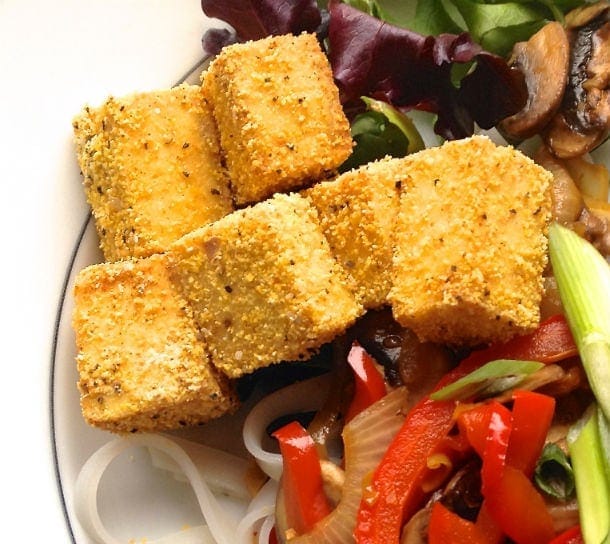
For this recipe I used extra firm tofu dusted with a gluten free crust of cornmeal, cornstarch, and spices. I also love to grill tofu!
Up until my mid 20’s, I had never had tofu. That was until a friend took me to a fantastic vegetarian Chinese restaurant and said, “I know I’m going to change your mind about tofu once you try this salt and pepper version”.
I took one bite of the hot, crispy, perfectly seasoned tofu and I was sold. Who would have ever thought that little nuggets of soy could be as addicting as salt and vinegar fries? From that point on I became a tofu lover.

This recipe for Salt & Pepper Tofu is healthy and very versatile.
Instead of frying the salt and pepper tofu, you’re going to bake it. The secret to getting it just as crispy as if it were fried is a cornstarch + cornmeal coating!
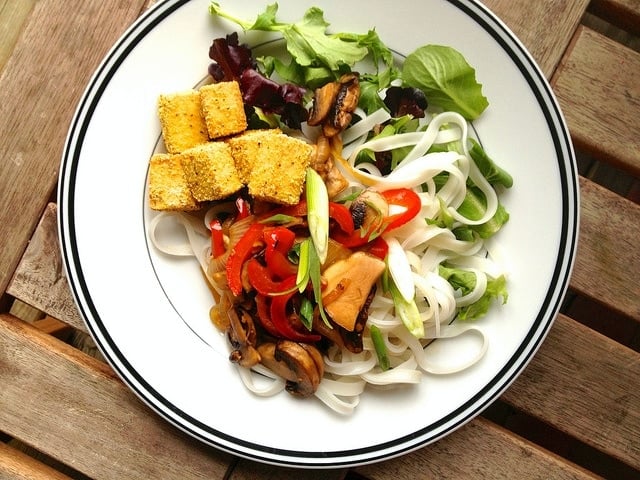
You can make this tofu for rice bowls, salads, an appetizer, or even just a snack. I like adding it to rice noodles and sautéed red peppers, and mushrooms like I’ve done here. Dressed with a light, lime vinaigrette, it’s a refreshing summer meal.
Follow these easy steps for pressing tofu:
1. Drain tofu from the package and pat completely dry. Wrap in two layers of paper towels.
2. In a baking pan with rimmed sides, put wrapped tofu inside of it with a cutting board on top of the tofu. Set something very heavy like a cast iron skillet on top of the cutting board. This will squeeze out all the excess water.
3. Let sit 15 minutes, empty dish if water has drained into it and flip tofu. Replace cutting board and skillet, let drain another 10 minutes.
4. Remove towels, and cut into 1 in square cubes. Now you’re ready to go!
More Tofu Recipes:
- The Best Way to Make Grilled Tofu
- Rustic Tofu Wild Rice Soup
- Warm Brussels Sprout and Kale Salad with Maple Glazed Tofu

SCALE:
Ingredients
- 1 14 ounce block extra firm tofu, pressed according to notes above in post
- 2 tablespoons olive oil
- 1/4 cup cornmeal medium grind
- 2 tablespoons cornstarch
- ½ teaspoon fine salt
- ½ teaspoon pepper
- 1 red bell pepper, thinly sliced
- 8 ounce package of sliced mushrooms
- 2 green onions, thinly sliced (white and green parts)
- 1 1/2 tablespoons olive oil
- ½ package of flat rice noodles cooked per package directions
Lime Vinaigrette
- 2 Tablespoons olive oil
- 2 Tablespoons lime juice
- 1 clove garlic minced
- 2 tablespoons minced cilantro
- ¼ teaspoon fine salt
- ¼ teaspoon sriracha
Instructions
- While tofu is being pressed, preheat oven to 350 degrees F. Spray cookie sheet with nonstick spray. In a Ziploc bag, combine cornmeal, cornstarch, salt & pepper.
- Cut tofu into 1/2 inch cubes and put in bowl. Pour olive oil over tofu and toss to coat. Add tofu to Ziploc bag in 2 separate batches, and lightly shake to coat evenly. Place tofu on cookie sheet, (not touching each other) and bake for 15 minutes, then flip and bake for another 10 minutes (or until crispy). Remove from oven.
- While tofu is baking, heat olive oil in sauté pan over medium-high heat. Add onions and sauté for 2 minutes, then add in peppers and mushrooms with 1/4 teaspoon salt. Sauté for 8–10 minutes, until vegetables are softened, set aside
- Whisk all dressing ingredients together and toss with noodles.
- Serve noodles with vegetables and crispy tofu.
Did you make this?
tag @heartbeetkitchen on instagram and hashtag it #heartbeetkitchen


