Easy Seeded Sourdough Bread
This post may contain affiliate links. Please read my disclosure policy.
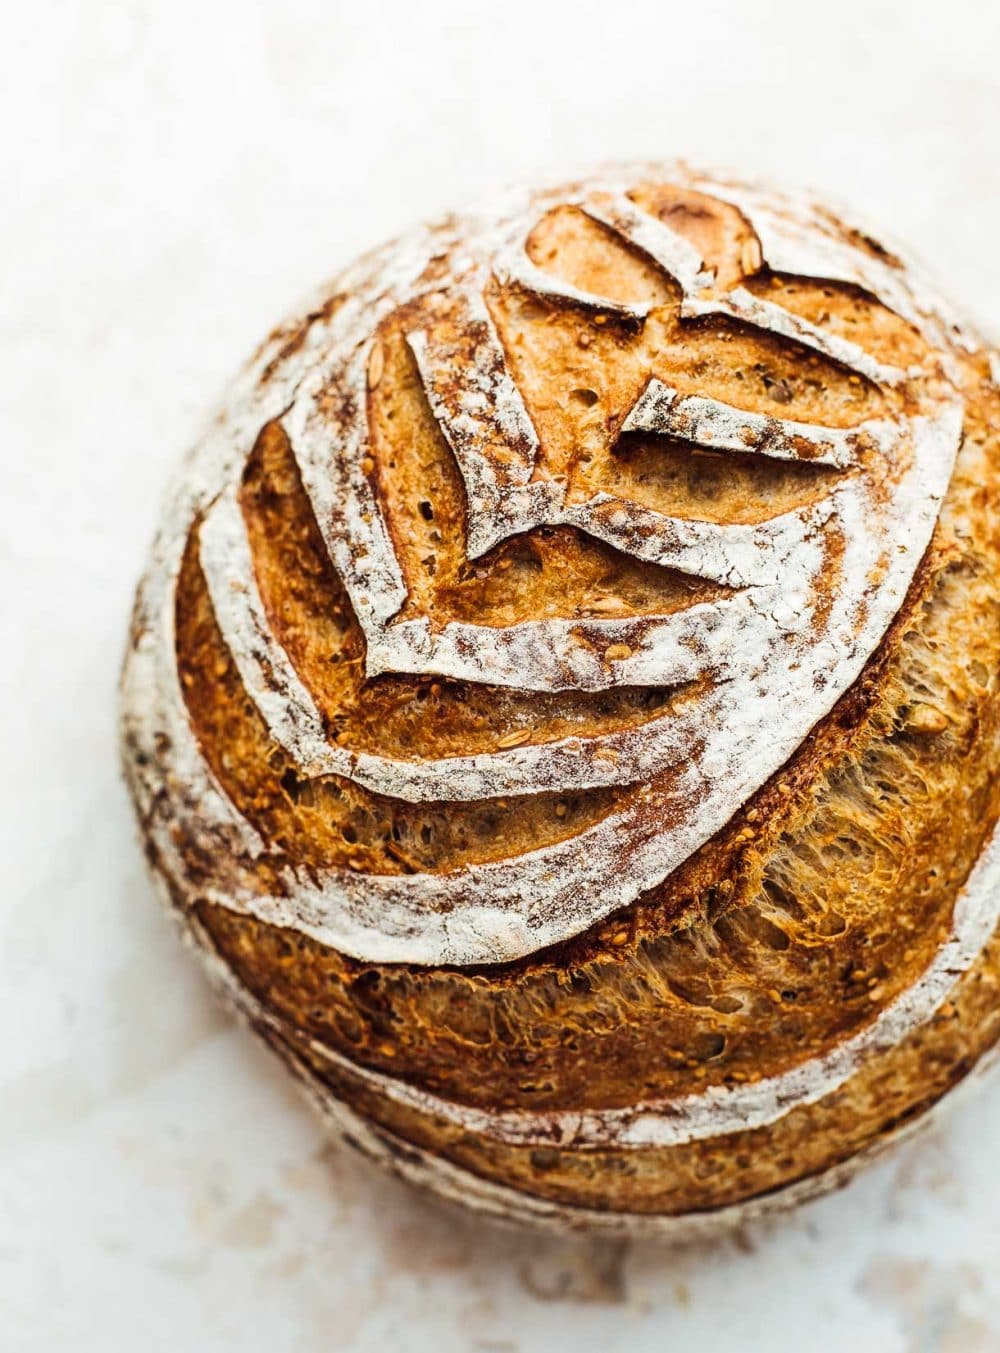
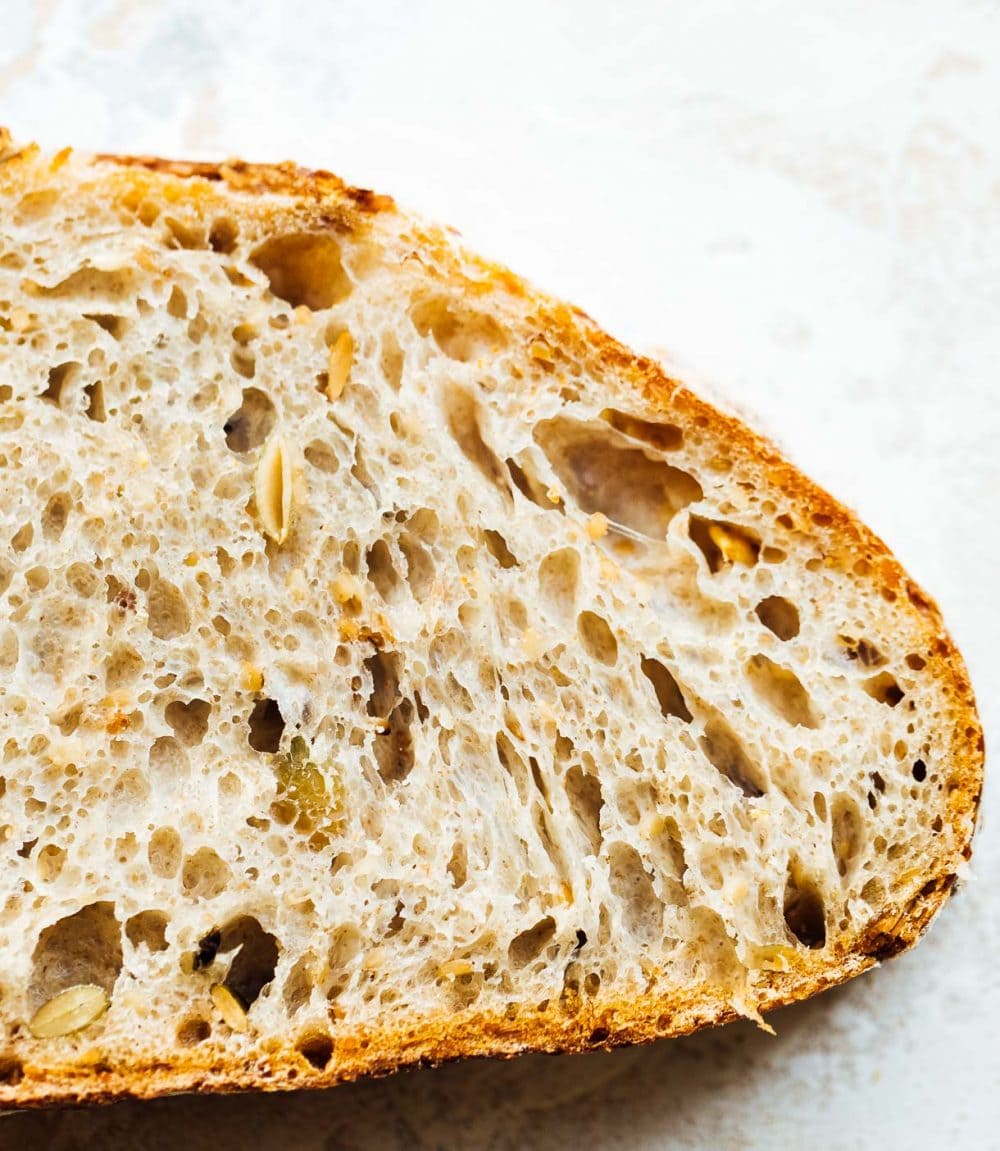
Making seeded sourdough bread isn’t any more difficult than making an every day loaf! There’s just one main difference that I’ll walk you through, with step by step instructions for making this pepita and sunflower seed sourdough. It has a springy, chewy crumb with flavorful nuttiness, and a golden brown crust.
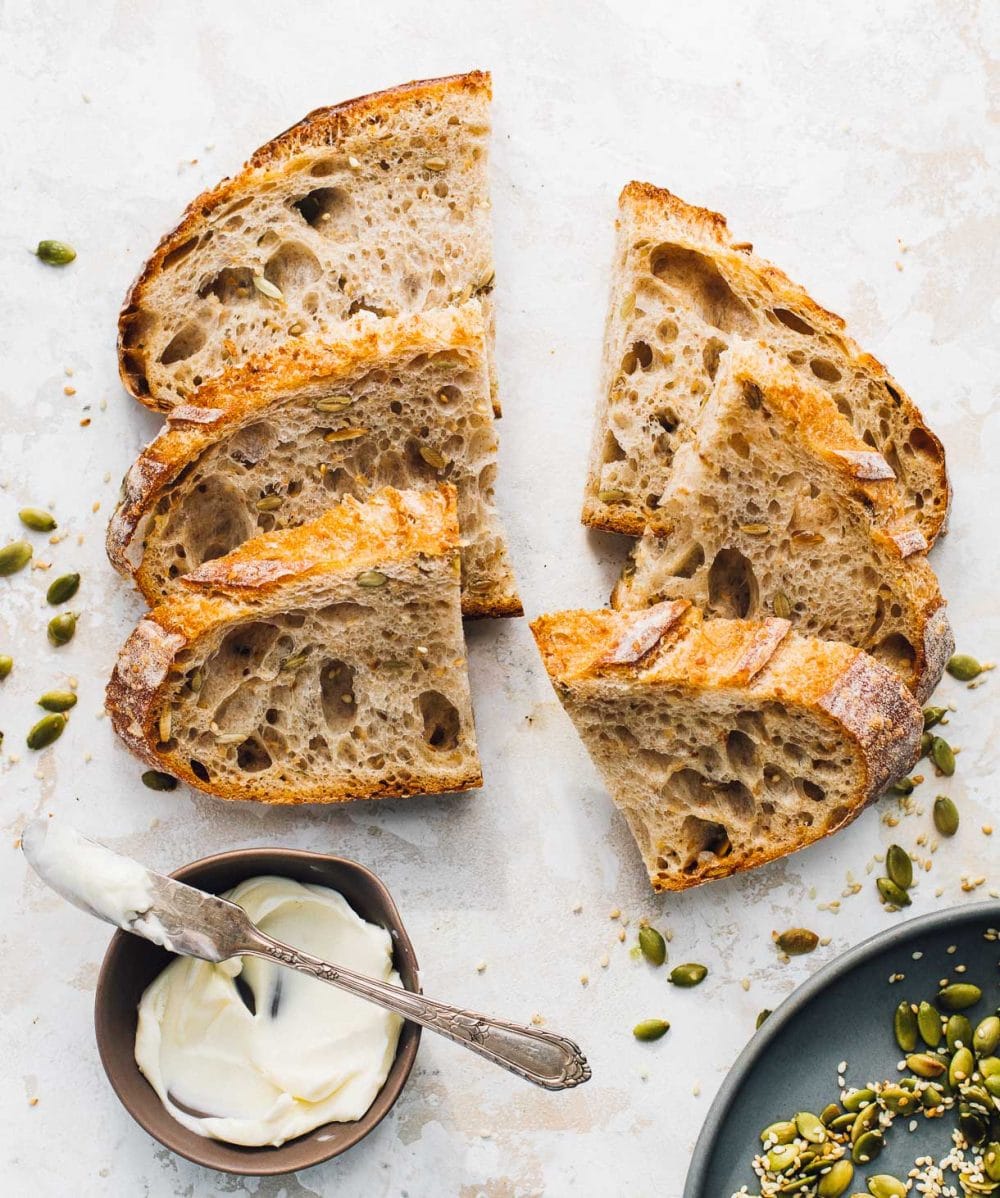
I’d been thinking about my ideal breakfast bread when I started to test this recipe – you know one with seeds, a bit of whole grains, with lots of feel good vibes… without being a cardboard like “health bread”.
This Easy Seeded Sourdough is EXACTLY what I want to start my morning with. A hearty loaf without being dense, a good dose of nutrition, and complex flavors. A total winner.
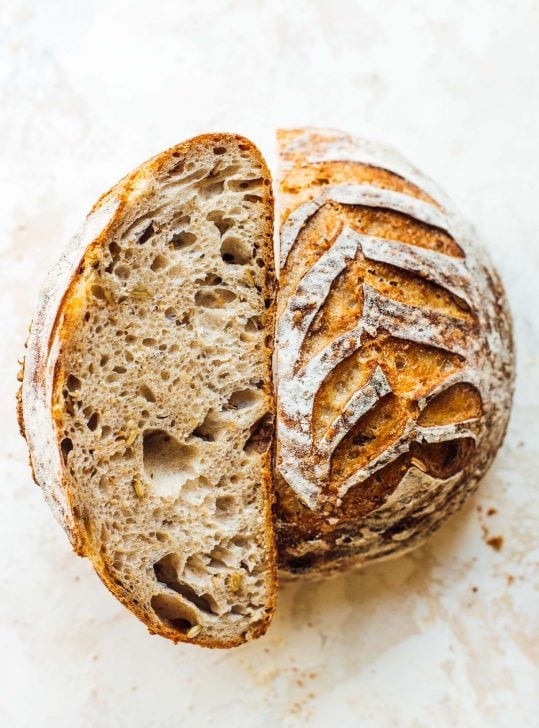
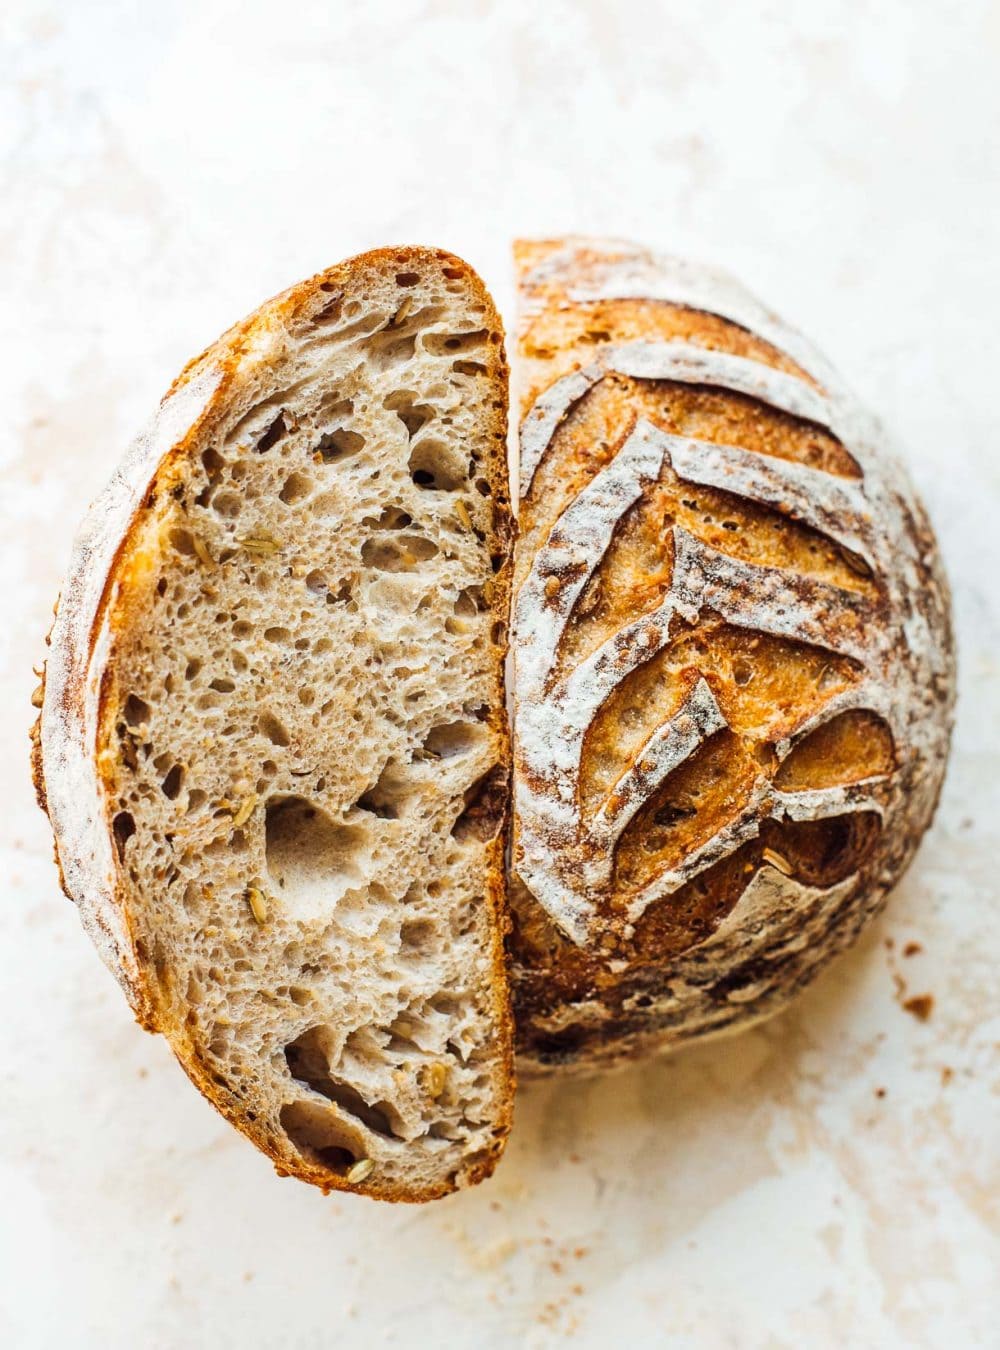
The crust has a lovely crackle while the crumb is soft and springy, with toasted sesame seeds and pepitas scattered throughout. And the aroma while this loaf is baking is a real good thing.
Ingredients for Seeded Sourdough
- Pepita Seeds
- Sesame Seeds
- Bread Flour
- Whole Wheat Flour
- Water
- Salt
I’ve used a blend of whole wheat flour and bread flour to give it great structure and make the dough easy to work with, while still adding some nutrition from the whole grain. It’s very similar to making my Everyday Sourdough Bread recipe, actually!
Adding Mix-In’s To Sourdough
Combined with the depth of sourdough, seeds, nuts, dried fruit, herbs – they can all transform a basic loaf into something undeniably delicious. In this particular loaf, the seeds provide a bit of protein as well as fiber, and layers of flavor. If you’re looking for a loaf with dried fruit, try my Poppyseed Crusted Sourdough with Dried Cherries!
A double win – totally nutritious and still an everyday loaf that every member of your family will enjoy.
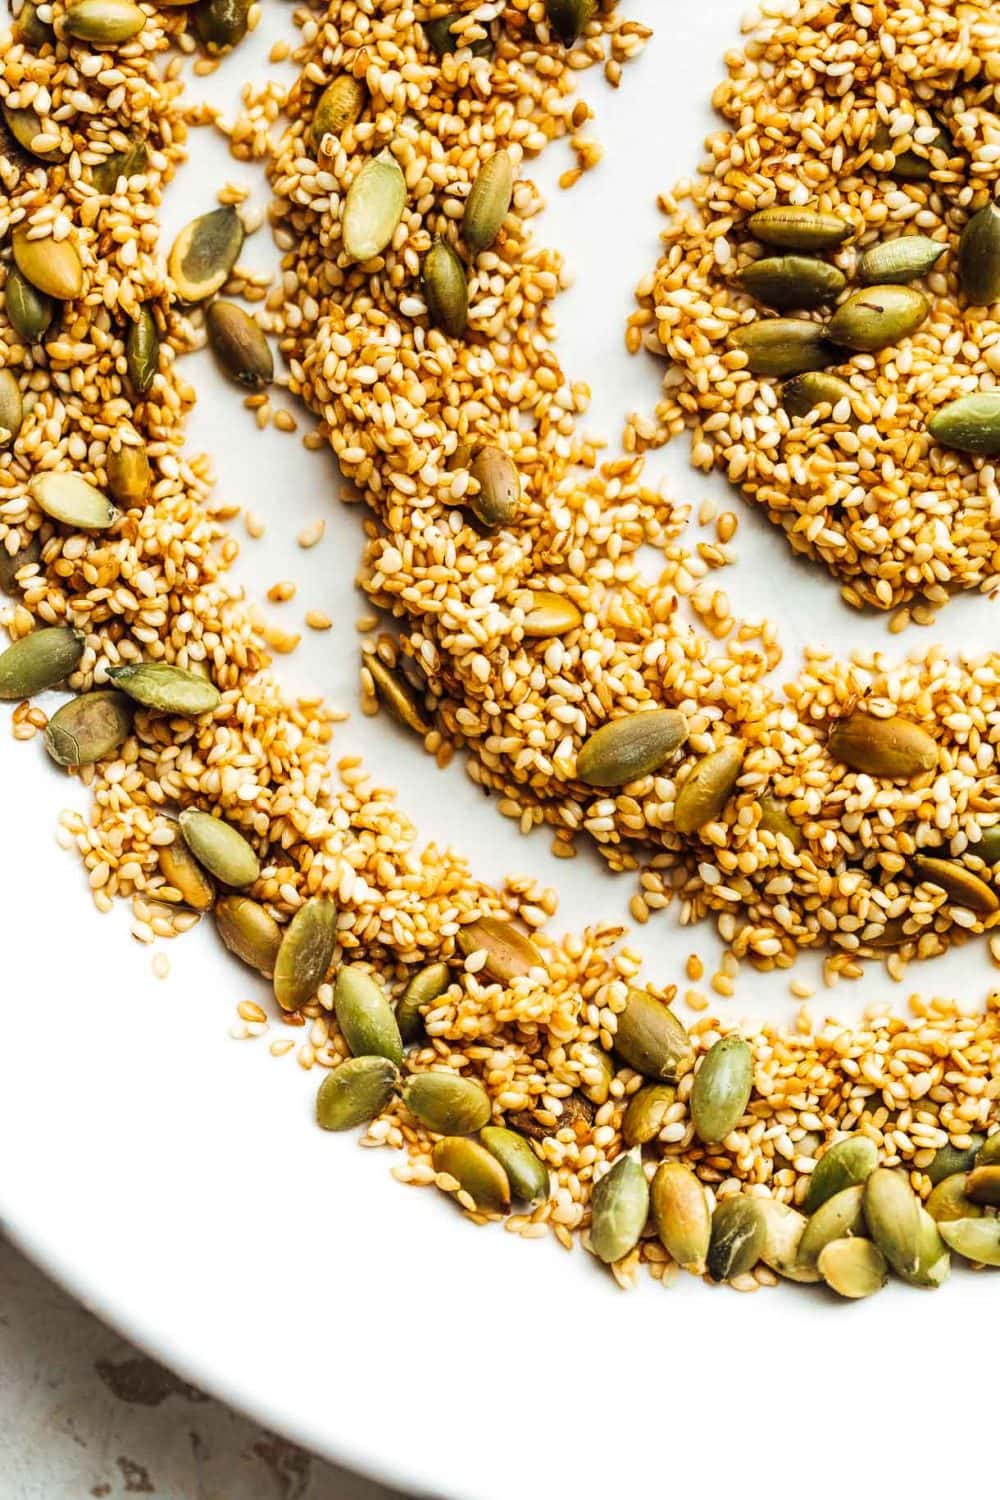
Toasting the pepita and sesame seeds draws their natural oils to the surface, intensifying their rich nutty essence that infuses the bread.
When to add seeds to sourdough:
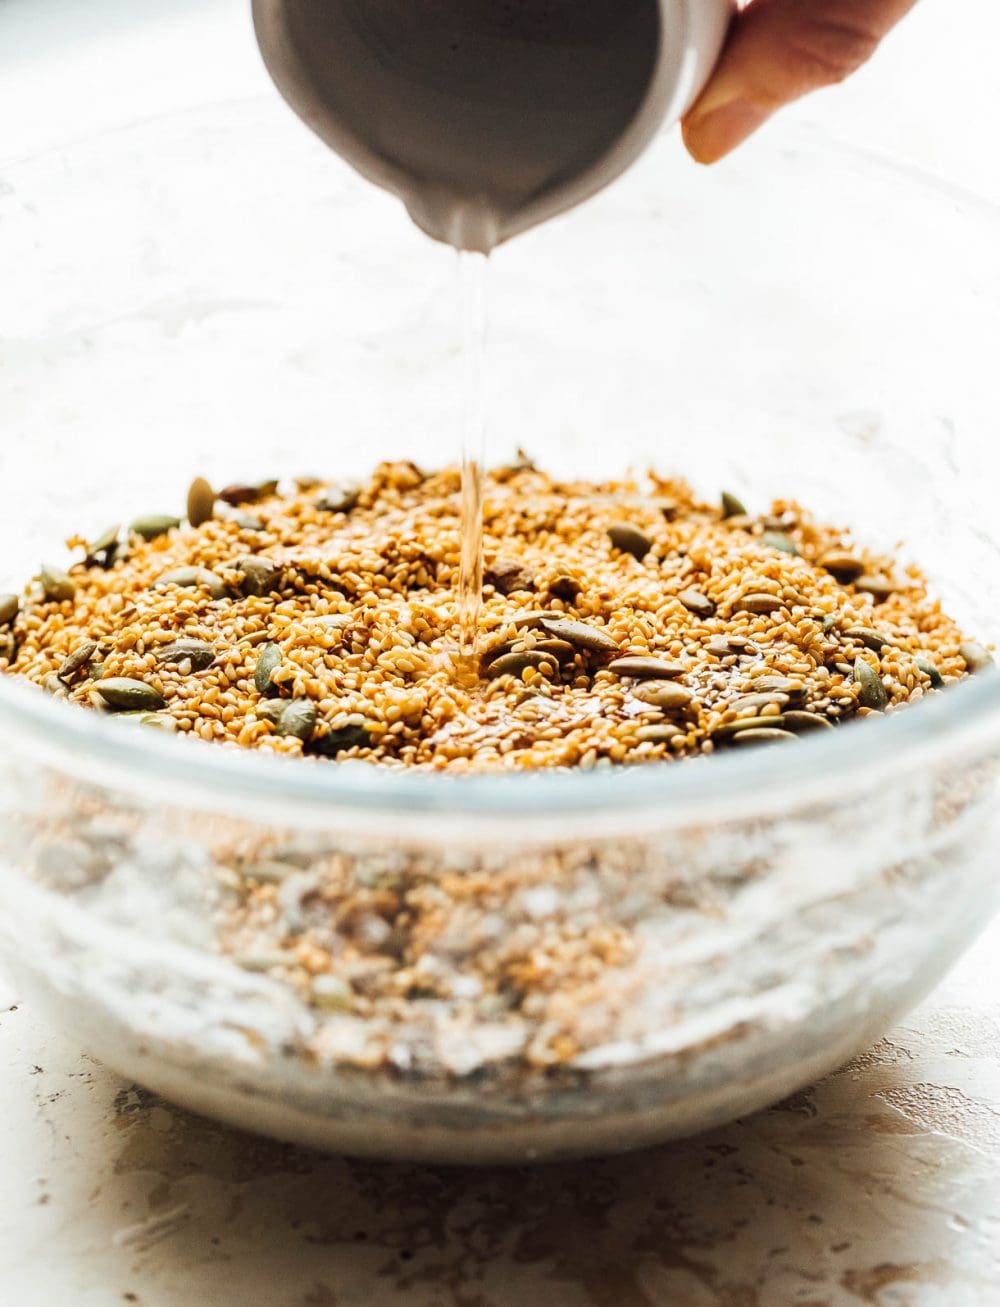
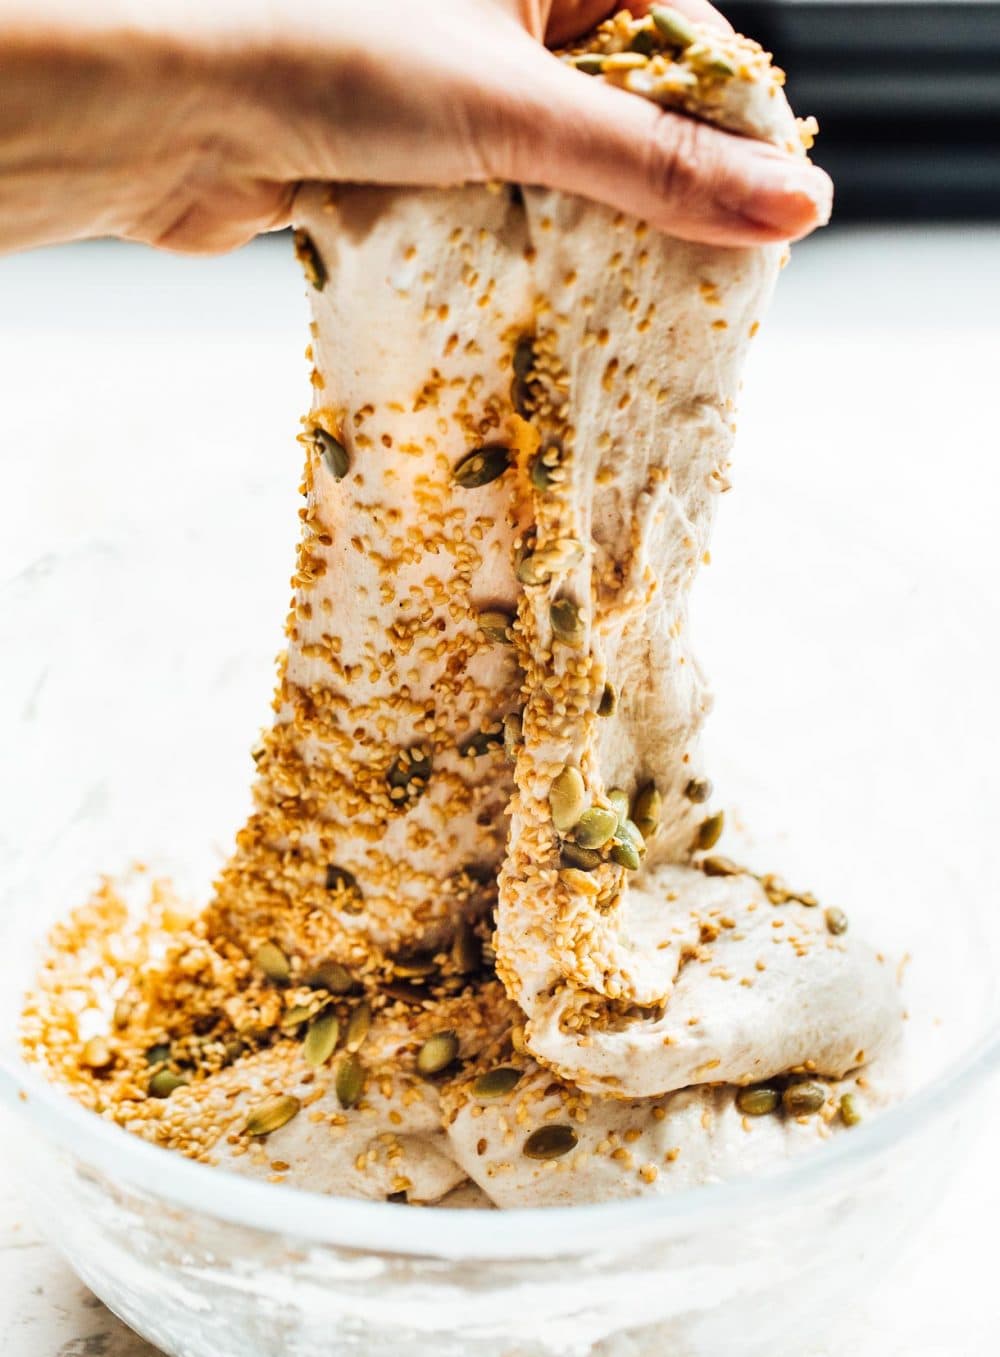
I like to add the seeds on top of the dough right before the 2nd set of stretch and folds, with a tiny bit of water. I then do my normal stretch and fold technique, and let rest for 30 minutes. Repeating that stretch and fold 2 more times, for a total of 4 stretch and folds. The seeds will further distribute through the dough with each subsequent set of stretch and folds.
Do I need to soak the seeds?
Part of the reason people soak NUTS before adding them to sourdough is so they’re easier to bite into. In this recipe, we’re working with SEEDS that are naturally softer in texture than something like almonds or walnuts, so NO SOAKING is needing. Additionally, toasting the seeds changes their structure in a way that they will not soak up much moisture from the dough. In fact, we’ll add a bit of water when we add the seeds to the dough.
Other seeds like chia and flax need to be soaked before adding to sourdough because they soak up LOTS of liquid, which would drastically affect the hydration of your dough.
Bakers Schedule for Making Easy Seeded Sourdough Bread:
- 9am: Feed sourdough starter
- 2pm: Mix dough and let autolyse (rest)
- 3pm: Work salt into dough during 1st set of stretch and folds
- 3:30pm: Add seeds to top of dough with 15 grams of water, and perform second set of stretch and folds (video here) to work them in. Repeat the 30 min rest and stretch/folds 2 more times.
- 4:30pm: You will complete your 4th set of stretch and folds. Now cover the bowl with a damp cloth and let dough finish its bulk ferment.
- Between 8 and 9pm, check your dough. When it has risen 40-50%, and has a smoothish top and is a bit jiggly, the bulk fermentation is finished.
- Take dough out of bowl and place on floured counter for a 20 minute bench rest.
- Around 9 or 10pm: Shape your dough and put in a garbage bag, then place in refrigerator. Refrigerate overnight for a cold retard.
- Between 8 and 11am, preheat your oven to 500 degrees F. When your oven is preheated, remove dough from fridge. Score and place into dutch oven or bread baking pan, replace lid.
- Then place pan in oven and bake for 25 minutes covered, 20 minutes uncovered.
What to put on your sourdough bread:
So you’ve baked this rustic sourdough beauty, now it’s time to eat! Here are some of my favorite spreads to put on toasted slices.
- Rosemary Red Wine Fig Jam
- Cardamom Pear Jam Recipe
- Extra Creamy Coconut Sugar Walnut Butter
- The Best Homemade Apple Butter
More Sourdough Bread Recipes:
- Rustic Rye Sourdough Bread Recipe
- Fluffy Sourdough Focaccia
- Sun-Dried Tomato & Cheddar Gruyere Sourdough Bread
SCALE:
Ingredients
- 35 grams raw sesame seeds
- 30 grams raw pepitas (or raw sunflower seeds)
- 55 grams active sourdough starter
- 310 grams slightly warmer than room temperature water (around 80 degrees F) + 15 grams water for later use
- 55 grams whole wheat flour
- 345 grams bread flour
- 8 grams fine salt
Instructions
- Preheat oven to 350 degrees F. Place seeds on a baking sheet and toast for 5-6 minutes, until browning and smelling toasted. Remove and transfer to a plate to cool.
- Mix active sourdough starter and 310 grams water until starter is dissolved. Add flours, and mix with hands until a shaggy dough forms, with no dry bits of flour left. Add salt to top of dough.
- Cover with damp cloth and let do rest (autolyse) for 45 minutes.
- After the rest, work salt into dough, pinching it into the dough and working the dough between your hands for 2 minutes. Then perform your 1st set of stretch and folds (video tutorial). Then let dough rest for 30 minutes.
- After that rest, add seeds to top of dough with 15 grams of water, and perform second set of stretch and folds to work them in. Repeat the 30 min rest and stretch/folds 2 more times.
- After your 4th set of stretch and folds, cover the bowl with a damp cloth and let dough finish its bulk ferment on the counter.
- Between 4 and 5 hours later, check your dough (assuming the air temp in your home is around 72-75 degrees F). When it has risen 50%, and has a smoothish top and is a bit jiggly, the bulk fermentation is finished. You should go off of look and feel rather than time, which is why the hours given are just approximate.
- Take dough out of bowl and place on lightly floured counter for a 20 minute bench rest.
- Shape your dough, put in banneton, and cover with a shower cap, or place in a garbage bag to make sure your dough doesn't dry out.Refrigerate overnight for a cold retard.
- Between 8 and 11am, preheat your dutch oven in your oven, setting oven to 450 degrees F. When your oven is preheated, remove dough from fridge. Score and place into dutch oven or bread baking pan, replace lid.
- Put dutch oven into oven and bake for 25. Then take cover off, turn heat down to 435 degrees F and bake for 20 minutes, until golden brown on top. Let bread cool for 1 hour before slicing.
Did you make this?
tag @heartbeetkitchen on instagram and hashtag it #heartbeetkitchen


Anna
April 24, 2024
I have made so many different sourdough recipes, but I always come back to this one as my mainstay. It is so delicious that I have gifted it to many people, and it has always been well received. Your jalapeno cheddar sourdough is my son’s favorite food!
Amanda Paa
April 24, 2024
Delighted to hear that! Thanks for such a kind note!
Sammy
April 11, 2024
Baked this recipe several times now and never fails to impress. The toasted seeds give it a new depth of flavour and the dough techniques are easy to do for a (relative) beginner like me.
Amanda Paa
April 12, 2024
So glad to hear this; thanks for making the recipe!
Jon Madson
February 26, 2024
Very user friendly, especially when your a newbie to sourdough making.
Charlotte
February 18, 2024
This turned out beautifully ! My new go to for a seeded sourdough ! I substituted buckwheat flour for the whole wheat and added some flaxseed and hemp seed. Delicious with raspberry jam! Thank you Amanda!
Amanda Paa
February 18, 2024
Oh that sounds amazing! Thanks for making the recipe!
Joey Sundvall
February 3, 2024
Can I use your all purpose flour sourdough recipe for this? Thats the only sourdough bread I ever make.
Amanda Paa
February 4, 2024
Hi Joey! I think that should work. Maybe decrease the seeds by a total of 15 grams just to be sure.
Jan Fitzpatrick
November 13, 2023
Oh wow! This is a brilliant recipe, the bread was chewy, crusty, open and delicious!
Amanda Paa
November 13, 2023
So glad you enjoyed it, Jan!
Beata
September 12, 2023
I’m in the process of making this loaf. I will not have time to proceed tomorrow morning. Is it ok to delay by 9 hrs or so? Or should I just finish today?
Amanda Paa
September 12, 2023
I’d recommend the fridge retard and hold until tomorrow. You’ll have better flavor!
Mary
September 10, 2023
The baking temperature is different in the story (bake at 500 degrees) vs the recipe (450/435) Which do you use now? Thanks!
Mary
September 10, 2023
When you enter the bulk proof phase with the recipe as written, what is the initial volume of the dough prior to proofing? Mine is too rounded to get an accurate measurement so I can approximate the volume when has risen 50%,other visual cues aside…thank you
Rob
October 21, 2022
Why would you “put it in a garbage bag” overnight? Is this code for “proofing basket” or something? I’ve never heard of a garbage bag for proofing.
Thanks
Amanda Paa
October 22, 2022
You want to cover it with something that won’t let it dry out in the fridge. That’s why it works well to slide the banneton into a garbage bag if you don’t have a plastic shopping bag.
Alison
September 1, 2022
I see that you mentioned chia and flax seeds would require soaking because of the moisture they absorb… but wondered if you had ever used hemp seeds? My dough is in the bulk rise phase now and I’m looking forward to the results!
Martha
June 26, 2022
Thanks for sharing. I love seeded breads and made this with a mix of black sesame,sunflower and pumpkin seeds which I toasted on a pan. First time doing it without soaking the seeds and it turned out really well. I added 8g of olive oil together with the salt as I wanted the dough to be a bit softer.
Amanda Paa
June 27, 2022
oh, i’m going to try it with black sesame next!
Florence Wong Jia Yi
May 29, 2021
love this recipe!
Florence Wong Jia Yi
May 29, 2021
Easy and perfect recipe even for beginners!!
Laura
May 27, 2021
What a great recipe!! It‘s absolutely delicious and the instructions are easy to follow even for a beginner. Can‘t wait to bake another one.
Amanda Paa
May 27, 2021
Yay, so glad you liked this seeded sourdough, Laura!
Natalie Davis
April 25, 2021
Delicious! Used heart beet kitchen starter and it turned out beautifully!!!
Amanda Paa
April 25, 2021
yay! your loaf was beautiful, thank you for sharing the picture with me!
Amanda
April 24, 2021
This was a really easy recipe to follow. The instructions are excellently written. On a personal level, I was intimidated by the idea of adding in seeds to my loafs because of the step of soaking, but this recipe created another option for me. Its now one of my regulars that I keep in rotation on a weekly basis.
Amanda Paa
April 24, 2021
so glad you liked the recipe and found it is easy to follow. happy baking!
Vivianne Holland
April 21, 2021
Excellent recipe and love the step by step pictures with instructions and explanations. I love making sourdough bread using greek yogurt (instead of a starter) and wanted to add pumpkin and sunflower seeds. This recipe was perfect!
Amanda Paa
April 22, 2021
So glad you liked the recipe, Vivianne!