Sourdough Bread with Dried Tart Cherries and Seedy Crust
This post may contain affiliate links. Please read my disclosure policy.
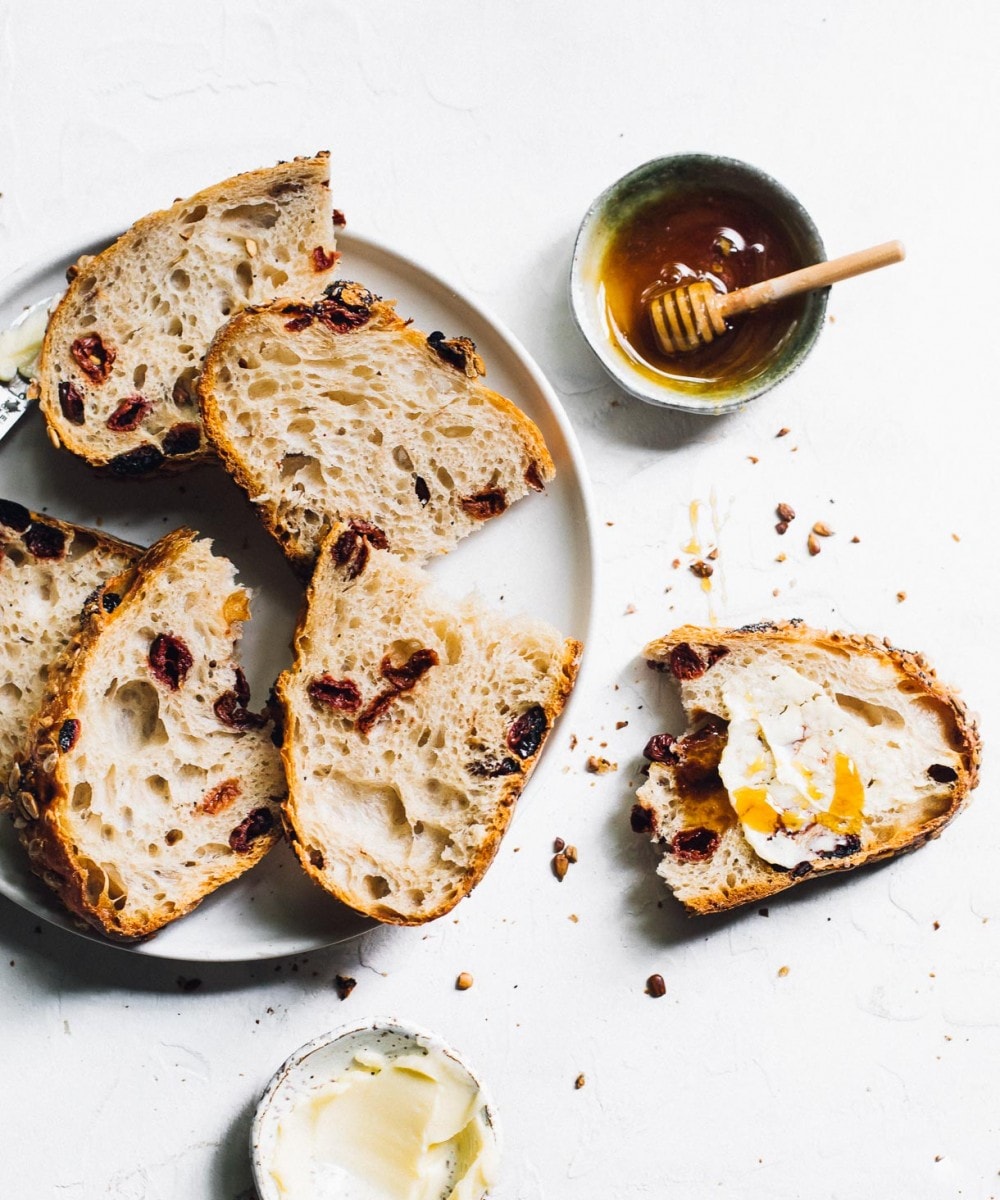
Homemade sourdough bread with a seeded crust and dried tart cherries folded into the dough. The crunchy crust is incredible! Naturally leavened, and made with active sourdough starter. Slather with salted butter and honey to eat.
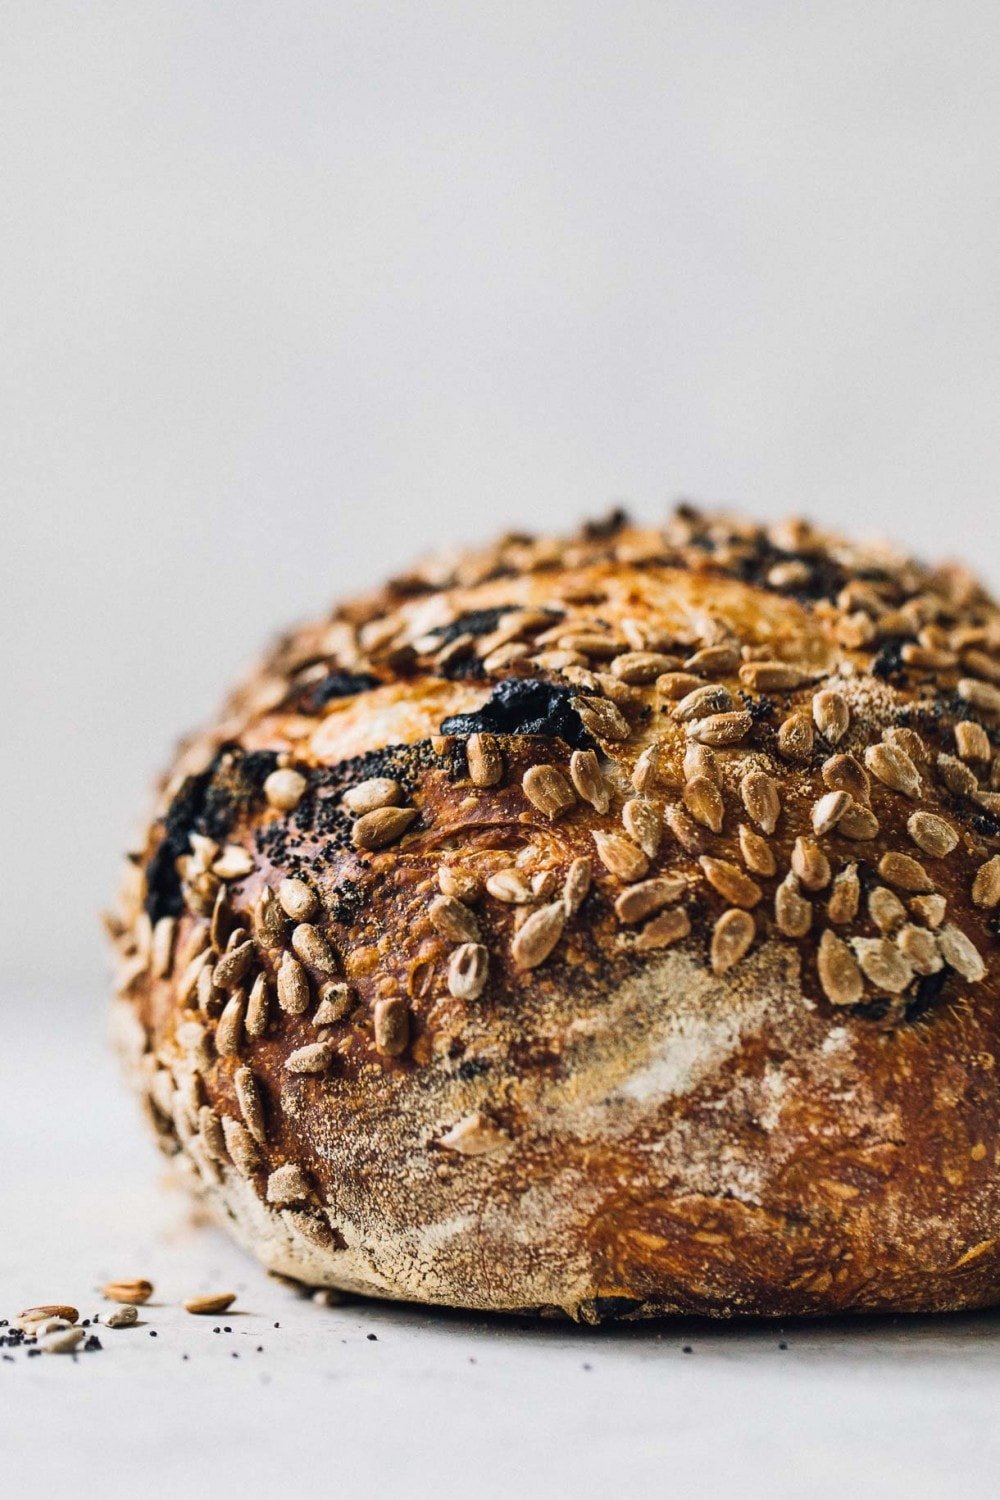
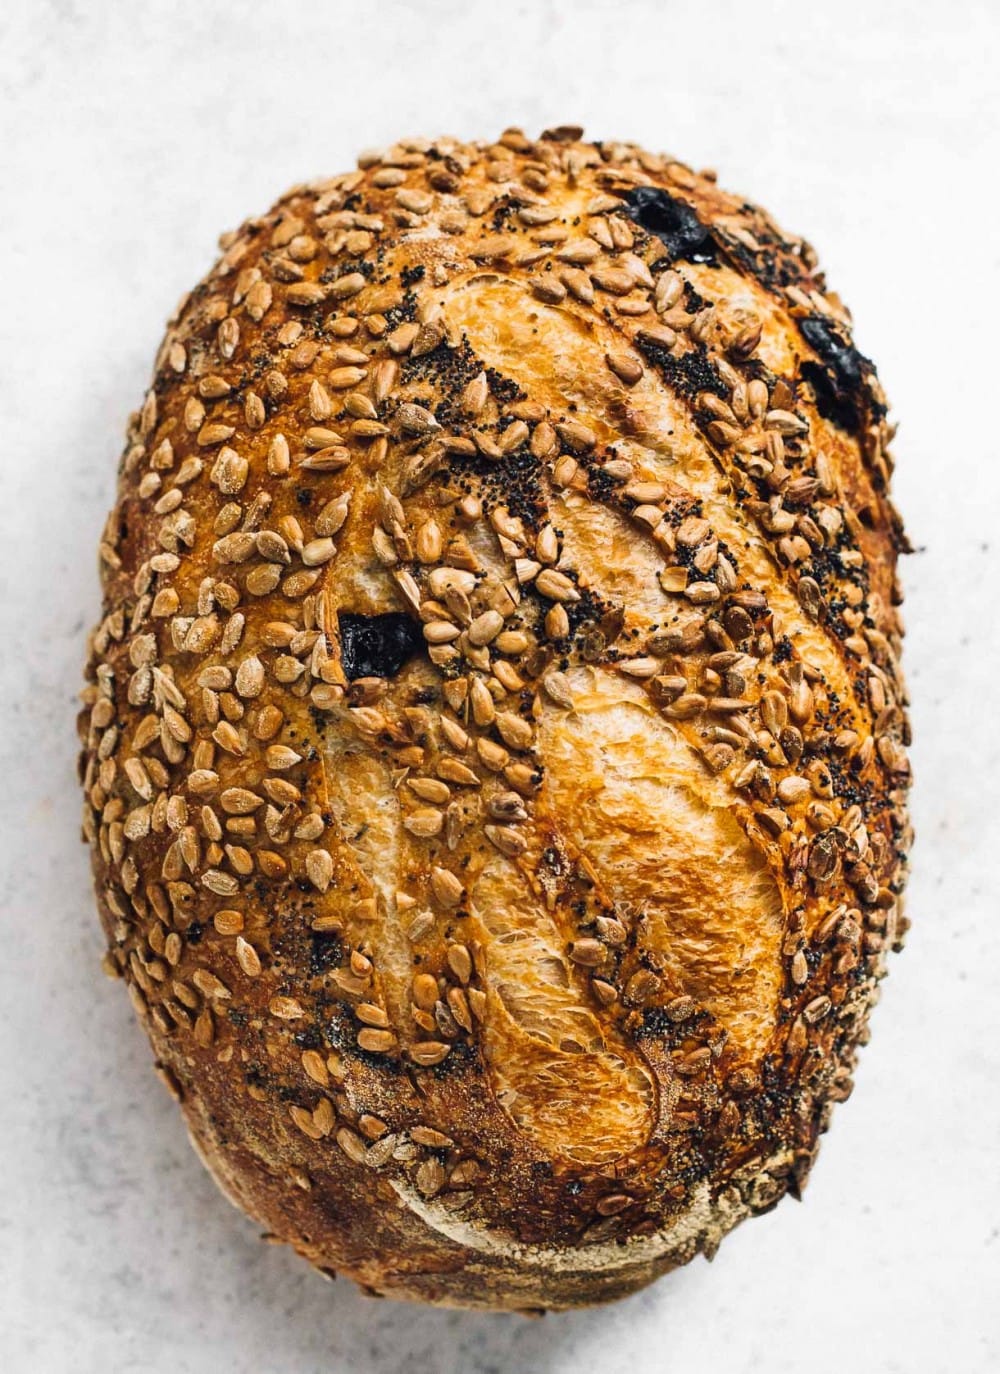
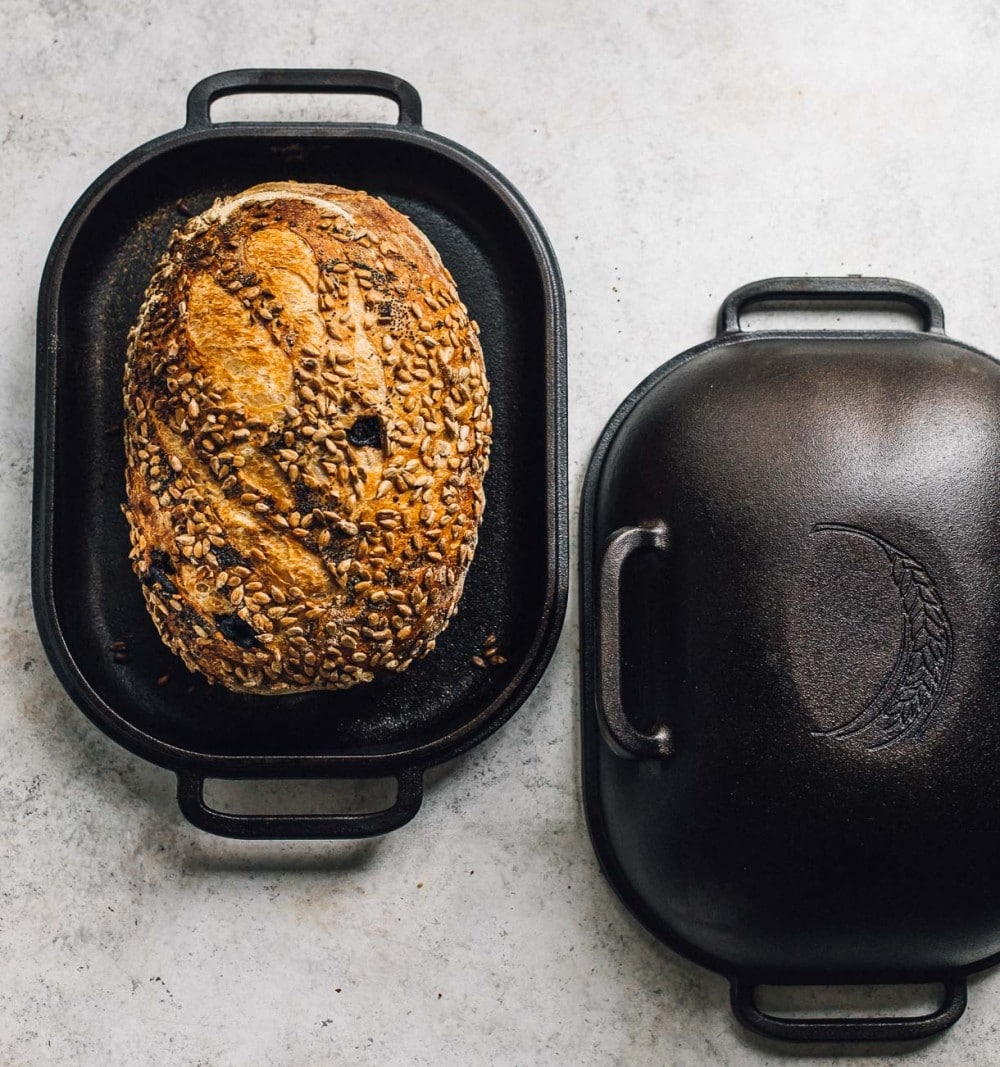
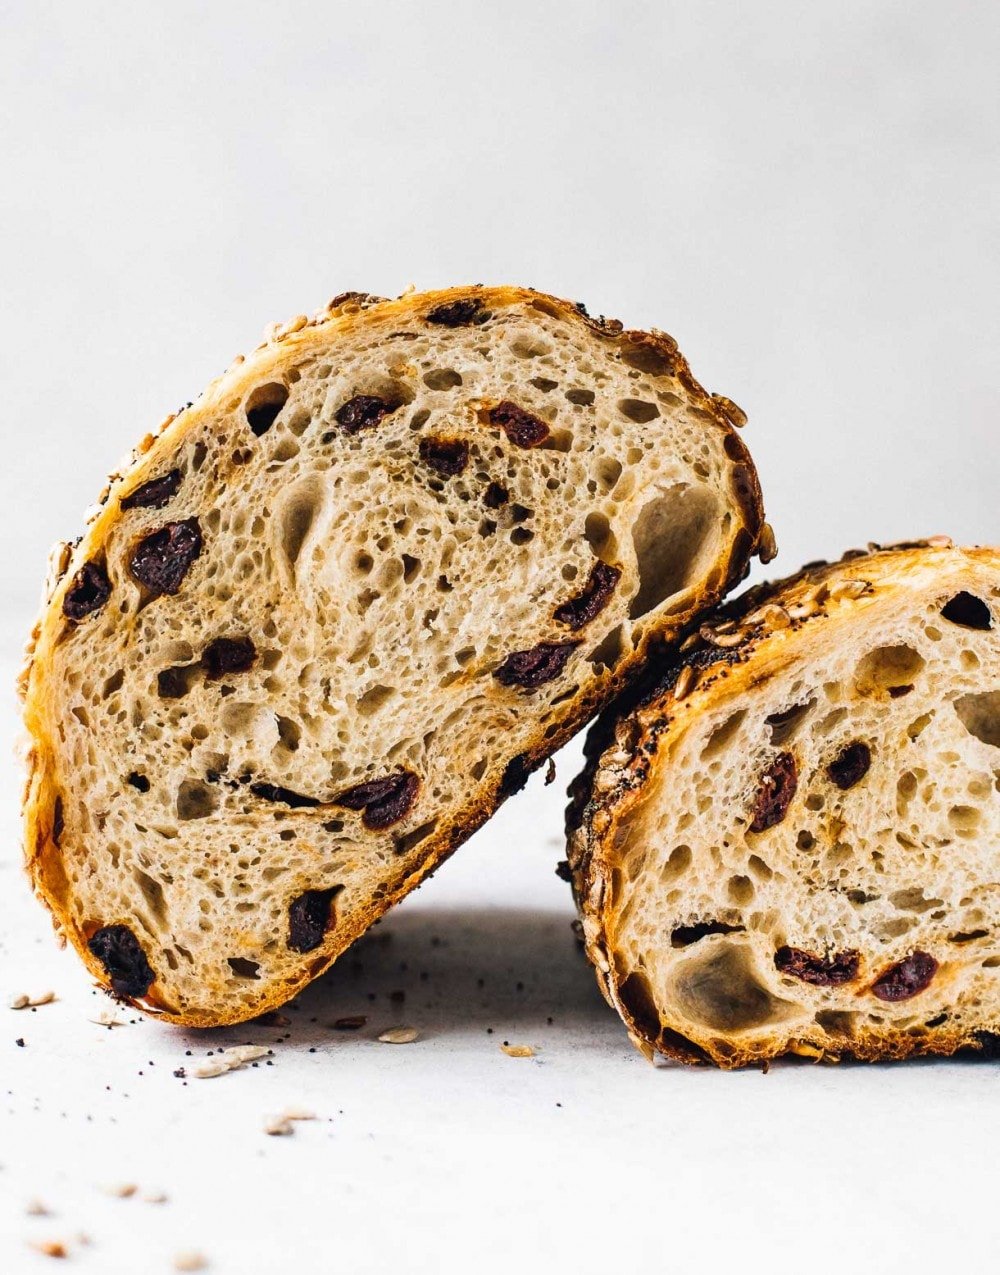
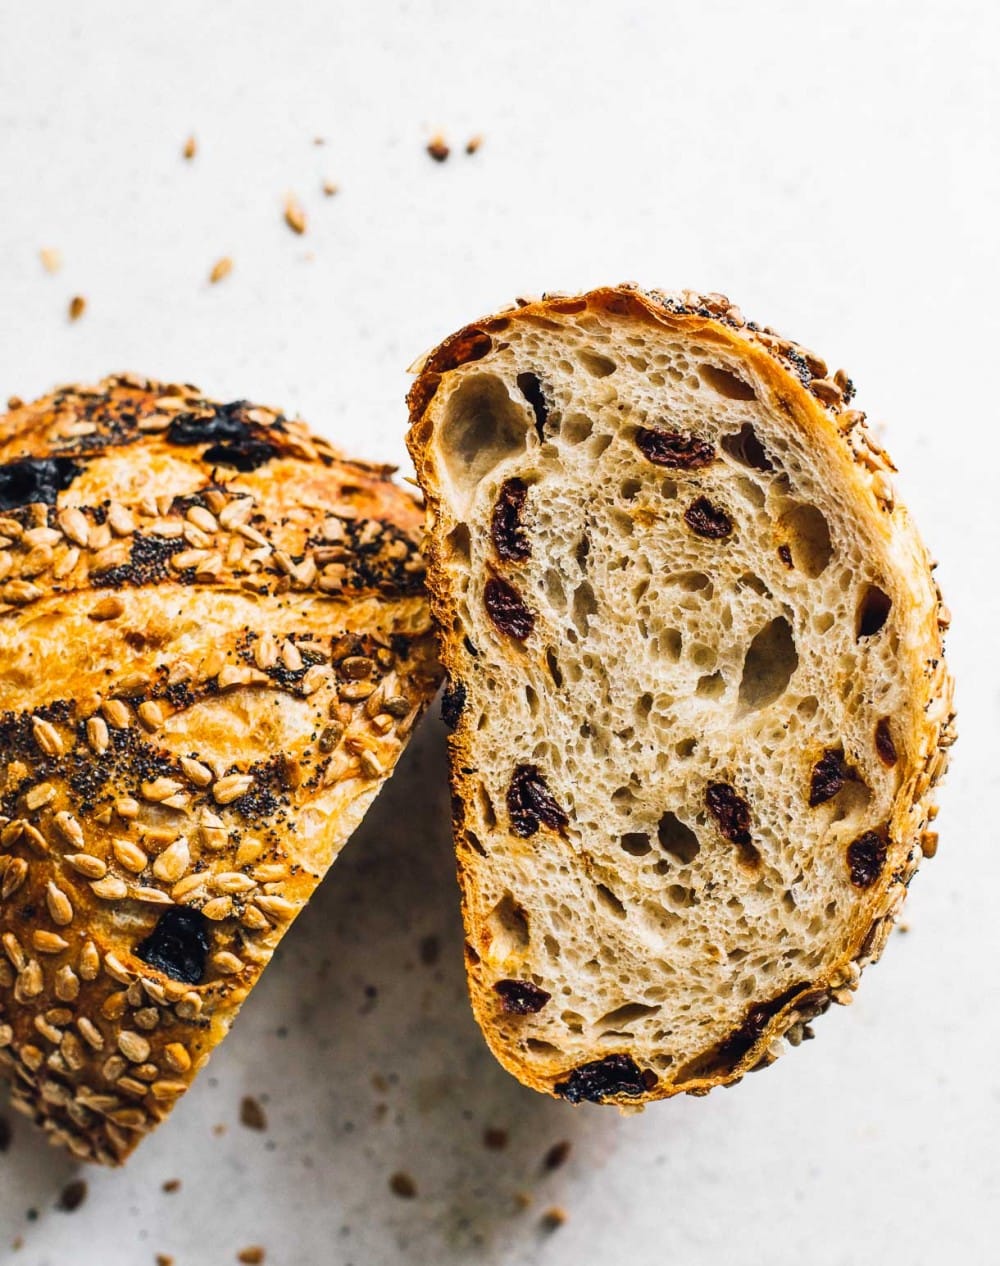
I deviate from my everyday sourdough bread every once in a while. This Tart Cherry Seeded Sourdough is a new favorite in our house (and the neighbors, who were gifted numerous test loaves!). The dark brown, crunchy crust is embellished with seeds, and the fluffy, moist interior has pops of dried Montmorency tart cherries woven throughout.
There are endless combinations of seeds, nuts, and fruits that one can bake into a loaf of bread, but this unique combination of sunflower and poppy seeds paired with ruby red tart cherries makes for true sourdough bliss.
You’ll know exactly what I mean when you try your first slice. The tang of the sourdough meets the sweet-tart bursts of the cherries, and they complement each other astoundingly well. I love slathering it with macadamia nut butter.
Sunflower and poppy seeds are savory without being too bold. And I really love the aesthetic they add, besides a brilliant crunch.
Making a Seed Crusted Sourdough Bread
First, you’ll need active sourdough starter to mix the dough.The process to make this sourdough bread isn’t too much different from regular sourdough bread, except for folding in the dried tart cherries, and rolling the dough in the seeds before the final rise.
Here are some notes to help you with those two steps.
How and when to add dried fruit to sourdough bread:
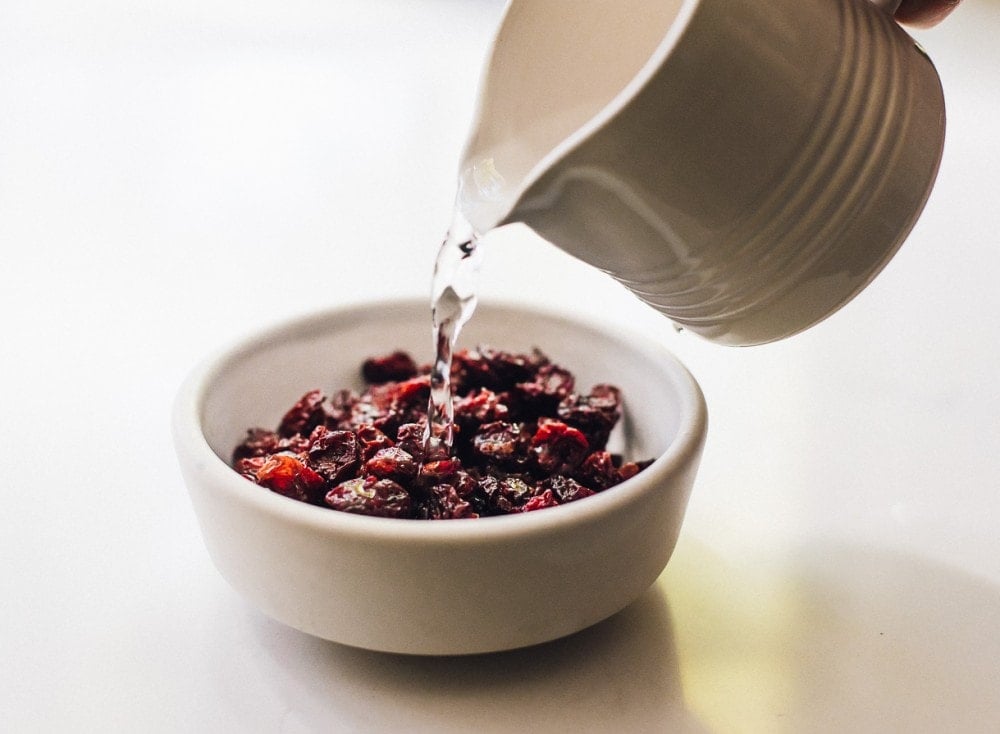
First, you’ll soak the dried tart cherries in hot water for about 10 minutes. Then you’ll drain them, and pat mostly dry with a paper towel. If you add dried fruit to the dough without soaking, they will absorb necessary water that the grains need, resulting in a tougher dough. This will also inhibit fermentation, gluten development and the oven spring later.
Adding the cherries to the dough comes during the 3rd of 4 sets of stretch and folds. If added sooner, you will disturb the gluten development that is built while working the dough.
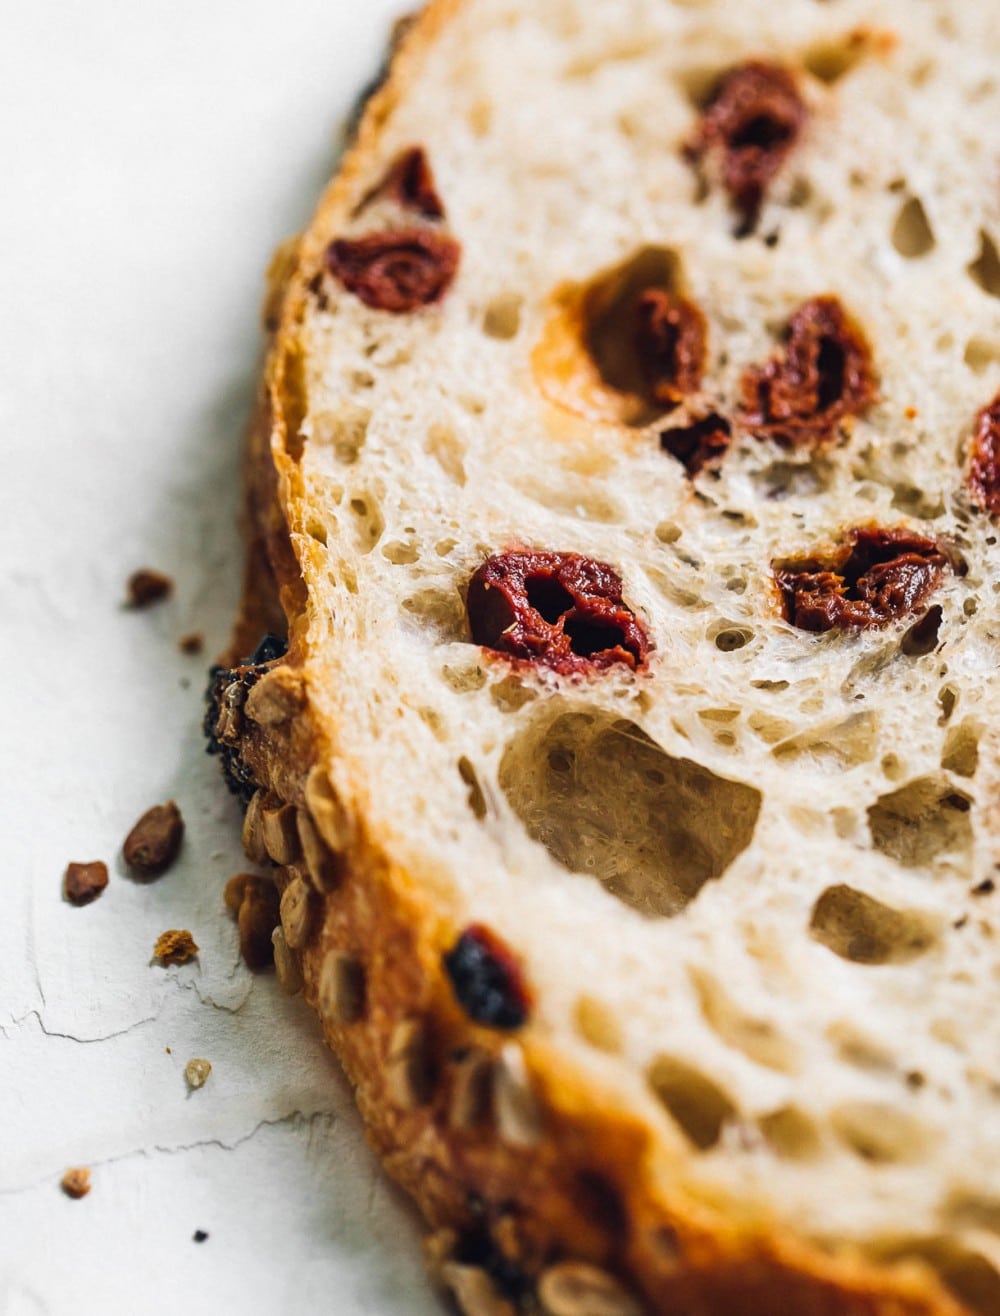
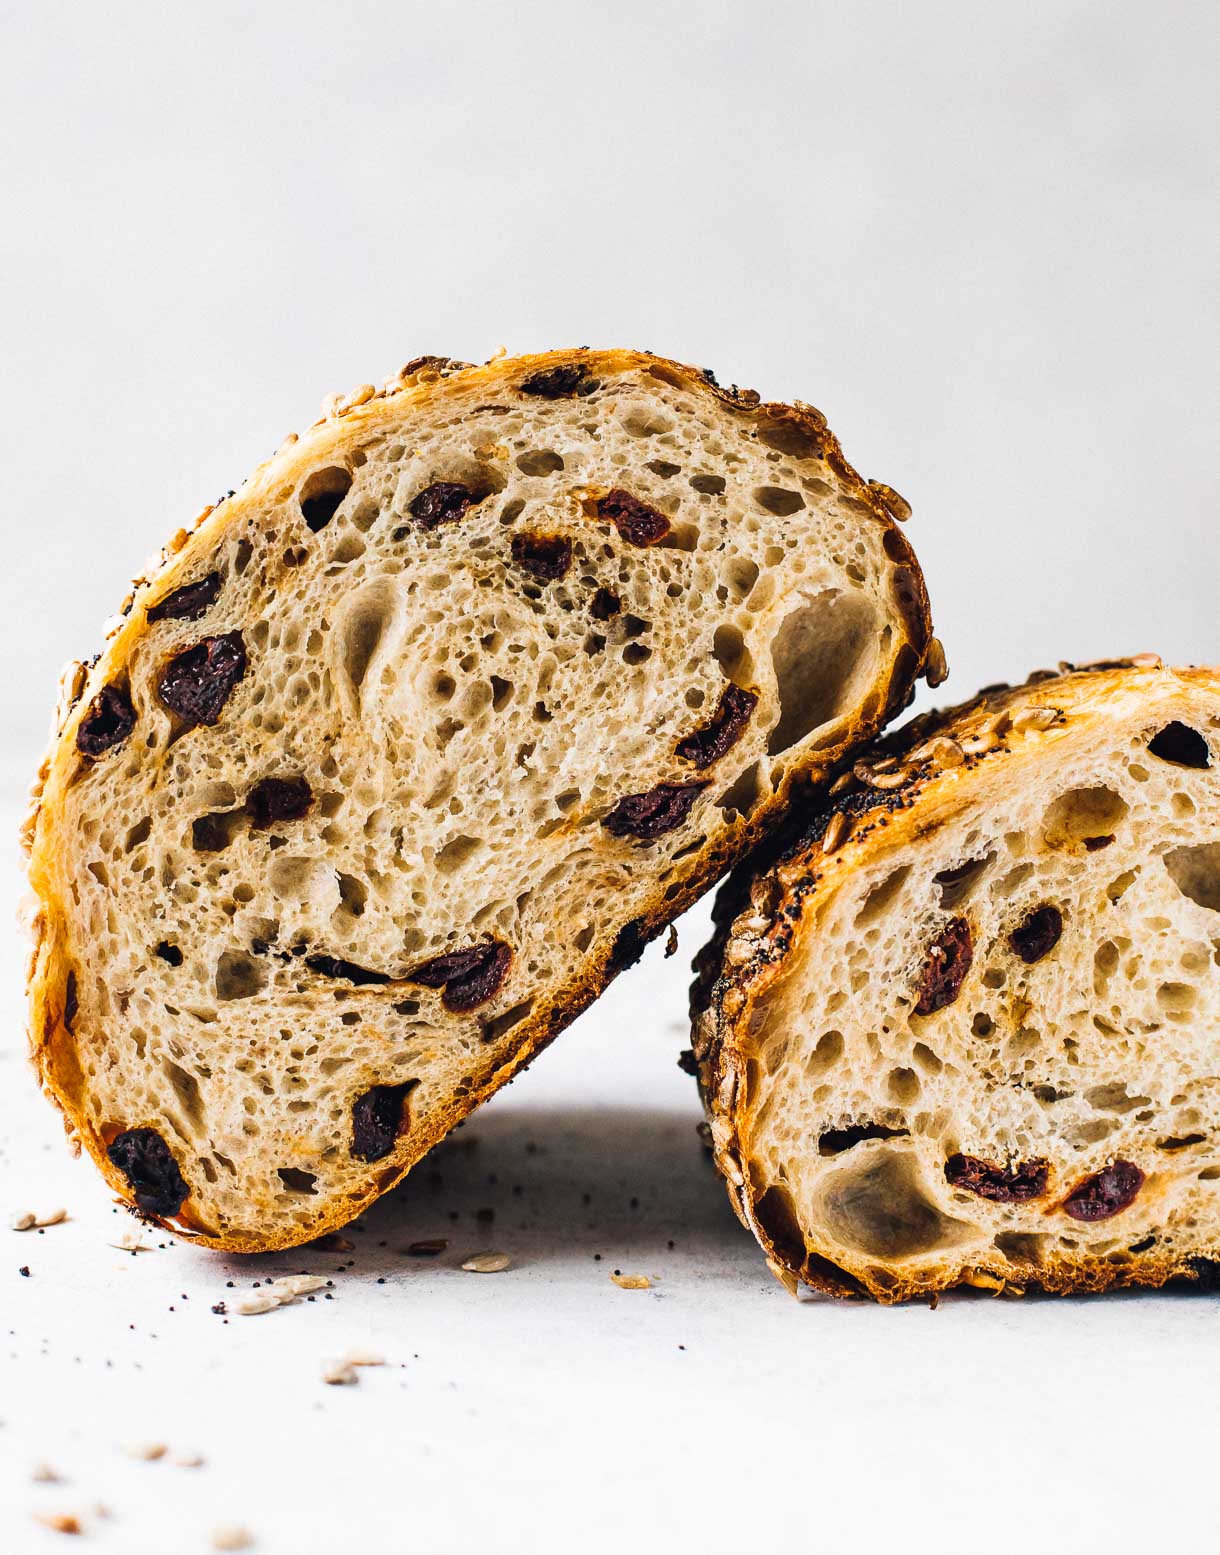
Once the fruit is added, the dough continues its bulk fermentation. Because of the natural sugars occurring in the fruit, I found the dough rose and completed bulk slightly faster than regular sourdough bread. And it produced such a lovely, open hole structure!
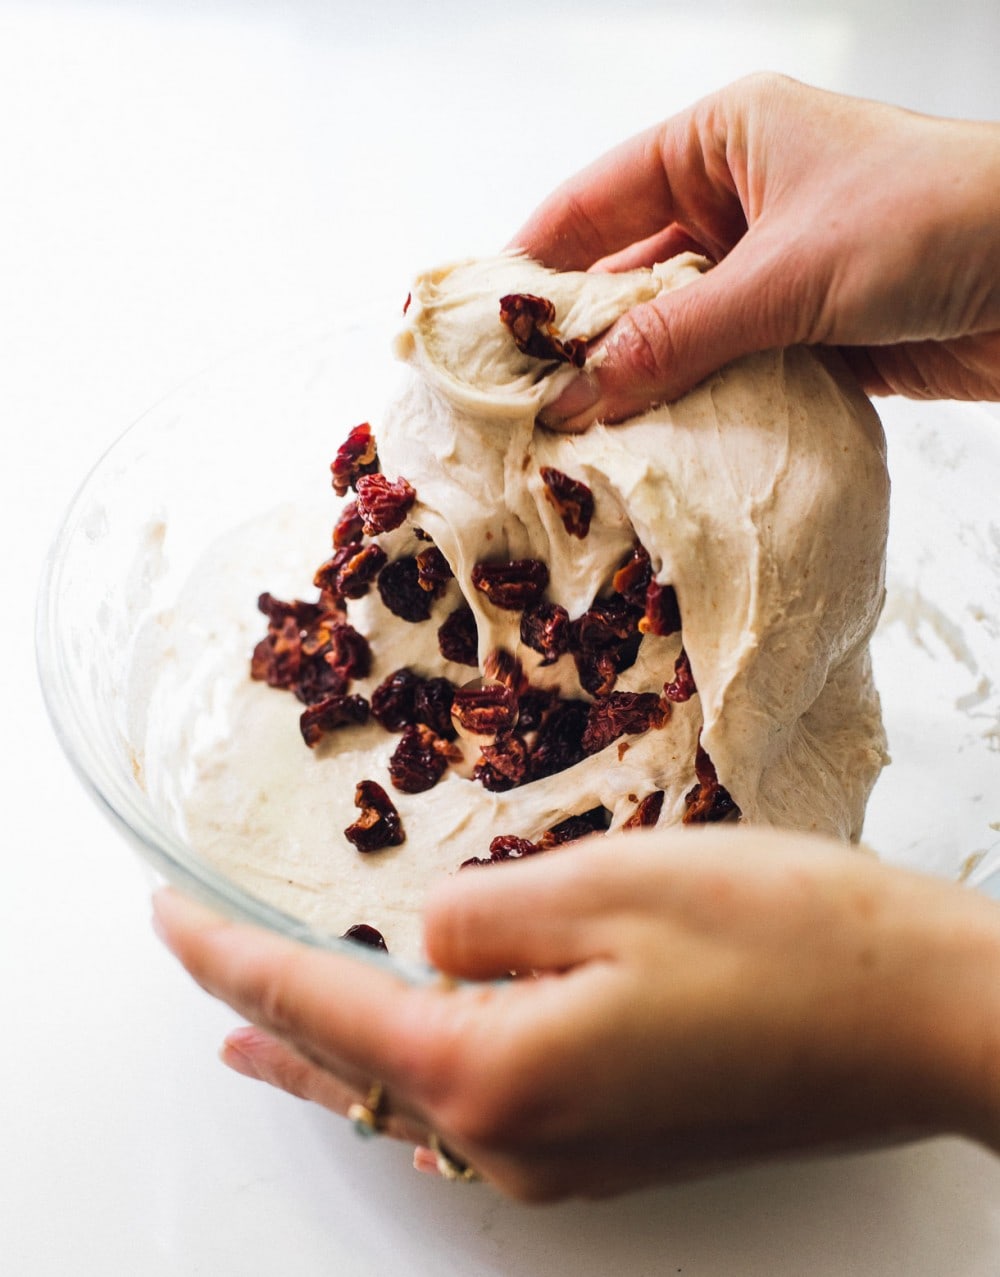
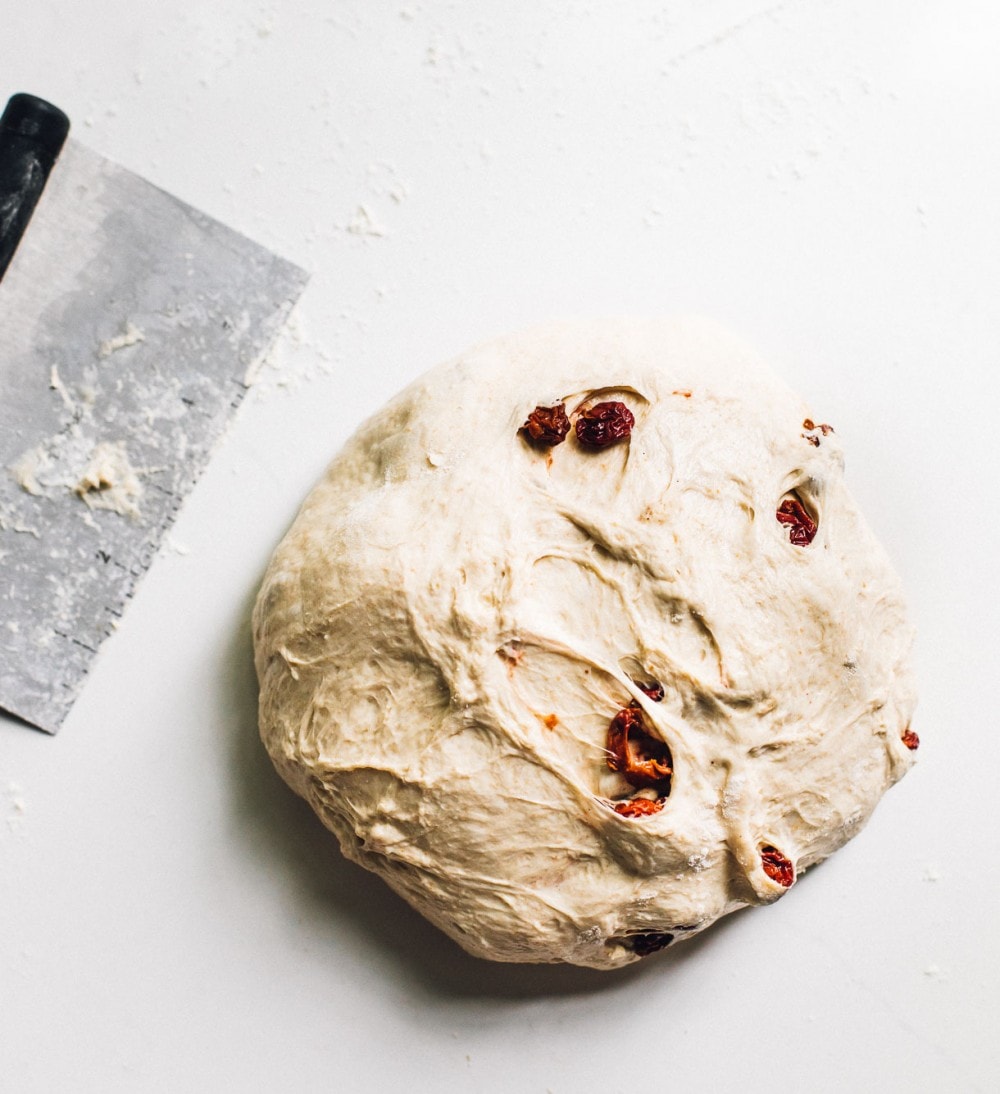
By the end of your bulk fermentation, the dough should look a bit puffy and jiggly with an increase of 50%. Little bubbles around the sides and top all show signs of good fermentation.
Most importantly, because kitchen temperatures and your water temperature may vary, be sure to use the time suggestions in the recipe as such – a SUGGESTION. Let the dough guide your process rather than the clock.
How to add nuts and seeds to the crust of sourdough bread:
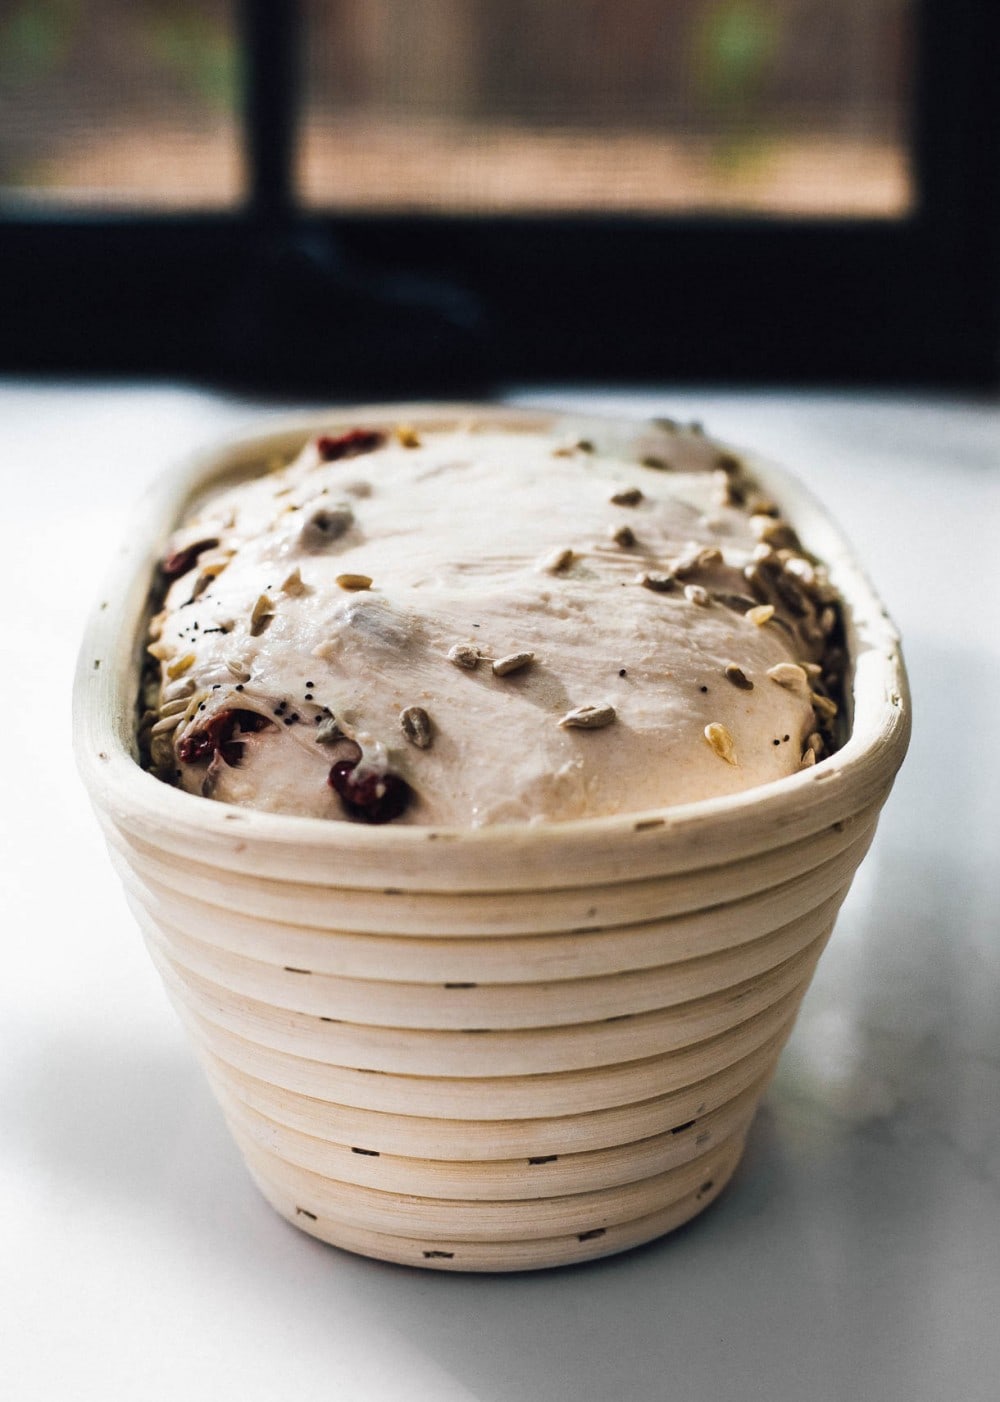
When you’re done shaping the bread, you’ll want to brush the top side with water using a pastry brush. Distribute sunflower seeds and poppy seeds ready on a flat plate. You’ll put the dough top side down, on the plate, then gently roll and adhere the seeds onto the top of the bread. The dough then goes into the banneton for its final rise as usual, seam side up.
The crumb of this loaf:
Is tender and moist, with scattered holes and a beautiful color from the tart cherries. I attribute the combination of bread flour, all-purpose flour, and whole wheat flour for its wonderful texture, which I first used in my Honey Walnut Sourdough Bread recipe.
The crust:
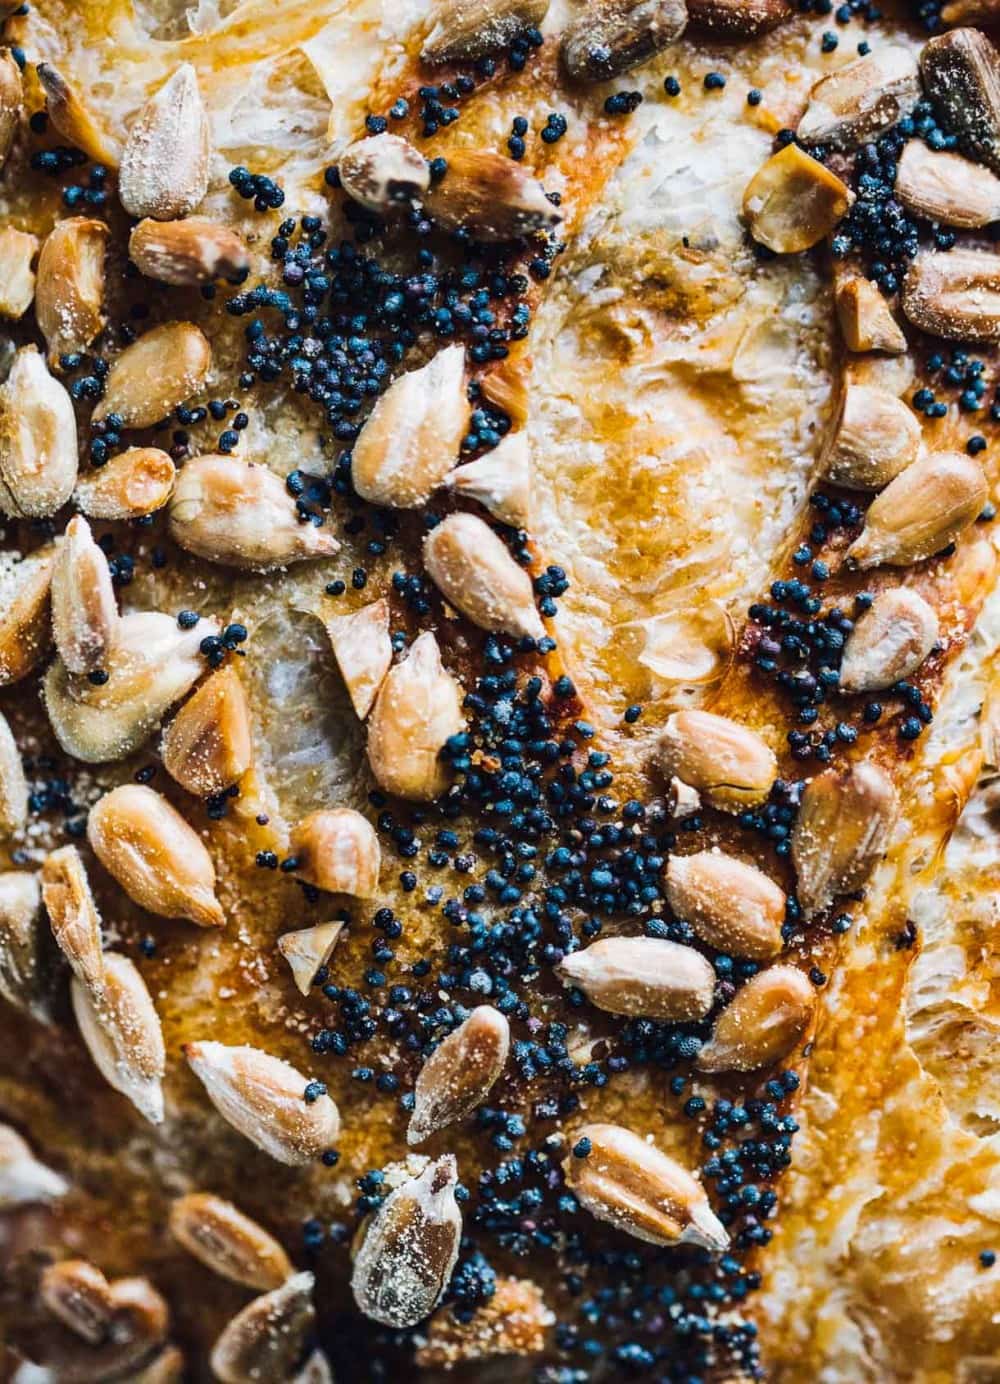
This is the thinnest, most brittle crust I’ve ever baked! The knife just slides right through it, with crumbs scattering from its crispness. Obsessed.
Baking Sourdough in a Challenger Bread Pan
I’m newly in love with the Challenger Bread Pan, which has a unique shape that allows you to bake any shape of bread in it! Bâtards, boules, demi-baguettes, and other loaves of almost any size. Because of how it’s made, the perfect amount of steam is created inside the pan.
I’ve never had better oven spring or thinner crusts. This pan is magical. If you love baking sourdough, it is 100% worth having in your kitchen. You can learn more and purchase here.
More Sourdough Recipes:
SCALE:
Ingredients
- 55 grams active sourdough starter at its peak
- 370 grams slightly warmer than room temperature water
- 15 grams honey
- 360 grams bread flour
- 90 grams unbleached all-purpose flour
- 50 grams whole-wheat flour
- 9 grams fine sea salt
- 90 grams dried Montmorency tart cherries
- 1/2 cup raw sunflower seeds
- 3 tablespoons poppy seeds
Instructions
- In a large bowl, mix starter, water, and honey with a fork, until starter is dispersed. Add flours, mixing with a spatula first. Then mix with your hand until a shaggy dough is formed, just enough so that flour is not visible. Sprinkle salt on top.
- Autolyse: Cover with a damp cloth and let sit for 45 minutes.
- Then perform your first set of stretch and folds, working in the salt. Wait 30 minutes, do another set. Wait 30 minutes, and add the Montmorency tart cherries. Wait 30 minutes, complete your final set, your 4th set, of stretch and folds.
- After those stretch and folds are completed over a 2 hour time frame, you will let the dough finish its bulk ferment. This means letting the dough rise on the counter for around 4-5 hours if your house is at 72 degrees. It will take more time if it is cooler, or less time if it warmer.
- By the end of your bulk fermentation, the dough should look puffy and jiggly, and doubled. Little bubbles around the sides and top all show signs of good fermentation.
- Turn the dough out onto a lightly floured surface. Let the dough rest there for 10-15 minutes.
- Then, shape the dough. You can watch THIS VIDEO to learn how to shape.
- Have your seeds ready on a flat plate. Brush the top and sides of your dough with water. Gently put the top side of dough down onto the seeds, and roll back and forth to adhere seeds.
- Once shaped, use a bench scraper to put the dough into a flour dusted banneton, seam side of the dough facing up. (In other words, the seeded top with be on the bottom of the banneton).
- Cover with a damp cloth, and let rise for a final time, on the counter. This will take about 1 1/2 to 2 hours, if your house is around 70 degrees. OR you can put the banneton inside a plastic shopping bag, and let the final rise happen overnight. The dough can be in the refrigerator for 10ish hours at this stage.
- Once your dough has gone through its final rise and has risen slightly and is puffy on top, preheat your oven and dutch oven to 500 degrees F. You can test to see if your dough is ready by doing gently pressing a floured thumb into the dough.
- Wait until oven is preheated, then place parchment over the top of your dough and flip over, so that the seam side is now on the parchment paper and you are able to score the top of the dough.
- Score the dough with a bread lame, making sure to go at least 1/2 inch deep in a few spots so that dough can release gases. Otherwise your bread will not rise.
- Place dough on the parchment paper, into a dutch oven, and put cover on it. Turn oven down to 450 degrees F. Bake for 20 minutes, covered at 450 degrees F.
- Then remove cover, turn oven down to 430 degrees F, and bake for 25 more minutes, until bread is golden brown and crackly.
- Remove from oven and place load on a cooling rack. Let cool for AT LEAST ONE HOUR before slicing. Otherwise the crumb will be squished and the texture will be gummy.
Notes
Did you make this?
tag @heartbeetkitchen on instagram and hashtag it #heartbeetkitchen


Olivia Kim
January 15, 2024
I just made this two hours ago and tasted a piece – it’s so good! My husband loves it too. I used sweetened cherries and added pistachios, opting not to include any seeds. Next time, I’ll follow the recipe exactly as it is. I’ve also tried your rye sourdough and honey walnut sourdough recipes, and they’re both amazing! Thank you so much for sharing your recipes :)
Amanda Paa
January 15, 2024
That sounds amazing with the pistachios!
Leah
December 1, 2023
Made this with some variations about 15 times now. Each time it’s an amazing bread that we get to eat! I omit seeds, and add dried apricot, raisins. Sooo delicious. Perfect water/flour ratio. Thank you
Amanda Paa
December 1, 2023
oh, the dried apricot version sounds amazing! thank you for making the recipe!
Stephanie
November 15, 2023
I’m so excited to make this! I’ve recently been experimenting with sourdough starters and bread recipes. I only have a question right now – what is your typical timeline? Do you start in the morning making the bread and finish by baking in the afternoon, or do you start in the evening like some recipes call for? Thank you!
Amanda Paa
November 15, 2023
Hi Stephanie! I typically feed my starter in the morning, mix the dough between 1 and 2, bulk ferment on the counter during the day and shape at night when the dough has finished bulk fermenting. Then I refrigerate it overnight and bake any time the next day!
Phyllis Kugler
March 9, 2023
OMG! Just made the sourdough bread with dried cherries! I can’t stop eating it!!(Which is why I was afraid to start making bread) Love you and your recipes. Have spent a huge amount of time reading many blogs about bread making. Yours is smart and caring. TU!! Phyllis
Amanda Paa
March 10, 2023
I’m so glad you like this recipe, Phyllis! And thank you for the kind words.
Rebecca
January 6, 2023
This is just plain delicious!! I bake sourdough bread all the time and my husband says this is my best loaf to date! Wonderful
Amanda Paa
January 6, 2023
So glad to hear that, Rebecca! I love this loaf too, the crunch on the outside with the soft crumb and flavor from the dried cherries.
Susan
November 21, 2020
LOVE this bread! It’s a ‘special’ bread to eat, share and make. I get so much joy making this bread and everyone is over the moon eating the cherries!
I’ve already gone through 4 bags of the montmercy cherries, and have ordered another 4. Awesome recipe-thanks for sharing.
Amanda Pizarek
October 9, 2020
You are right about the brittle crust on this bread – I’ve been baking various sourdough recipes for 3 years and this is the most crackly, thin, perfectly crisp crust I’ve ever gotten. Thank you for sharing this recipe!
Amanda Paa
October 9, 2020
So wonderful to hear that you loved this bread too! Reminds me to make it again, soon. :)