Chewy Gluten-Free Andes Mint Cookies
This post may contain affiliate links. Please read my disclosure policy.
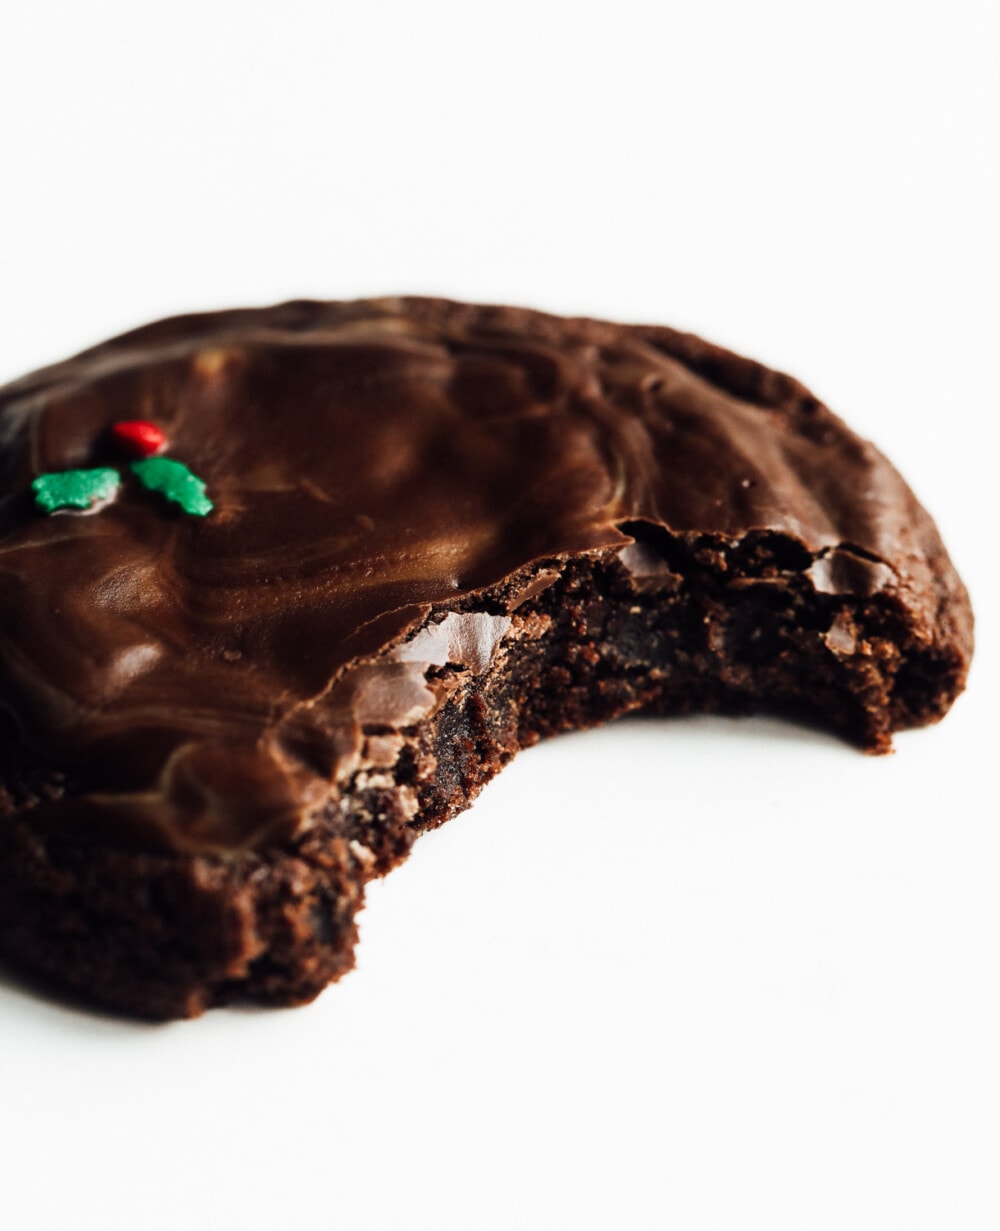
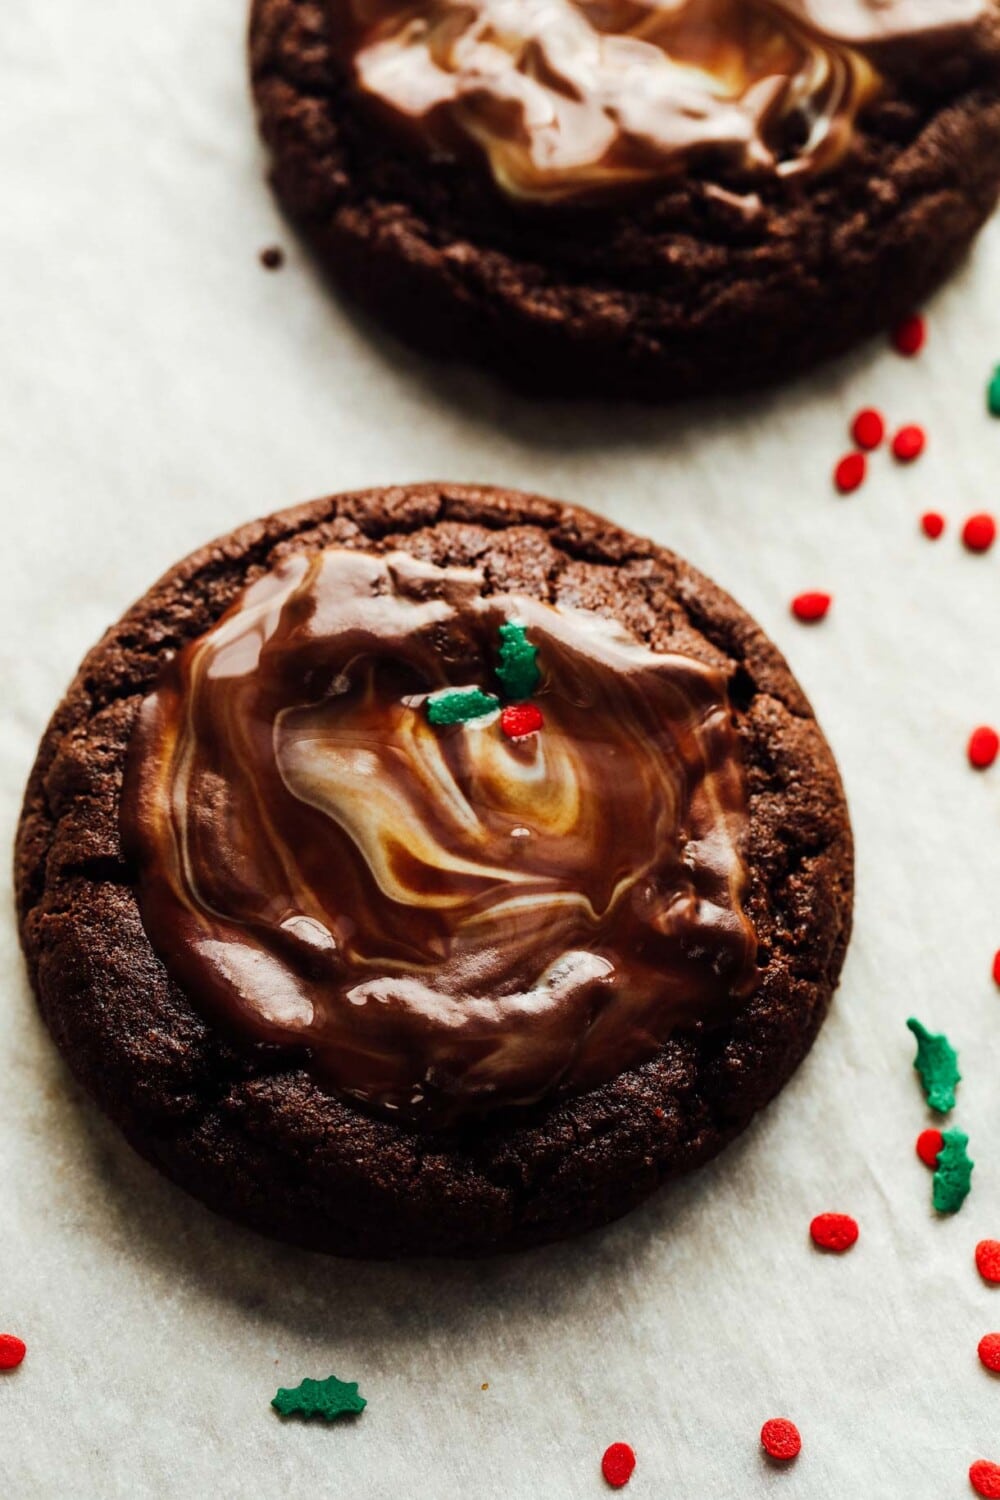
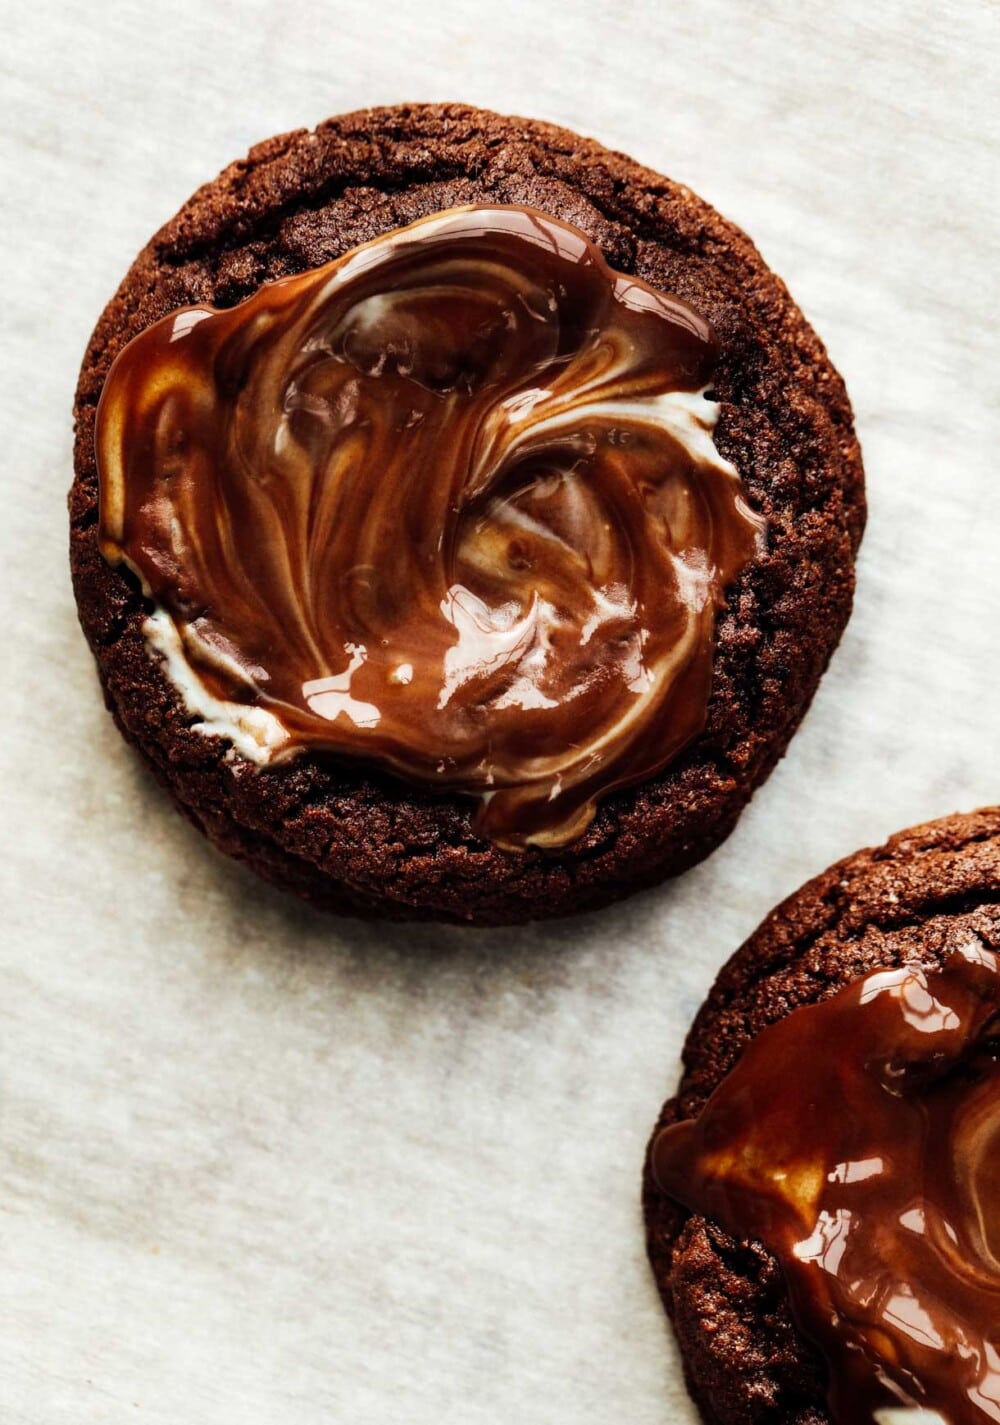
For as long as I can remember, my Mom has made Andes Mint Chocolate Cookies for the holidays. My job was always to swirl the mint candy on top after it had melted, a built-in icing that has just the right amount of peppermint to give them a cool and delicious flavor.
This year I worked on and ideal gluten-free version of Andes Mint Cookies to go with the other gluten-free Christmas cookies I make, and am excited to share it with you. This recipe is adapted from Two Peas & Their Pod.
I really wanted the chocolate cookie base to be rich and chewy (the traditional version can lean a little cakey and mild), while being sturdy enough to hold the melted mints (similar to how gluten-free peanut butter blossoms cradle the chocolate). I also wanted them to be easy to make with no chilling of the dough necessary, so that even beginner bakers can make these with success.
These Gluten-Free Andes Mint Cookies are every bit of fudgy, chocolate bliss, combined with the cool and creamy peppermint nostalgia of Andes Mints candies. They are not cakey or dry, and stay moist and chewy for days because of a higher proportion of brown sugar.
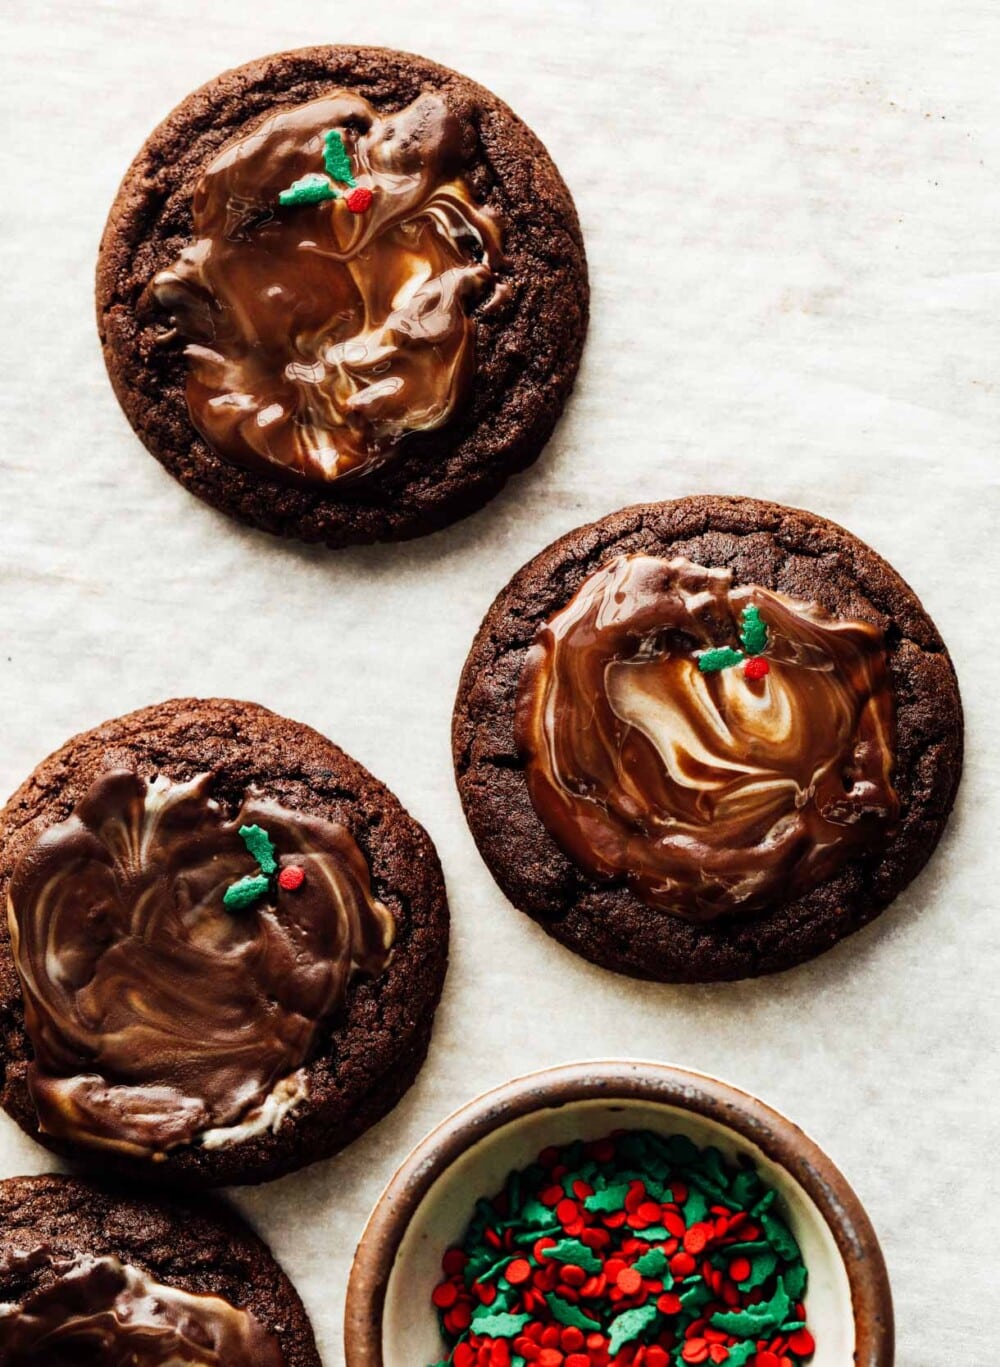
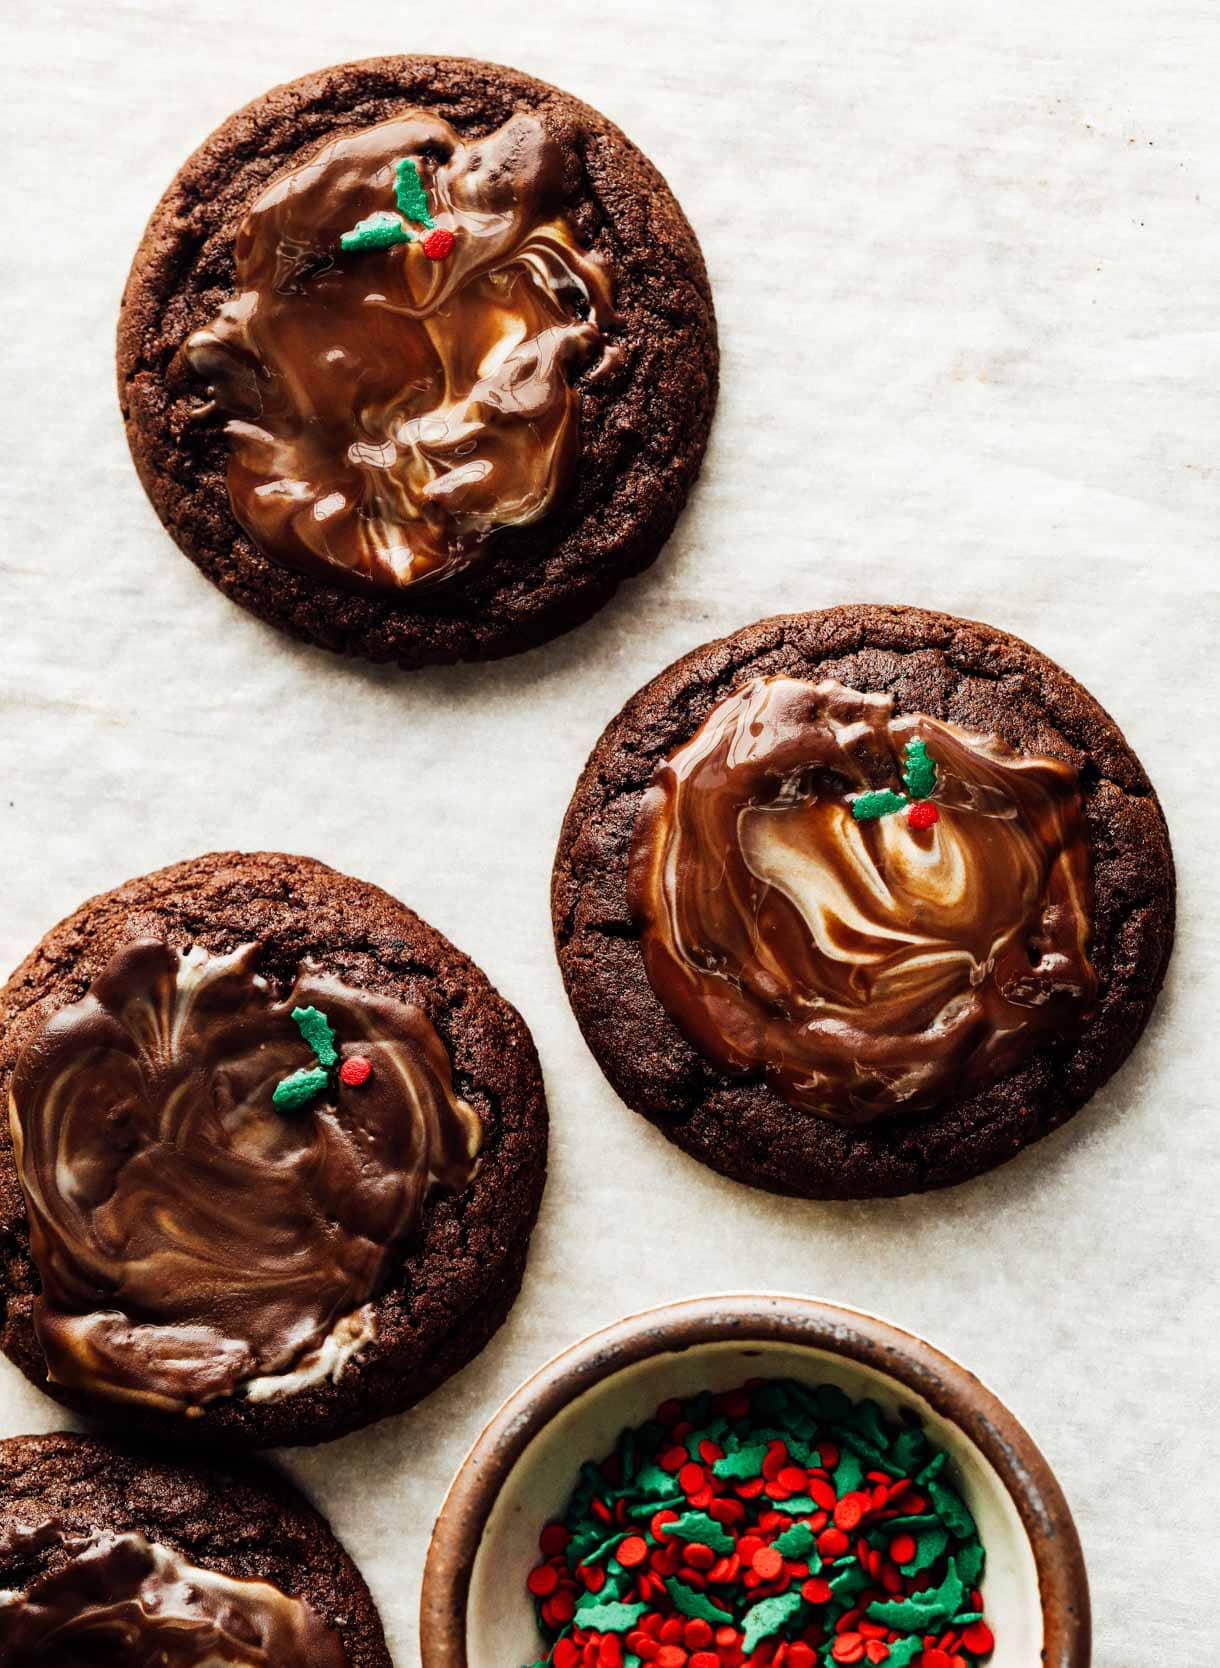
The chocolate peppermint candies melt perfectly, allowing you to swirl them and create a beautiful top that can be left plain or adorned with holly sprinkles. Each bite is a dream; where the very chocolatey, chewy center meets the ganache-like melted mint.
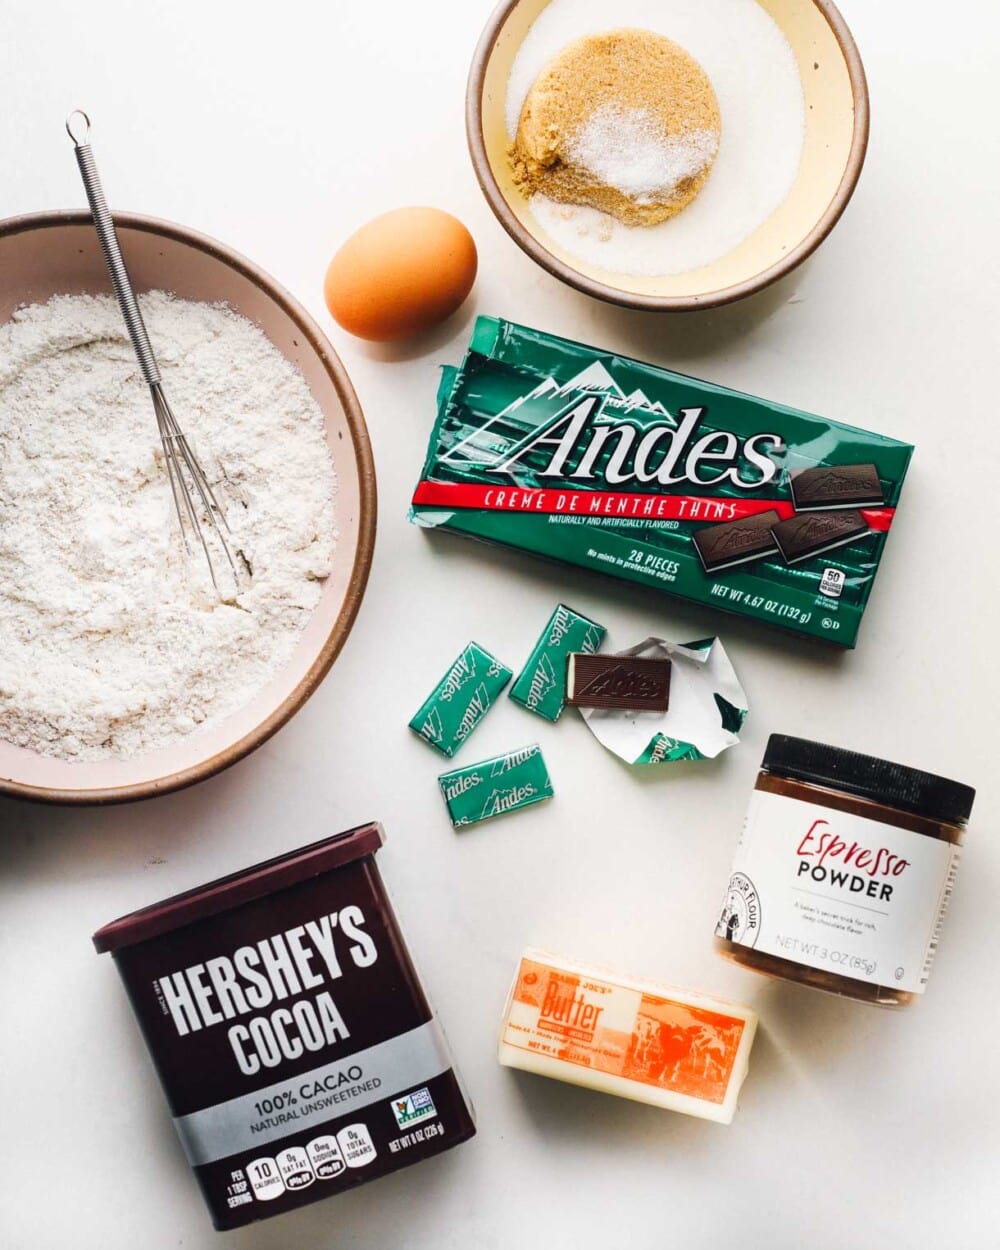
Ingredients for Gluten-Free Andes Mint Cookies:
- Bob’s Red Mill Gluten-Free 1-1 Flour (in the blue bag)
- Oat flour
- Granulated and brown sugars
- Butter
- Egg
- Natural unsweetened cocoa powder
- Vanilla extract
- Espresso powder (optional but adds so much depth to the chocolate flavor)
- Andes Mints
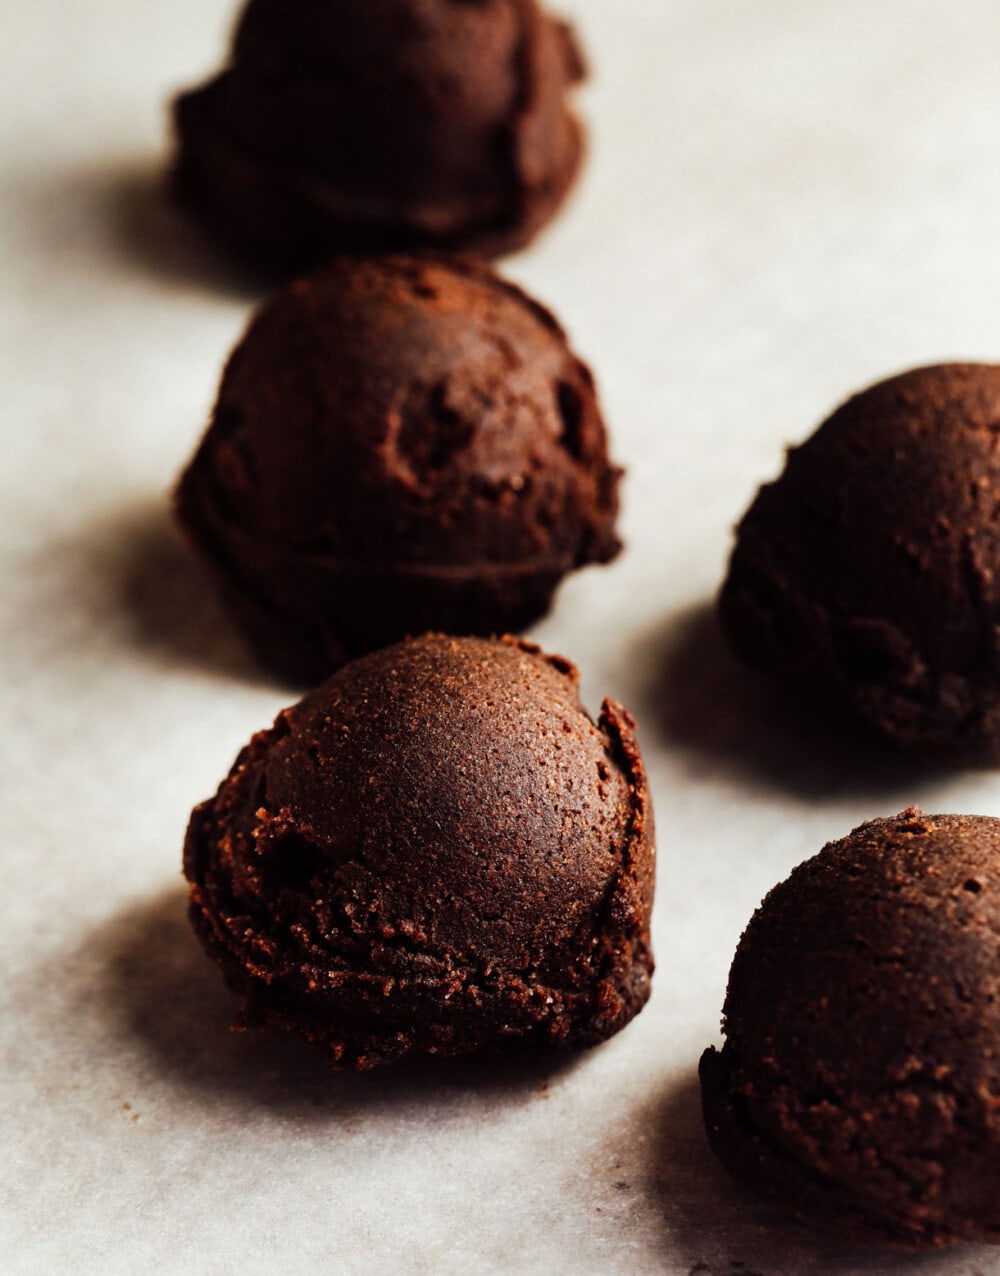
How to Make Gluten-Free Andes Mint Chocolate Cookies:
- In a bowl, whisk together flours, baking soda, salt, espresso powder, and cocoa powder.
- In the bowl of a stand mixer with paddle attachment, beat butter for one minute on medium speed. Scrape down sides and add sugar, beat for two minutes to properly cream the butter and sugar.
- Add egg and vanilla, mix until mostly combined, then add dry mixture and mix for 1 minute, until combined and no dry streaks of flour are left.
- Preheat oven to 350 degrees F. The dough will rest on counter during this time, covered. When oven is preheated, scoop 40 gram dough balls onto parchment lined baking sheet. Bake for 10 to 11 minutes, until tops are set. Do not overbake.
- Remove from oven and lightly press andes mint into the center of each cookie. Wait about two minutes and it will be melted, swirl chocolate at this point. Let fully cool. Enjoy!
Does this dough need to be chilled?
Nope, you can bake these straight away after mixing the dough up! To note, I had extra dough that I refrigerated overnight and baked the next day, and the chocolate flavor was even deeper and richer. So that may be something you try out. But they turn out amazing and delicious when baked right after mixing, too!

Importance of using weight (grams) for gluten-free baking:
Measuring your ingredients by using an inexpensive digital scale instead of using cups to measure is the most accurate way to bake. The reason being that not all ingredients weigh the same amount. A scale ensures you have the same results as the recipe developer intended.
And because gluten free flours are particularly fine and powdery, measuring a cup of a gluten free flour by volume can vary WIDELY. Precise measurements are incredibly valuable when baking, which comes down to a lot of science and chemical reactions.
More Gluten-Free Cookie Recipes:
- Chewy Gluten-Free Chocolate Chip Cookies (no mixer!)
- Gluten-Free Cut-Out Sugar Cookies
- Red Velvet Crinkle Cookies

Best Gluten-Free Andes Mint Cookies (no chilling!)
SCALE:
Ingredients
- 110 grams Bob’s Red Mill Gluten-Free 1-1 Flour in blue bag
- 20 grams oat flour
- 1/2 teaspoon baking soda
- 1/4 teaspoon fine salt
- 1/2 teaspoon espresso powder
- 30 grams (1/3 cup) unsweetened natural cocoa powder
- 85 grams (6 tablespoons) softened, unsalted butter
- 100 grams (1/2 cup) light brown sugar
- 50 grams (1/4 cup) granulated sugar
- 1 large egg, room temperature
- 1 teaspoon pure vanilla extract
- 12 Andes Mint candies
- Holly sprinkles
Equipment
Instructions
- In a bowl, whisk together flours, baking soda, salt, espresso powder, and cocoa powder.
- In the bowl of a stand mixer with paddle attachment, beat butter for one minute on medium speed (speed 4 of Kitchenaid). Scrape down sides and add sugar, beat for two minutes to properly cream the butter and sugar, until light and fluffy. Periodically stop the mixer and scrape down sides.
- Add egg and vanilla, mix until mostly combined, then add dry mixture and mix for 1 minute, until combined and no dry streaks of flour are left.
- Preheat oven to 350 degrees F. The dough will rest on counter during this time, covered.* When oven is preheated, scoop 40 gram dough balls onto parchment lined baking sheet. Bake for 10 to 11 minutes, until tops are set. Do not overbake. Remove from oven and bang pan once on the countertop (or oven top), which will flatten the tops of the cookies slightly and give a little ripple to the edges.
- Lightly press an andes mint into the center of each cookie. Wait about two minutes and it will be melted, swirl chocolate at this point. Let fully cool. Enjoy!
- Cookies can be stored in covered container on counter for 4 to 5 days. You can also freeze the dough and bake anytime within 3 weeks.
Notes
Did you make this?
tag @heartbeetkitchen on instagram and hashtag it #heartbeetkitchen



Stephanie
March 12, 2024
Love anything mint and chocolate so had to try these and they lived up to this description. “They are not cakey or dry, and stay moist and chewy for days because of a higher proportion of brown sugar.” Though we wouldn’t know if they stay moist for days because they didn’t last that long. :) Will definitely put them in my rotation for gluten free partakers or not.
Amanda Paa
March 12, 2024
Yay, so great to hear you enjoyed them! Thanks for making the recipe and your kind notes.
Mary Ann
December 14, 2023
I don’t need gf so I don’t have any gf flour or oat flour on hand. Any chance you’d be able to share the non-gf recipe? These look delicious! Thanks!
Amanda Paa
December 14, 2023
You can use straight all-purpose flour for both, just reduce the total flour by 10 grams!
Emily
December 10, 2023
These are so fantastic! Loved them
Amanda Paa
December 11, 2023
Yay, so glad you liked them! Thank you for making the recipe!