
Chewy Gluten-Free Chocolate Chip Cookies (no mixer!)
By Amanda Paa – Updated February 14, 2026
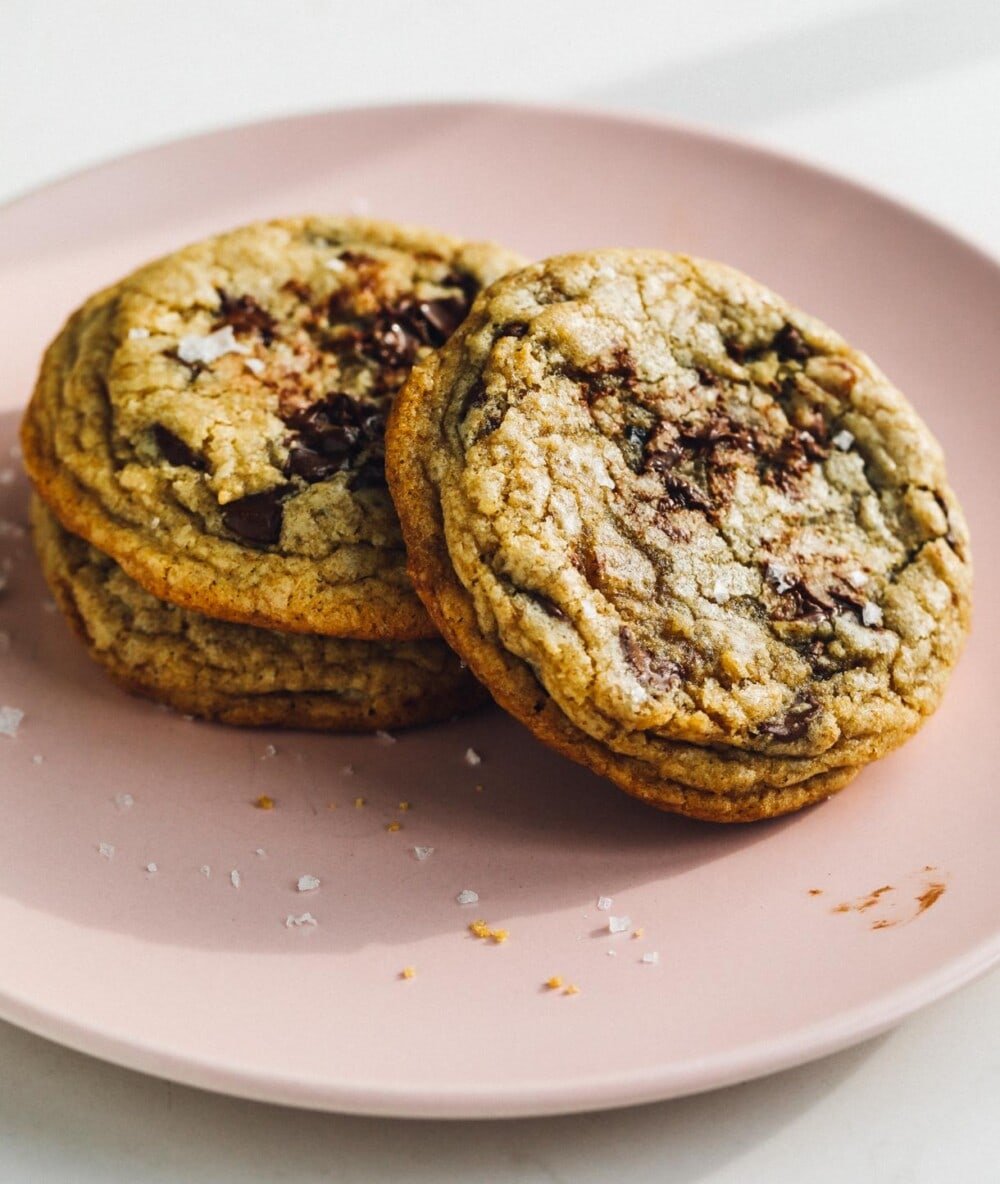
These chewy gluten free chocolate chip cookies have perfect buttery edges and a gooey center. Easy to make with melted butter, no stand mixer needed! The dough is infused with vanilla and lots of semi-sweet chocolate chips. This is a gluten-free chocolate chip cookie that is beginner friendly and absolutely delicious.
Jump to Recipe
This post may contain affiliate links. Please read my disclosure policy.

Plenty of really good gluten-free chocolate chip cookies have come out of my oven before, ones that nobody can guess are labeled with the “gf” word. But these are THE ones.
My favorite, my best, gluten-free chocolate chip cookies – the result of dozens of batches and several years of experimenting. (I don’t like referring to them as “The Best” because I haven’t tried all the chocolate chip cookies in the world and everybody has their own set of characteristics that they measure against. I mean, these big, rippled gluten-free pan-banging chocolate chip cookies are also divine.)
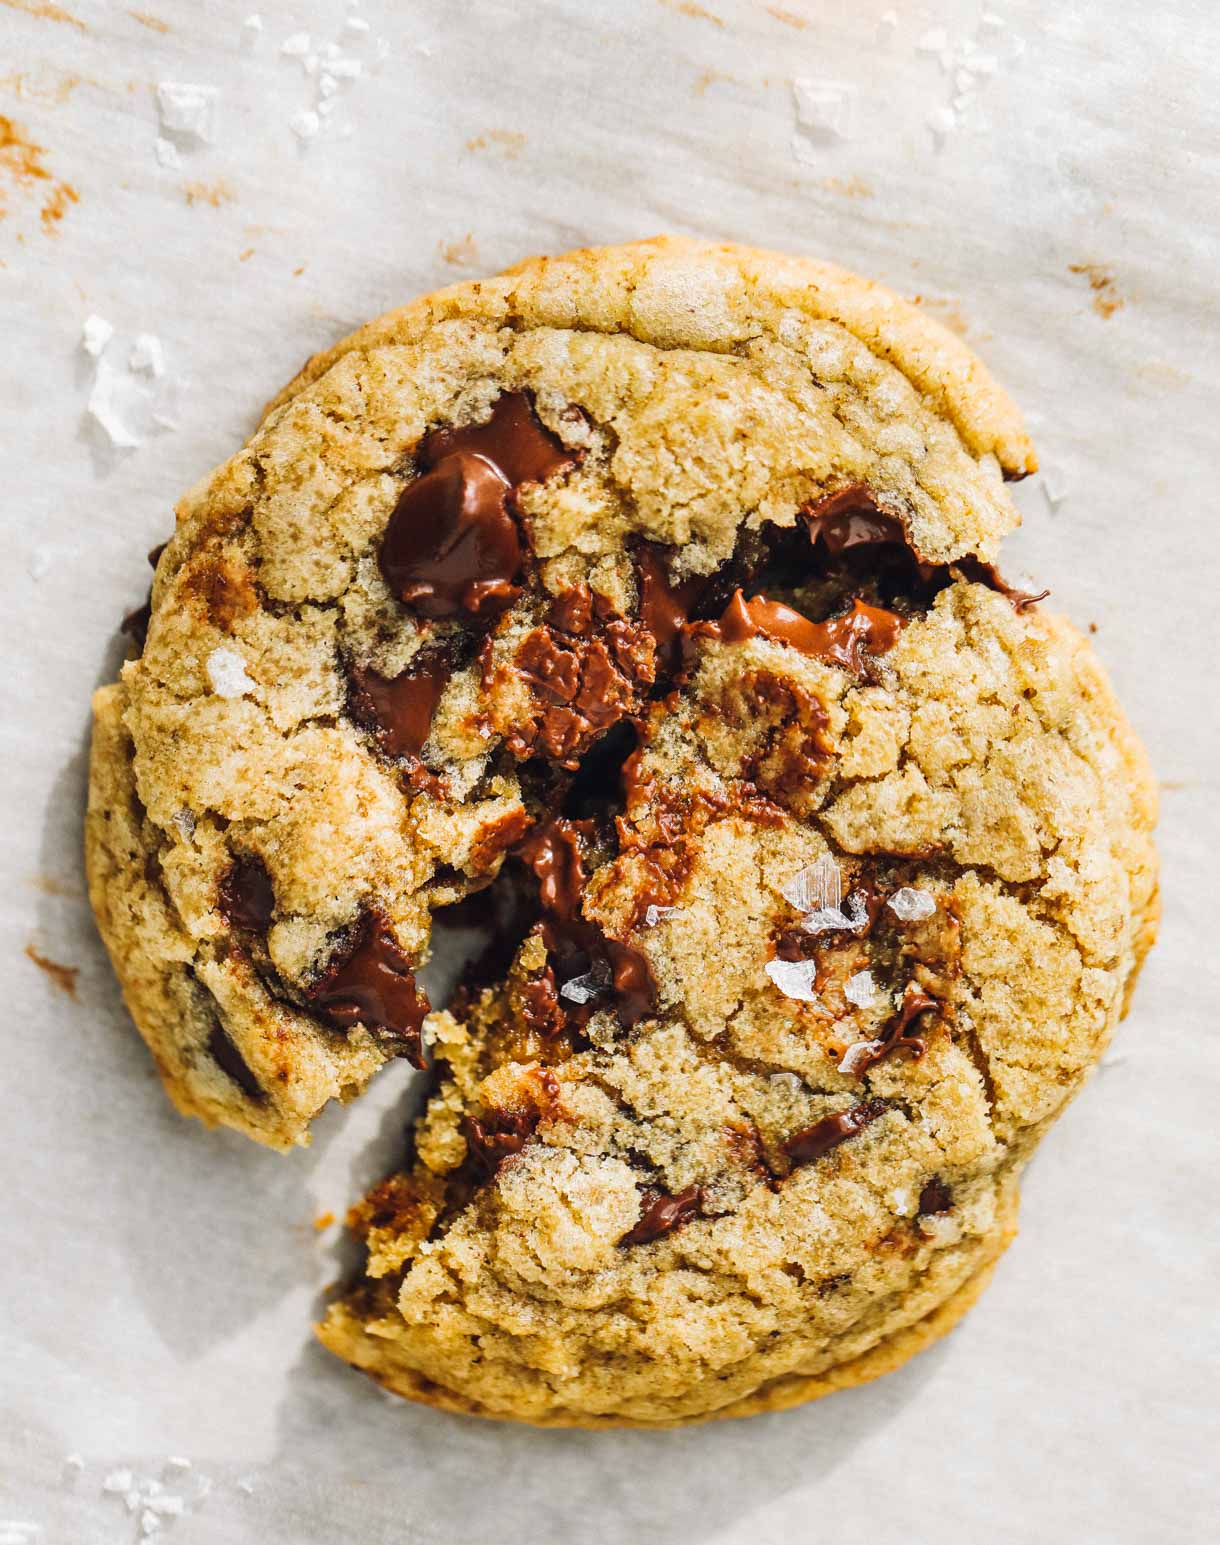
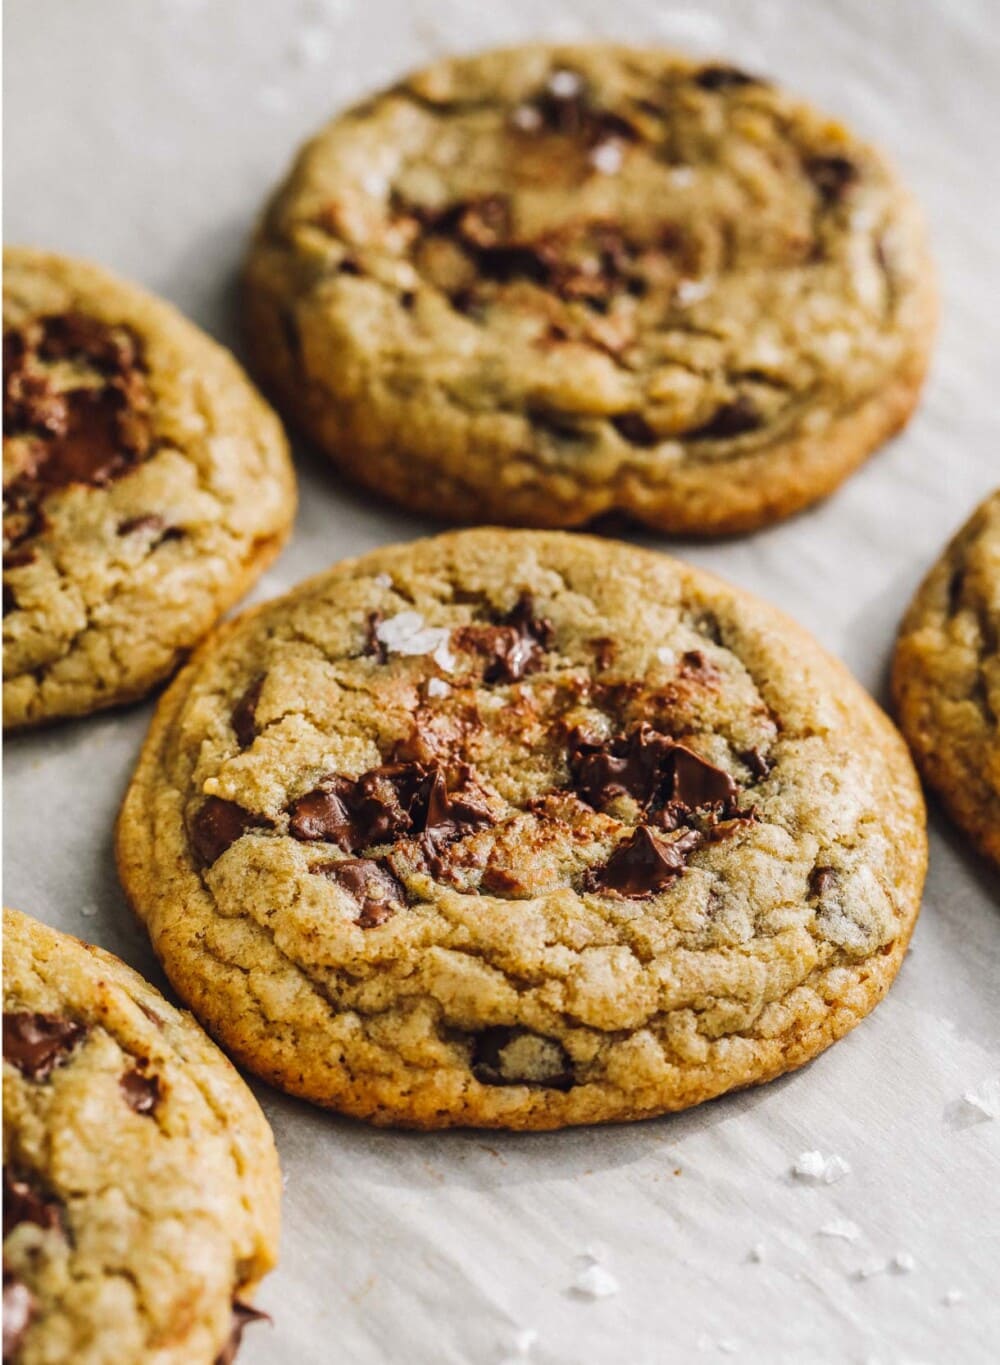
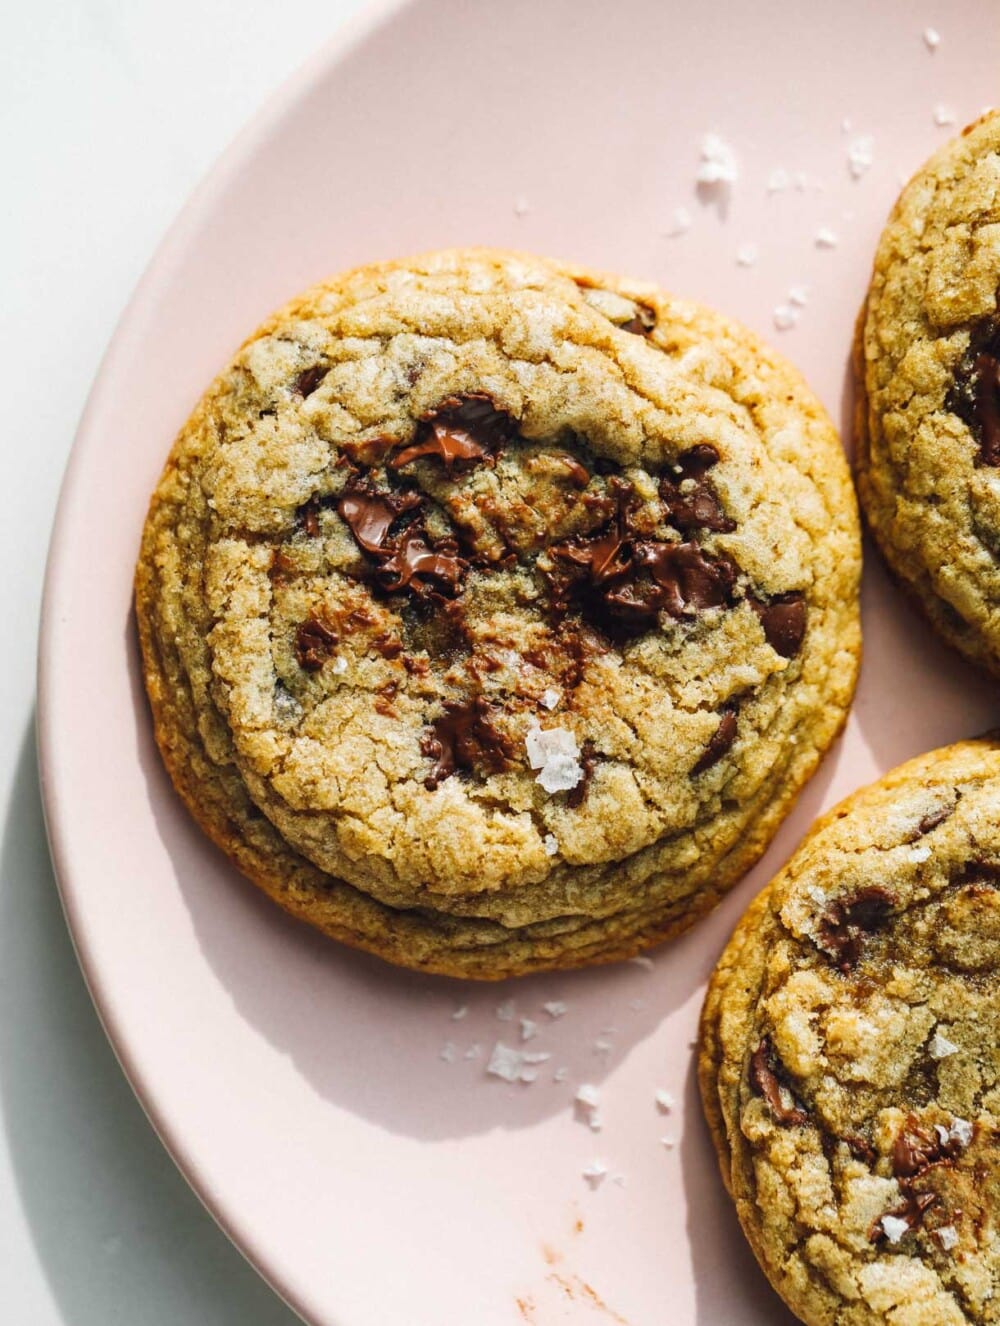
With my best gluten-free chocolate chip cookies you’ll have gloriously crisp & buttery edges, slightly sunken and chewy middles, and the perfect ratio of chocolate to vanilla dough. The first bite, still warm and a little underbaked is heaven.
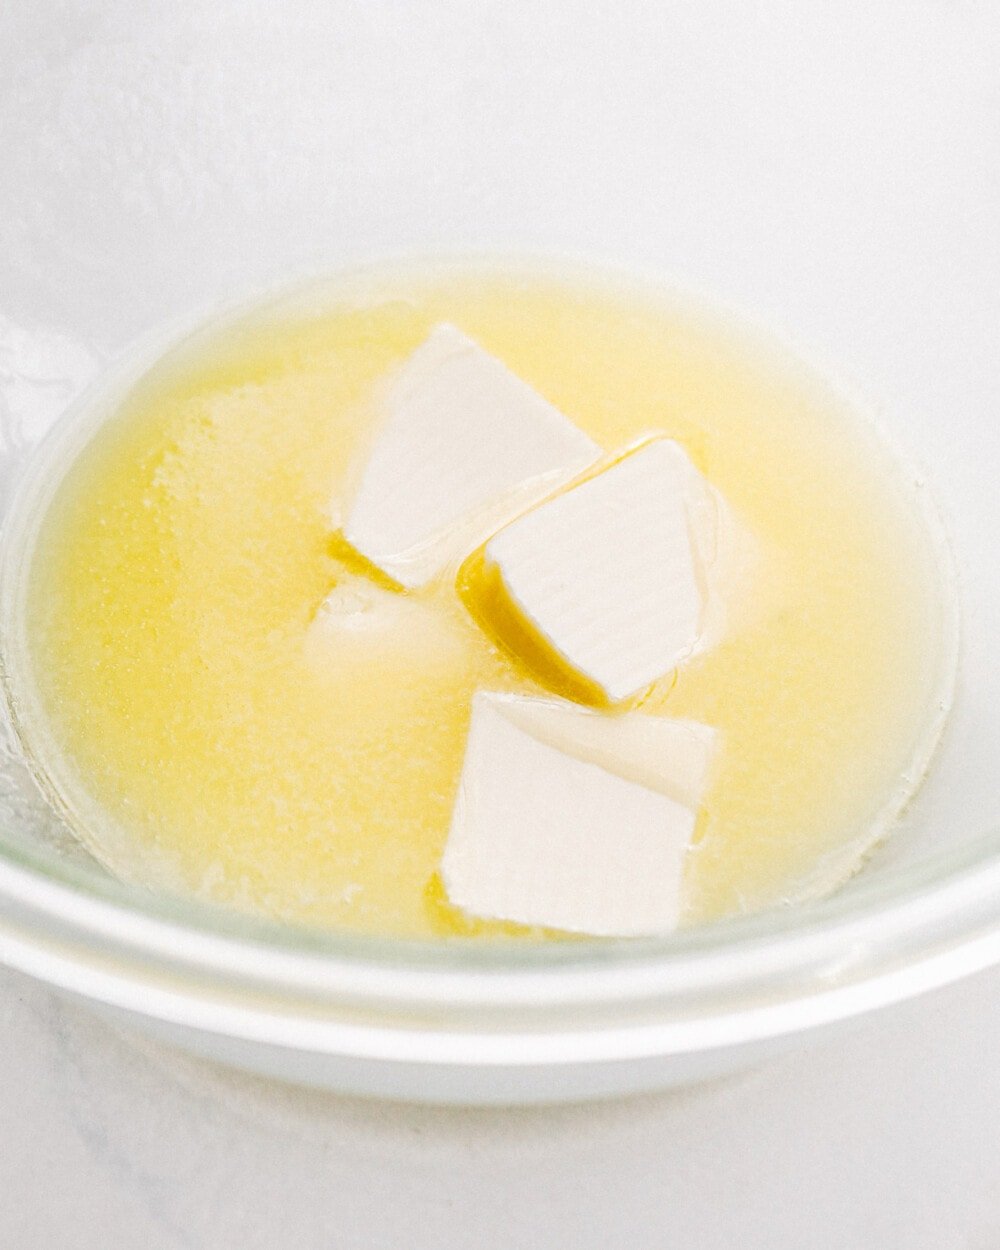
Over the years I’ve simplified my chocolate chip cookie recipe to use melted butter so you don’t need a stand mixer to make them. The trick with using melted butter is that it shouldn’t be hot when you mix it with other ingredients, which is why I have you melt a little more than half of it in the microwave and then stir in the remaining butter so that it cools it down. When finished stirring, the butter will be a creamy yellow rather than a translucent yellow like when it came out of the microwave. If your butter is too liquified, your cookies will spread too much in the oven.
Using Melted Butter vs. Creamed Butter in Cookies
The Chocolate:
Always chopped chocolate over chocolate chips. (I know the title says chips, but that’s just because that’s what most people call them.) Not the chunks that come pre-cut in a bag, but the type you chop up yourself using the best quality chocolate bars your sweet tooth can afford. Not only will the chopped chocolate distribute more evenly throughout the cookie, but the shards from chopping will disperse throughout the batter. Chocolate chips hold their shape due to less cocoa butter, while the latter melt into gooey chocolate decadence.
Nuts or no Nuts?
I battled with this one a lot. I love chocolate and nuts together. I like the texture they bring to cookies and their toasted flavor. But I decided that chocolate chunks deserved to shine alone in this cookie. Plus, I wouldn’t have any noses turn up when I had to tell the people who hate nuts in brownies that these cookies contained them too.
Measuring Flour in Gluten-Free Cookie Baking:
The way to make sure a recipe turns out the same every single time, no matter if you’re baking gluten-free or not is to measure by weight. Since we all scoop, spoon, pack and pour differently, my 1 cup flour may be 120 grams and yours 145. With the science that happens when you cook, that can make a big difference. Invest in an affordable digital scale, it’s well worth it.
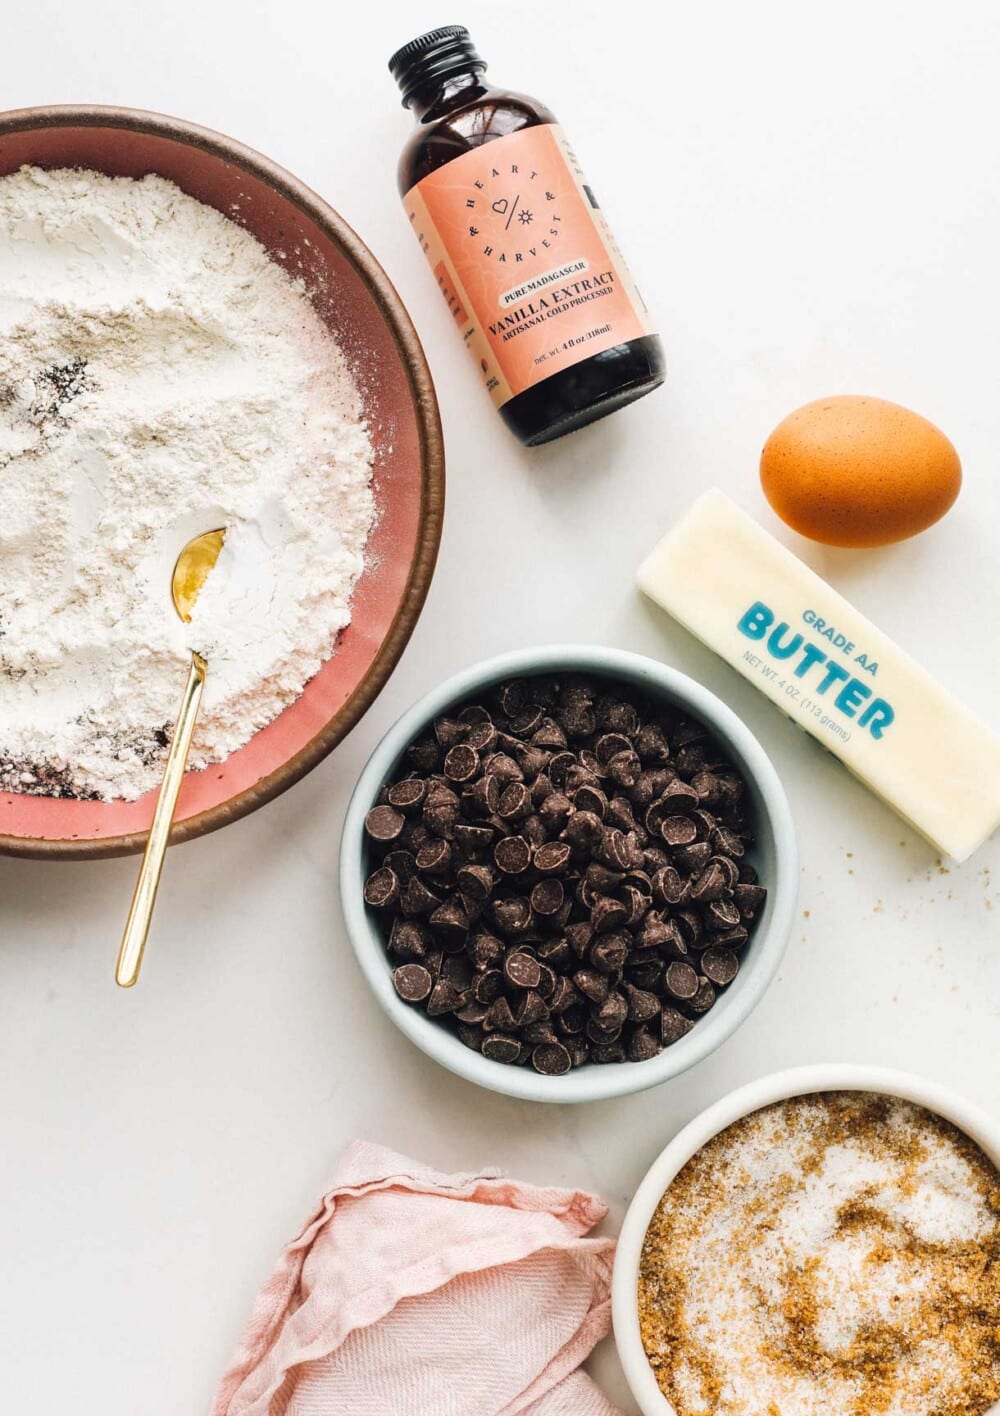
Bob’s Red Mill 1-1 Gluten-Free Flour has proven to me time and time again in my recipe testing that it is the best gluten-free flour blend on the market. There really isn’t anything that compares! It has no grittiness, a soft crumb, stability and consistency. Plus it’s affordable and readily available at most supermarkets.
Chilling Time for Cookie Dough:
I tested this recipe with several different chilling times, from none at all to 24 hours. 90 minutes of refrigerator time was great, allowing the flour to absorb the liquid in the dough. This ensures soft centers with rippled edges with the perfect amount of spreading. And the nice thing is they can chill for up to 24 hours!
Okay…… I think you’re ready!
You’ve got all the details for gluten-free chocolate chip cookie success. Ones that you’ll eat too many of the first time you make them and ones that nobody will know they’ve got the “gf” word attached to them. Now all you need is a sweet tooth like mine and glass of milk for dunkin’. Go forth and bake!
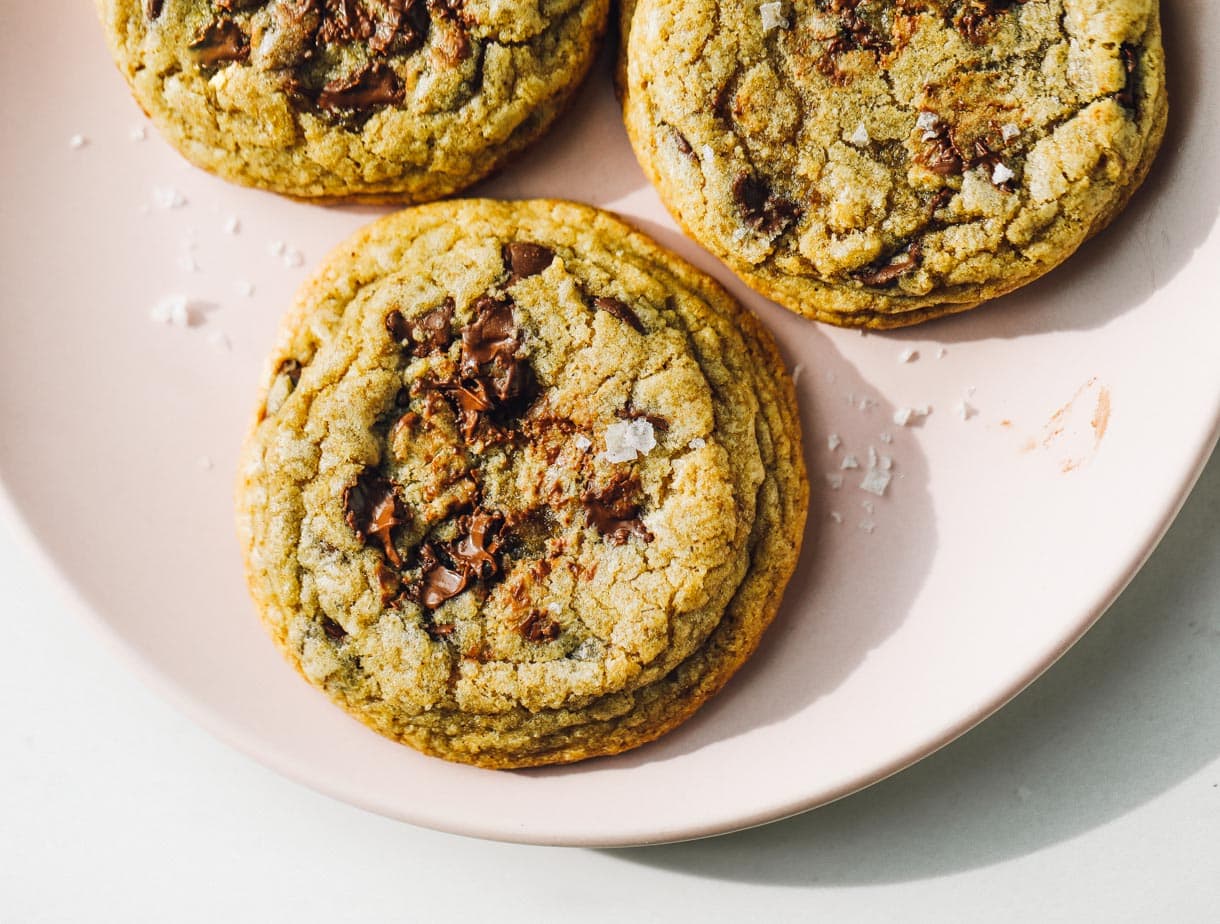
Melted Butter Chewy Gluten-Free Chocolate Chip Cookies
These super chewy gluten-free chocolate chip cookies are made with melted butter, loads of chocolate chips, and the best flavor. Nobody ever knows that they are gluten-free, rich and absolutely delicious. So much recipe testing went into these to make them perfect!
Yield: 14 cookies
Equipment
Ingredients
- 113 grams (1 stick or 8 tablespoons) unsalted butter
- 95 grams brown sugar
- 85 grams granulated sugar
- 1 large egg
- 2 1/2 teaspoons pure vanilla extract
- 175 grams Bob's Red Mill 1-1 Gluten-Free All Purpose Flour
- 30 grams oat flour
- 1/2 teaspoon baking soda
- 1/4 teaspoon baking powder
- 1/2 teaspoon fine sea salt
- 1/4 teaspoon espresso powder (optional but delicious and deepens flavor)
- 210 grams semi-sweet chocolate chips or chunks
Instructions
- Place 5 tablespoons butter into a medium size glass bowl. Melt in the microwave. Remove from microwave and add remaining 3 tablespoons butter. This will help cool it down. It should be a creamy yellow color rather than a clearish yellow color like when it comes out of the microwave.
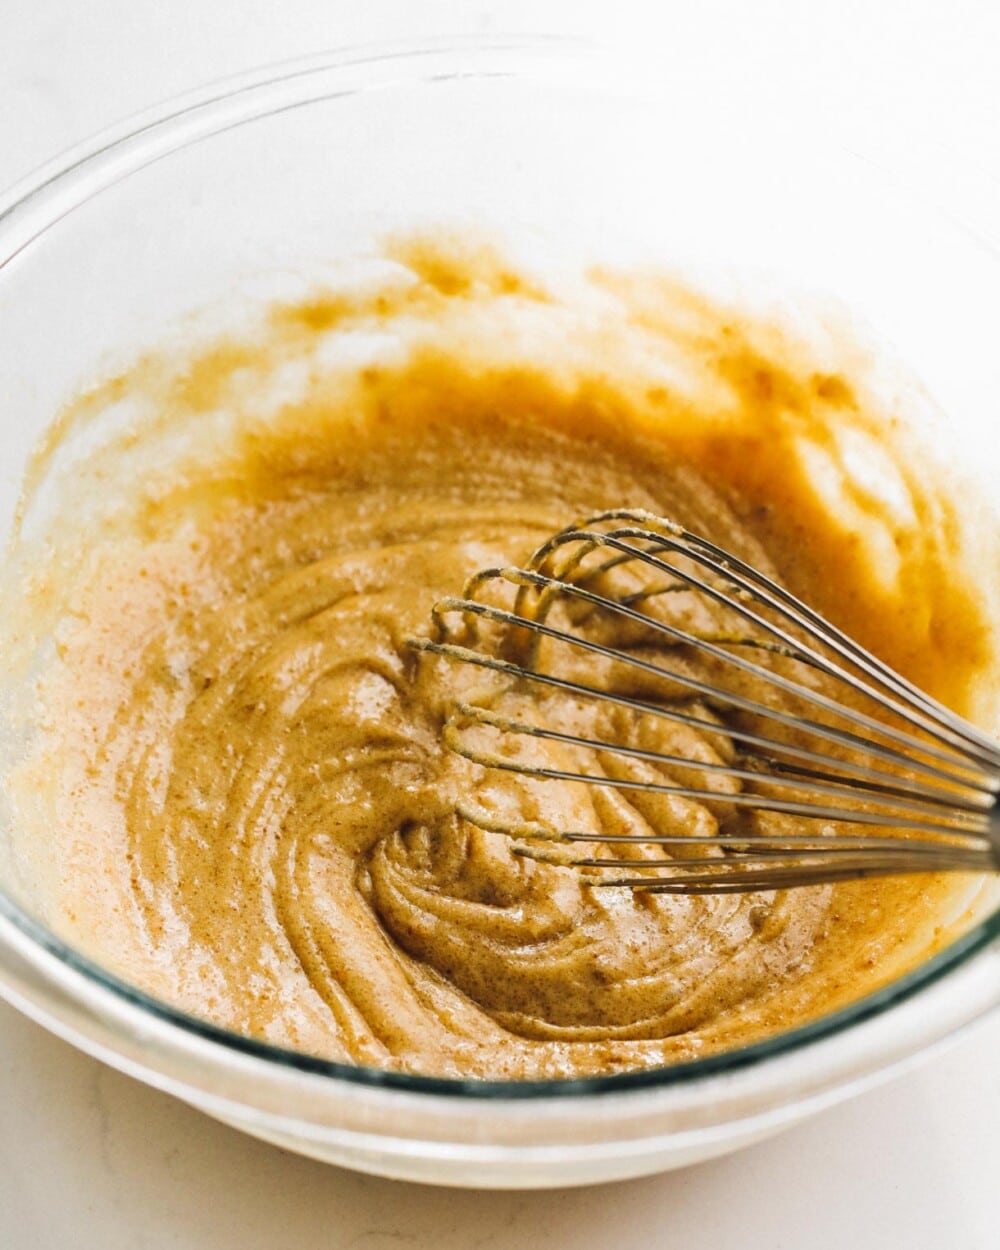
- Add sugars to the cooled butter and whisk vigorously for one minute, to create a paste. Add egg and vanilla. Whisk again to fully combine until mixture is homogenous.
- In another bowl, add flour, oat flour, baking soda, baking powder, salt, and espresso powder. Whisk to combine. Then add to the bowl with the wet batter.
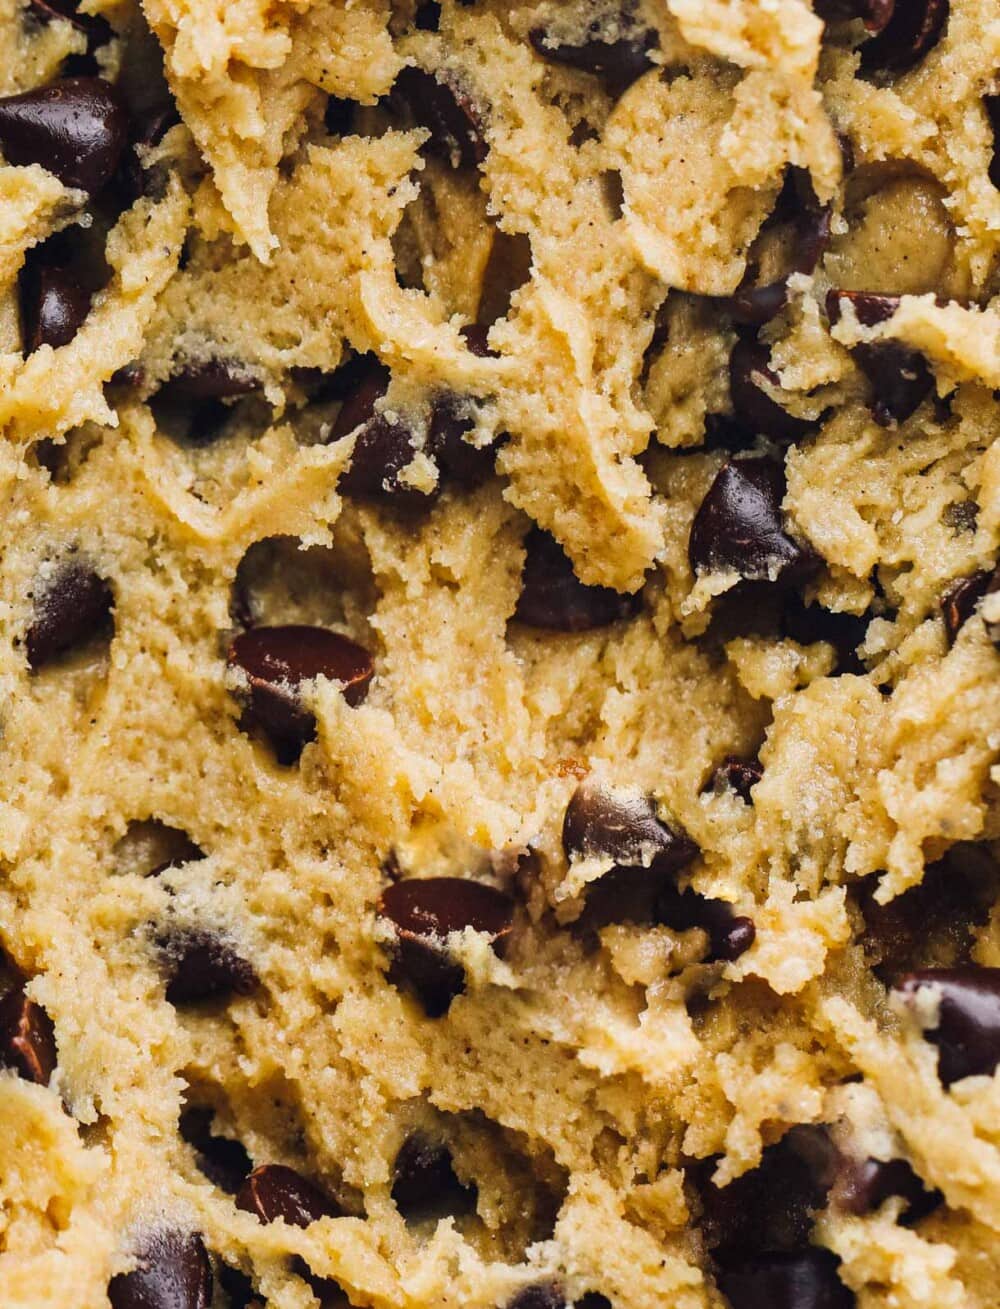
- Switch to use a spatula and stir ingredients together until a few streaks of flour remain. Then add chocolate. (This will help the chocolate keep some of the dried flour bits so they disperse evenly while baking.) Stir again until no flour streaks remain. Cover dough with plastic wrap and refrigerate for at least 90 minutes up to 24 hours – the longer you let them rest, the more you will be rewarded with the perfect crisp edged, chewy gooey center.
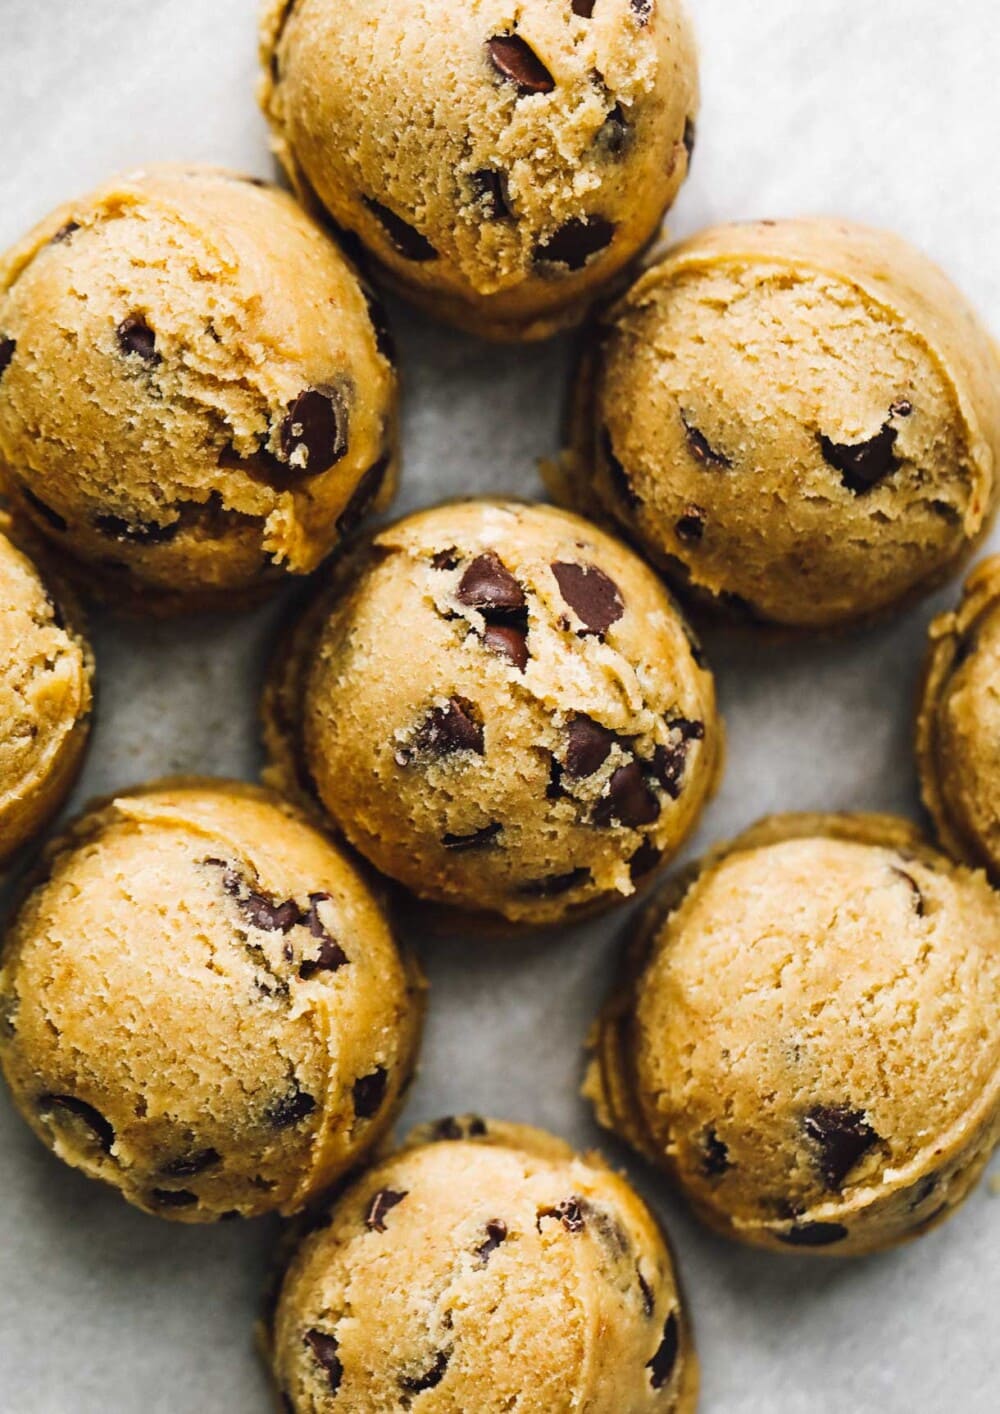
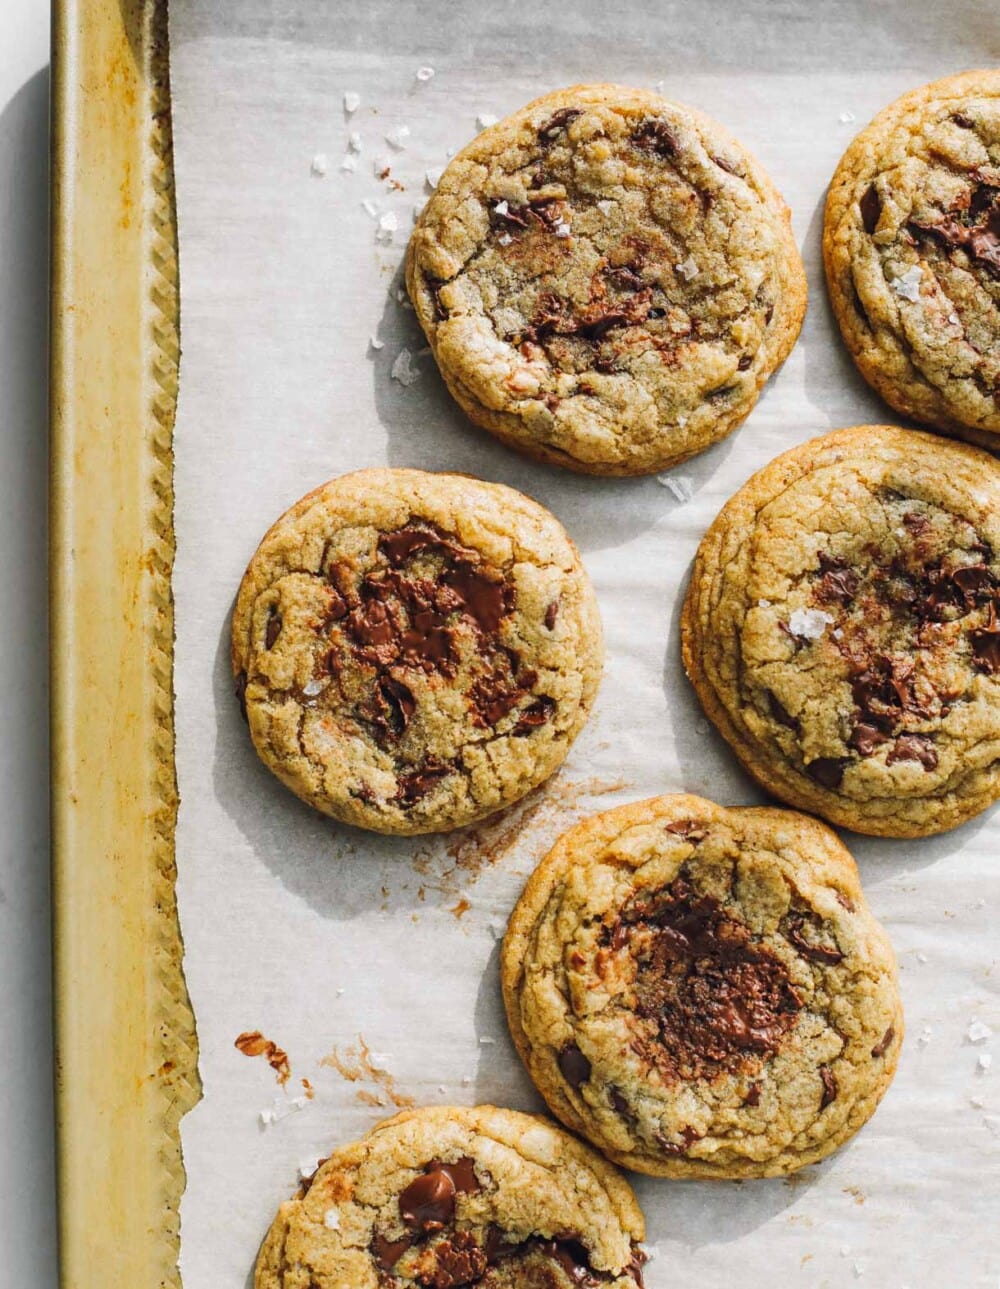
- After 90 minutes has surpassed, preheat oven to 375 degrees F. When oven dings that it is ready, take dough out of refrigerator and scoop 6 dough balls, each weighing (about) 50 grams – this scoop is the perfect size, onto a parchment lined baking sheet. Press a few extra chocolate chunks onto the top of the cookies. Bake for 11-12 minutes, rotating pan halfway through baking and bang it on the oven rack. At the end of baking, their edges will be browned, their center a bit shiny and looking slightly underbaked, but not wet. Always, always error on the side of less done so they are chewy.
- Remove from oven and gently press the middles with the back of a spoon. (These deflates them a tiny bit and gives them ultimate chew.) and let cool on pan for 5 minutes, then move to cooling rack. You may think cookies look a little underbaked when you take them out of the oven, but they will continue to bake as they cool on the pan, and this gives them their chewy, gooey center.
Notes
*If you want your cookies to be perfectly round, I like to use a big round circle to scoot the cookies around with when they just come out of the oven and are warm on the pan.
*You can refrigerate this dough for up to a day and half. Let it come to room temperature before baking.
Did you make this?
tag @heartbeetkitchen on instagram and hashtag it #heartbeetkitchen
October 9, 2014

Michele
March 29, 2026
I don’t see maple syrup in the recipe, yet comments mention it.
I have to make these, your description is killing me!! Thanks!
Amanda Paa
March 29, 2026
Hi Michele! I updated the recipe in 2024; I promise this version is even better than the previous one with maple syrup!
hannah
February 13, 2026
These are perfect!! Sooo good, thank you! I used half the amount of baking soda & powder because for some reason whatever I do my cookies come out puffy- not these. These were thick and dense and chewy with crispy edges and so much flavor! Yay
Corina
August 1, 2025
Hi Amanda,
I have been on the hunt for a great GF chocolate chip cookie, and have yet to find one. Yours looks like it is exactly what I’m looking for; thick, chewy and soft in the middle. I’m hoping to make them this weekend. I’ve read through the comments and I am a bit confused on what GF flour to use. I see Cup4Cup, Bob’s 1:1 Baking Flour, and Bob’s GF All Purpose flour. I’ve come to realize through a lot of baking fails that the type of flour in a gluten free recipe really matters. Can you clear up which one you use to get these delicious looking cookies?
Thanks so much.
Amanda Paa
August 1, 2025
Hi Corina! I use Bob’s Red GF all purpose 1-1 in the blue bag exclusively now. Oh, and the longer you let the dough sit in the fridge for these, the more developed the flavor and texture becomes!
Corina
August 3, 2025
Thanks, Amanda. I used Bob’s in the blue bag as you suggested. The dough has been in the fridge overnight, but is now very hard and not acoopable. Looks like I have no choice but to let it thaw out on the counter for a while. I hope it doesn’t impact how they cook. Are you able to scoop your dough right out of the fridge?
So looking forward to eating these today and sharing with my family. The dough smelled so good when I was mixing, lol.
Amanda Paa
August 3, 2025
Hi! That’s normal, it will soften to scoopable in 10 minutes on the counter.
Corina M Turner
August 4, 2025
Wow! These did not disappoint. I let the dough thaw for about 10 min and then scooped. I actually made them a little bigger, about 3 oz or 84 grams, looking for that big bakery style cookie. They came out big and golden. I shaped them with a big cookie ring and sprinkled with finishing salt. I wish I could attach a picture. No one could tell they are gluten free, they’re just delicious cookies full of chocolatey goodness. Thank you for all the hours you put into developing this and sharing.