
Basic All-Purpose Flour Sourdough Bread (with soft crumb!)
By Amanda Paa – Updated April 21, 2026
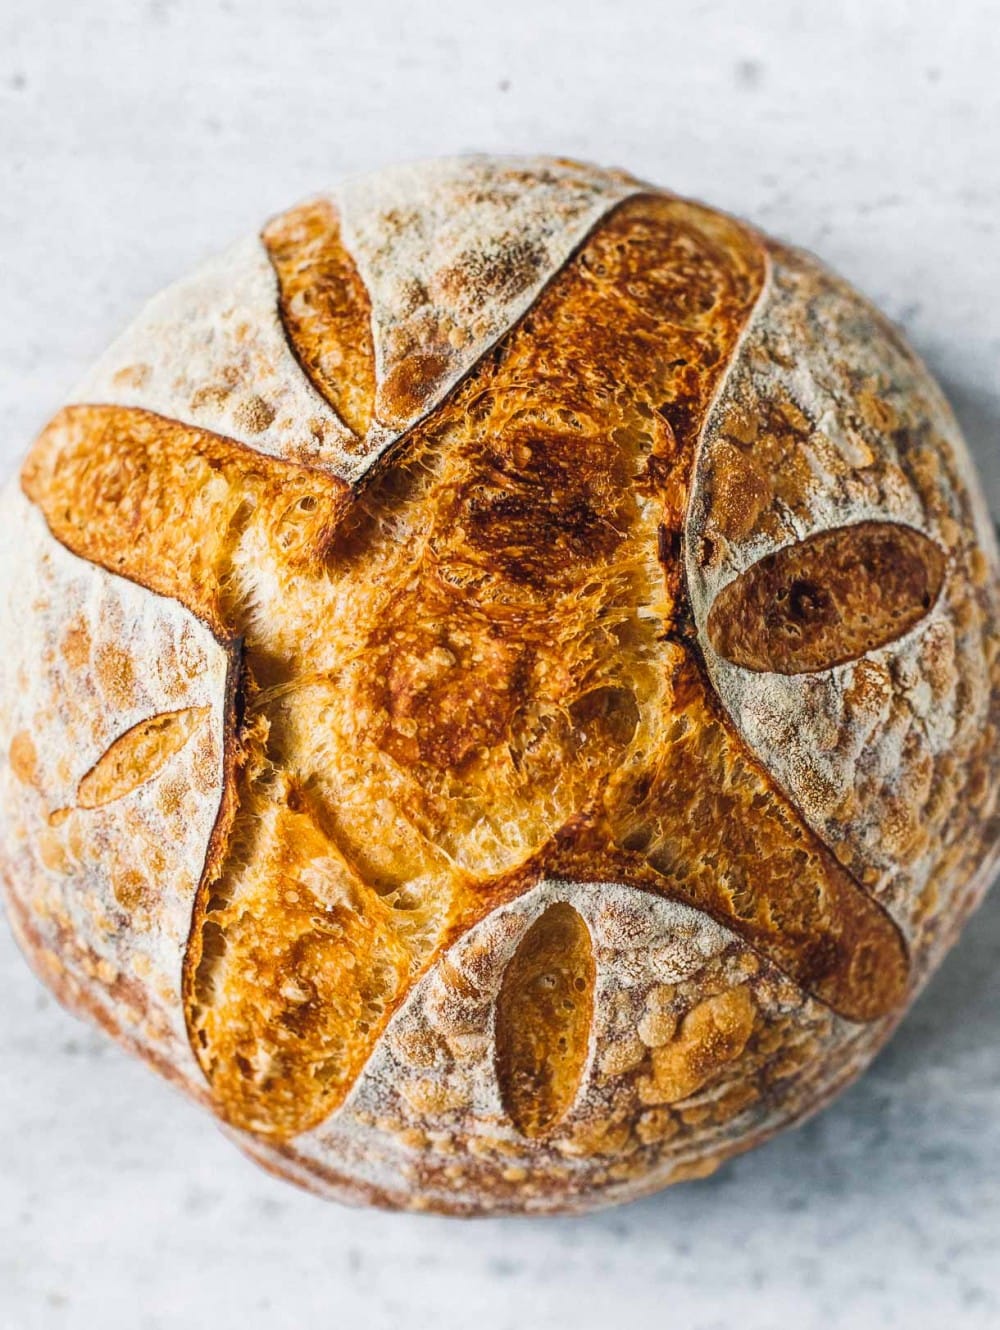
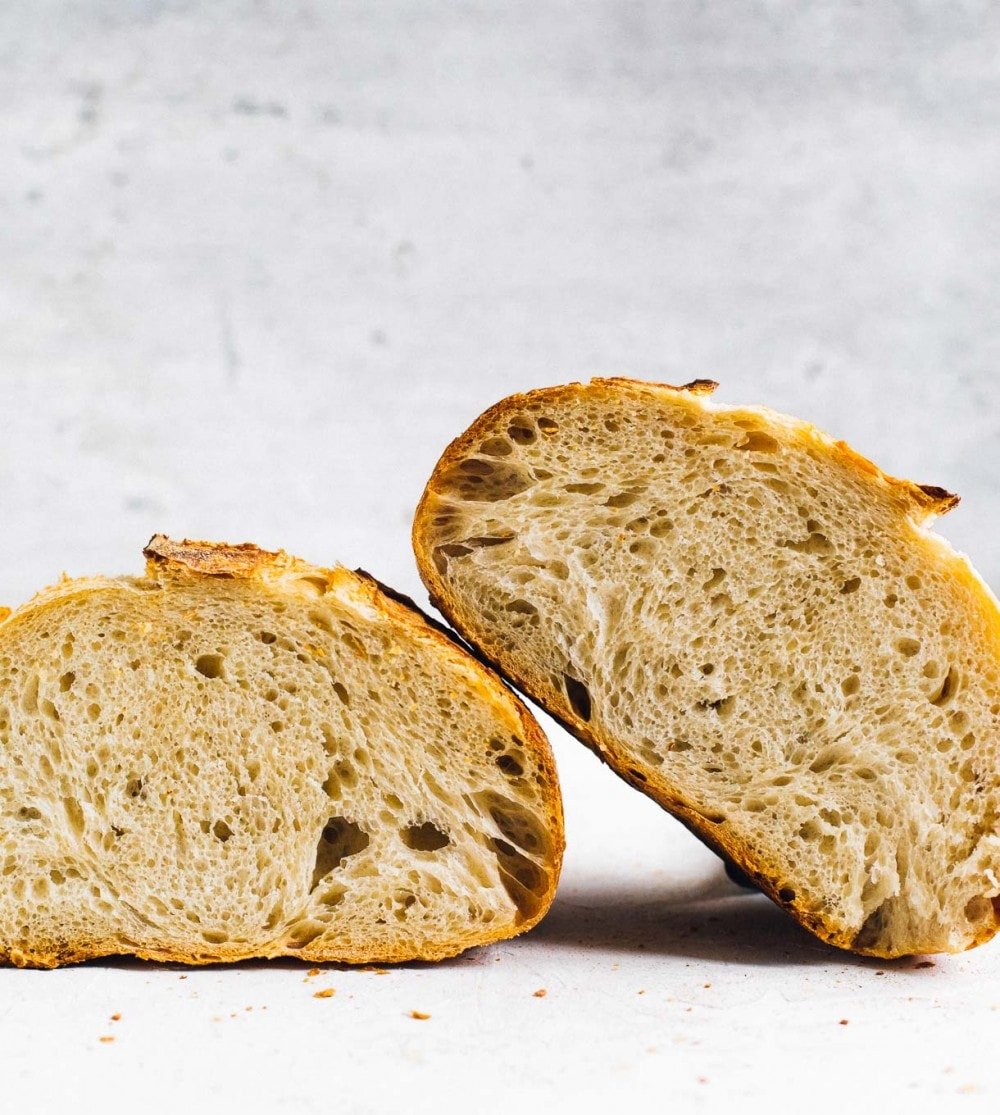
If you don't have bread flour in your pantry, you can still make great sourdough with just all-purpose flour and active sourdough starter! Bread flour and all-purpose flour are not interchangeable, as bread flour has a higher protein content making it stronger and able to absorb more water. So this recipe has been developed specifically for a 100% all-purpose flour sourdough loaf, and it's absolutely delicious. The crumb is soft and light and it has a crisp, golden crust.
Jump to Recipe
This post may contain affiliate links. Please read my disclosure policy.

First things first: Bread Flour and All-Purpose Flour are Not Interchangeable
In 2020 when we were all trying to bake sourdough right now, finding bread flour was almost impossible.
Many of you told me tat you had to use all-purpose flour for sourdough bread because that’s all you could find, but the results were not great. Which makes sense, because all-purpose flour and bread flour are not interchangeable.
All-purpose flour has a lower protein percentage than bread flour (AP usually around 11.8% and bread flour around 13.2%), simply meaning it’s NOT as strong. So your loaves have fallen flatter than you’d like, and don’t have the oven spring you’re used to.
This led me to testing different methods, hydration levels, and brands of flours over the last few weeks, to develop a simple sourdough bread recipe for you, that uses 100% all-purpose flour.
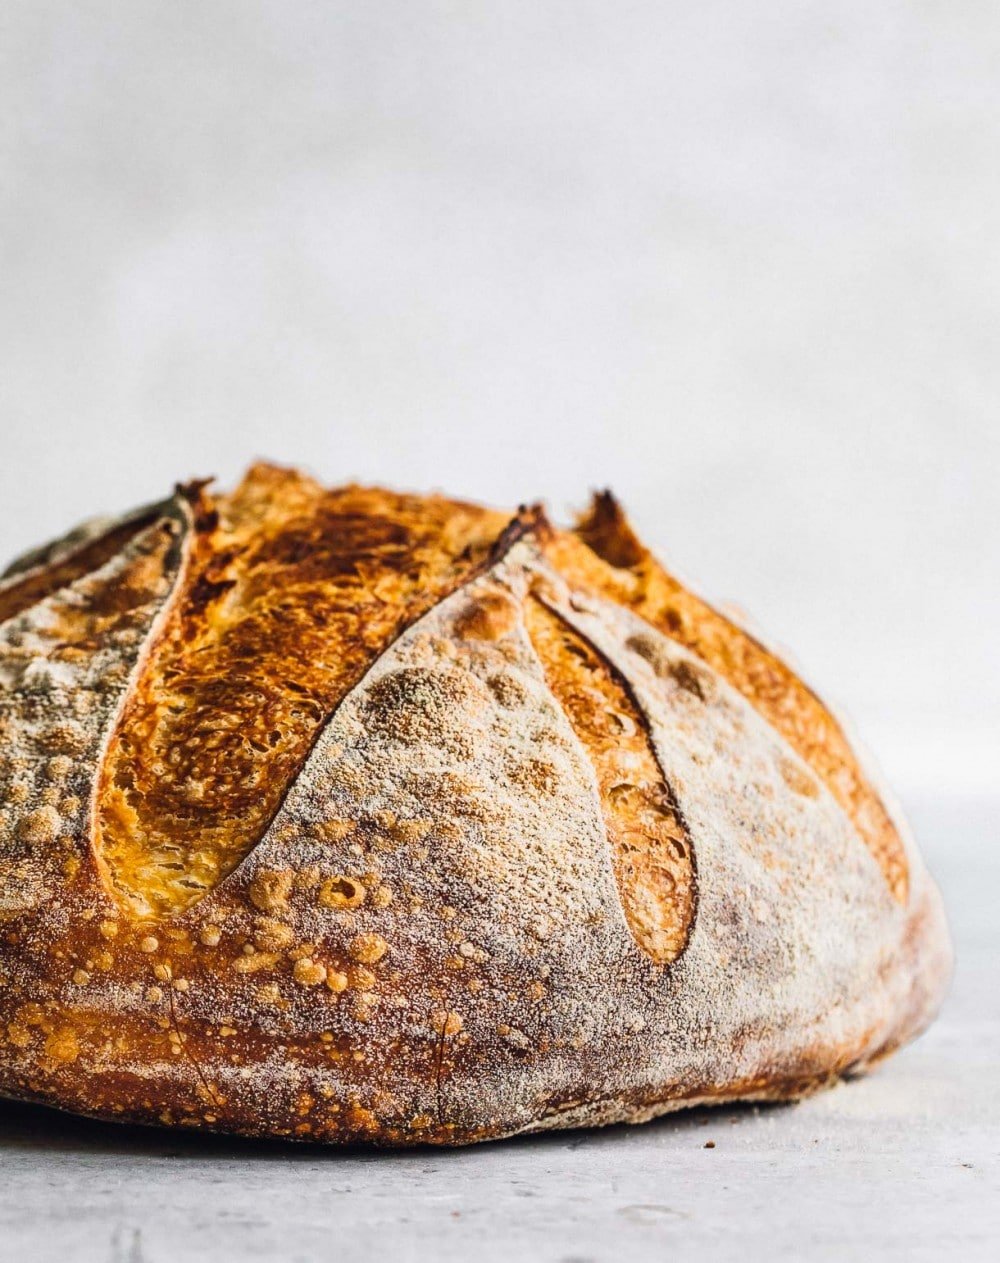
And she’s here. A wonderful sourdough bread made with only all-purpose flour.
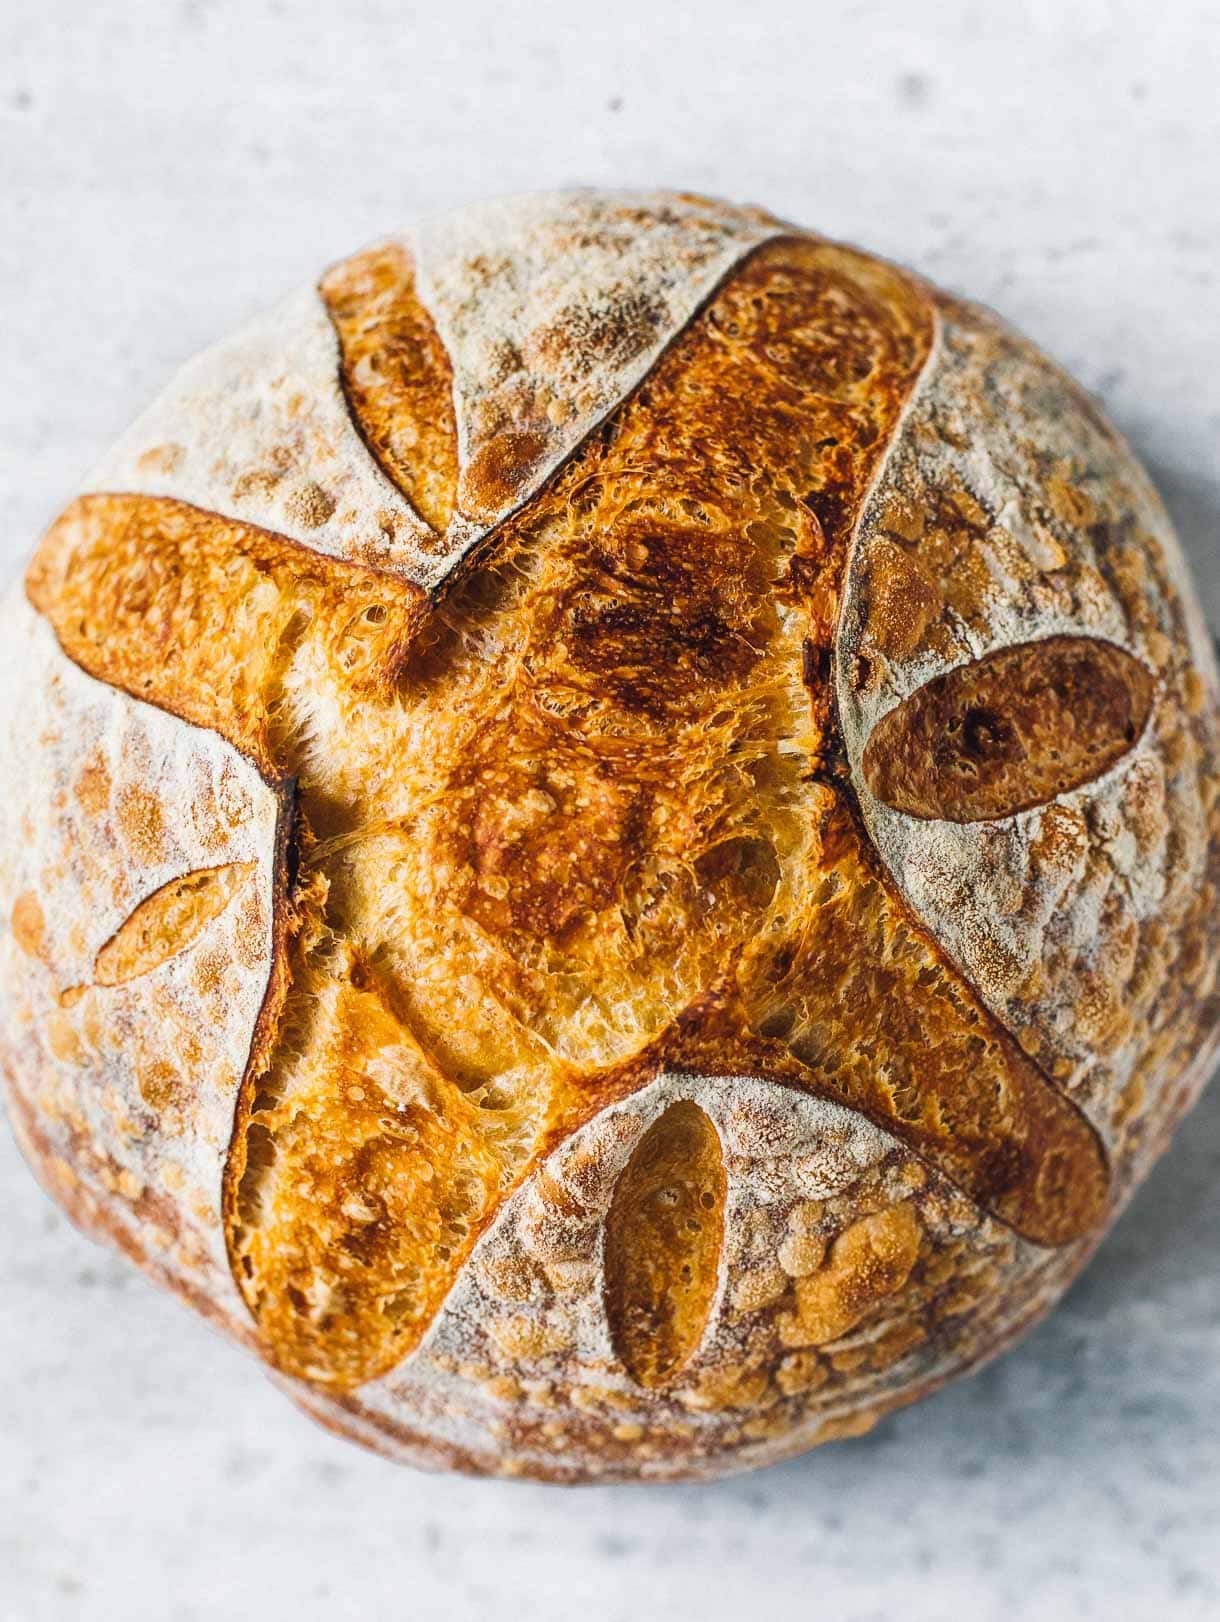
The rise is superb.
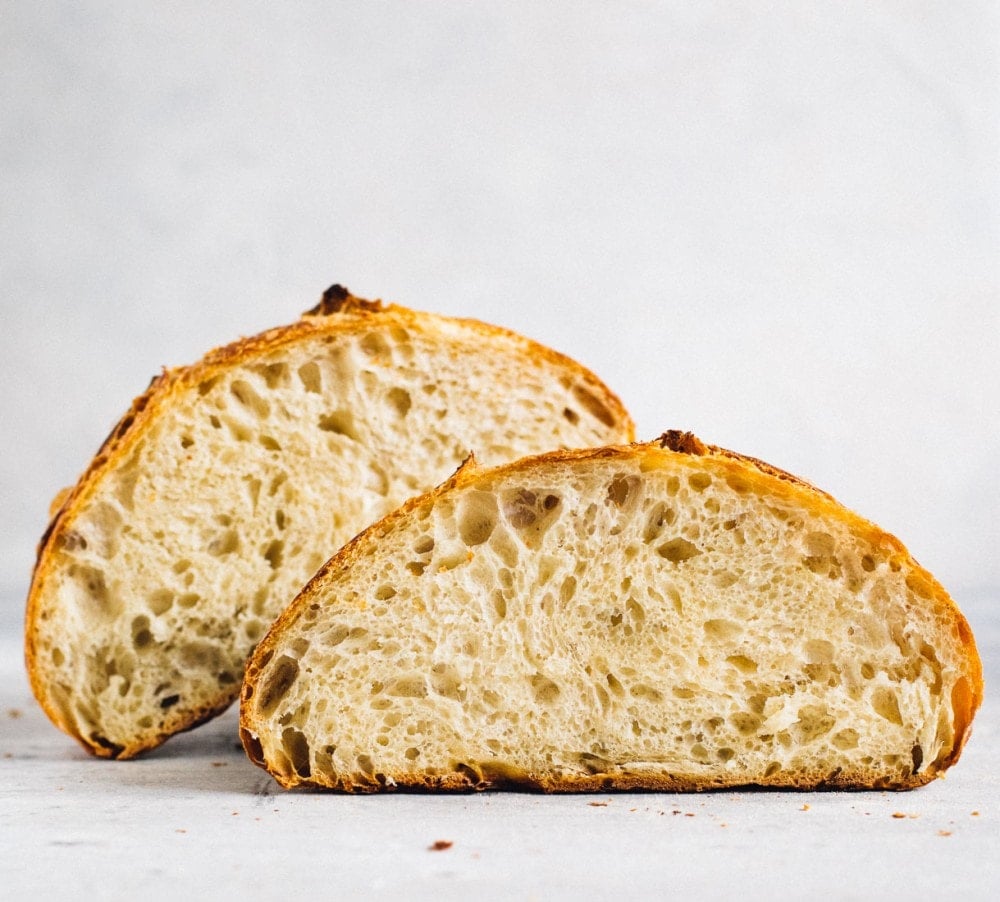
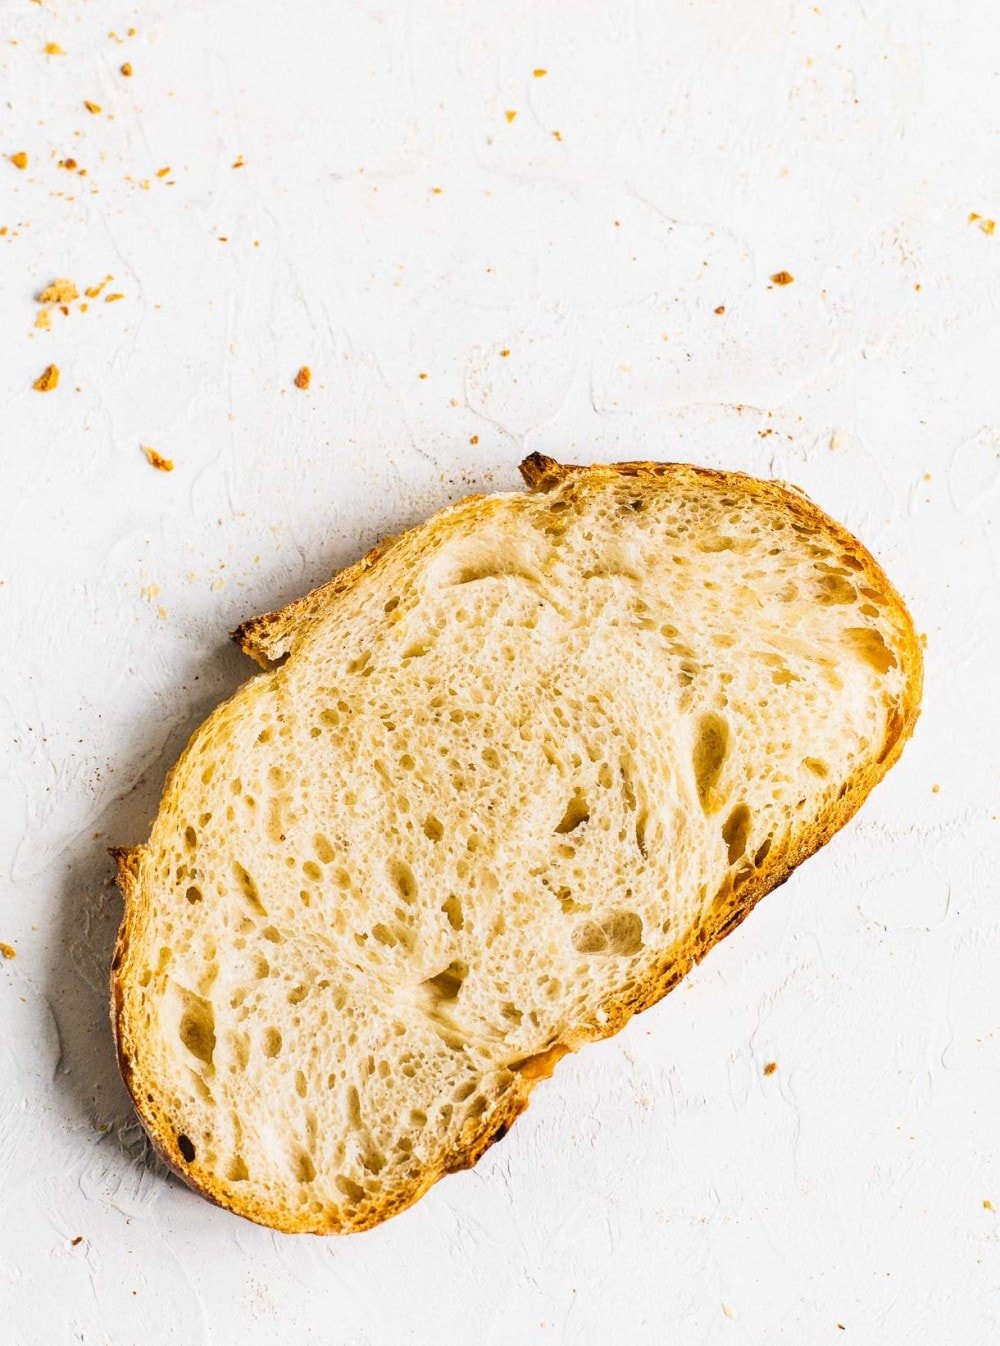
The crumb is so light and airy. Like pull apart, fluffy.
And the crust is crackly thin.
There’s just a bit of tangy flavor at the end, which I appreciate.
My soft and puffy sourdough english muffins also only use all-purpose flour, so that it is another great baking option for you!
How to Make Sourdough Bread with All-Purpose Flour
First let’s look at technique:
The method for this all-purpose flour loaf is slightly different from my Everyday Sourdough Bread recipe.
- The autolyse, the rest period right after mixing is 45 minutes, rather than 30 minutes. This allows for the AP flour to be properly hydrated, as it slower to absorb water compared to bread flour.
- After the autolyse, you’ll knead the bread for about 1 minute 15 seconds, to effectively develop the gluten, leading to a stronger dough. I kind of squish the dough in between my hands, and push it against the bowl. You’ll notice it start to relax and be easier to work with around the 1 minute work.
- This stands in for your first stretch and fold, which you’ll then complete 3 normal rounds of stretch and folds from that point.
- The other thing that differs is executing a pre-shape before fully shaping. I like to use my bench knife to pull the dough up over itself a few time, into an imperfect circle. After a 15 minute rest her, you’ll proceed with normal shaping.
What about hydration level?
With a lower protein percentage in the flour, using the right amount of water is critical for success. If you use the same amount of water that a recipe for bread flour calls for, the dough will be extremely wet and sticky, because it cannot absorb water the same way.
I played with different amounts of water, and really found the sweet spot to be between 275 and 290 grams water to 400 grams flour, depending on the brand of flour you’re using.
Brands of All-Purpose Flour tested:
If you look at the nutrition label of the unbleached all-purpose flour you have on hand, you’ll notice that the ingredient list is either:
Hard Wheat Flour (Bob’s Red Mill organic all-purpose flour)
or
Hard Wheat Flour PLUS, Malted Barley Flour. And if enriched, will have Niacin (vitamin B3), Reduced Iron, Thiamin Mononitrate (vitamin B1), Riboflavin (vitamin B2), Folic Acid) added. King Arthur unbleached all-purpose flour, Trader Joe’s unbleached all-purpose flour, Gold Medal unbleached all-purpose are hard wheat flour + malted barley flour types.
The vitamins/minerals are added to “enrich” the flour with nutrients. They do not affect the bread’s outcome. The really important ingredient that just change the outcome is Malted Barley Flour. Malted barley flour aids in a more golden brown end result, and because of its lower gluten, it causes the dough to be softer, more relaxed and gives a softer crumb texture.
Final Results of Different All-Purpose Flours Brands
When I tested the two types of all-purpose flour over several loaves, what I noticed were these two differences:
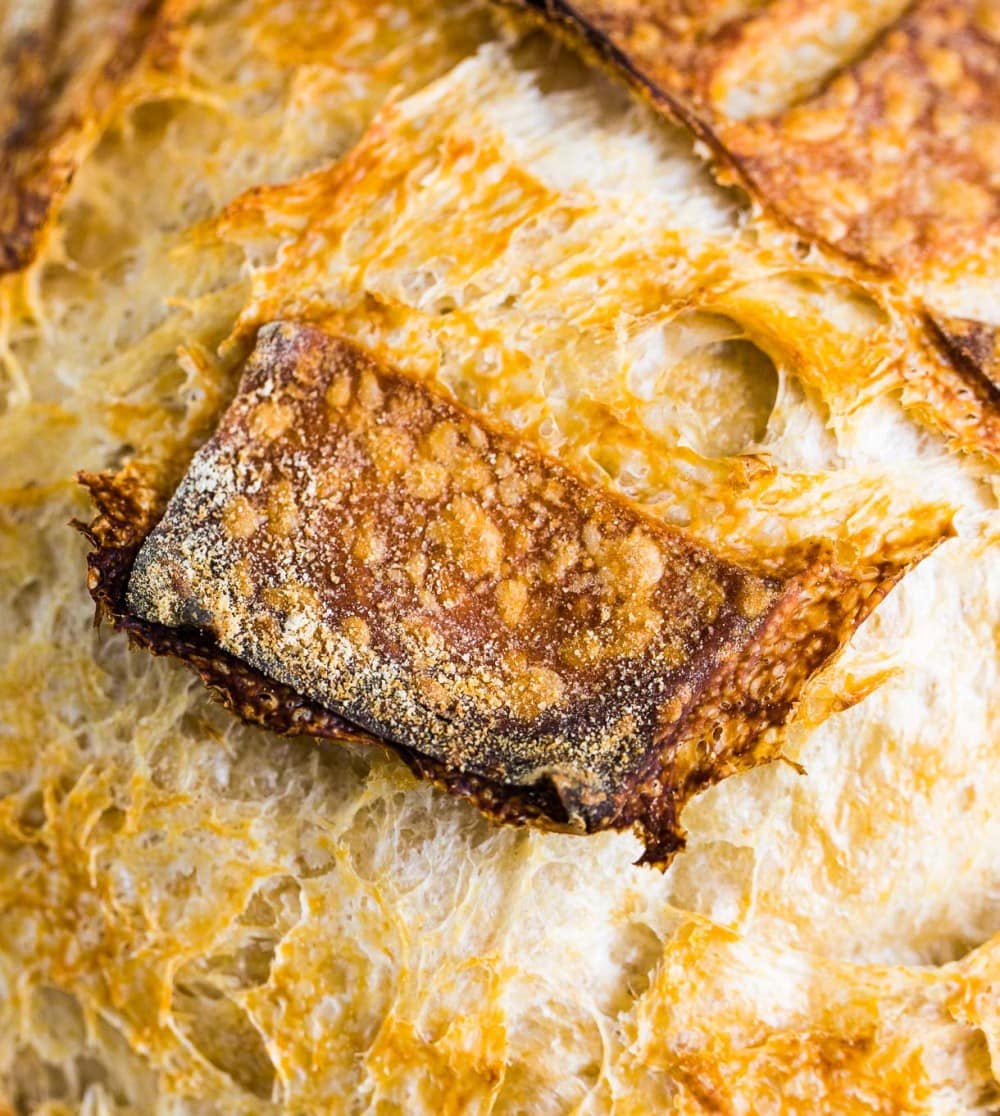
- The loaves made with King Arthur and Trader Joe’s all-purpose flour were more relaxed and supple, because of the malted barley flour added. The dough felt smoother and elastic in my hands, as I kneaded it. When using Bob’s Red Mill all-purpose flour, which is solely hard winter wheat, the results were also excellent, but in my hands it didn’t feel as elastic. Which is okay too! It certainly make it easy to shape.
- The King Arthur and Trader Joe’s all-purpose flour could handle a little more water (10 grams, which doesn’t seem like a lot, but is in this type of loaf), resulting in a slightly more open crumb.
Both types of all-purpose flour had the same beautiful rise and crunchy, golden crust with signs of blisters.
Helpful Tips for Baking An All-Purpose Sourdough Loaf
- To ensure your dough doesn’t stick to the linen you’re using for proofing, dust the linen heavily with any non-gluten flour. Using all-purpose flour to dust the linen increases the chance that your dough will stick because gluten against gluten bonds together. White rice flour is inexpensive and works incredibly well.
- To make scoring easier, perform the final rise overnight in the refrigerator. Cold dough makes it easier to cut swiftly and sharply, without the blade dragging.
- Get yourself a pair of heavy duty oven mitts for the extremely hot temperatures used in baking. Burns from a dutch oven are so painful!
Yield: 1 loaf
Equipment
Ingredients
- 45 grams active sourdough starter at its peak
- 275 grams slightly warmer than room temp water (about 85 degrees F) if you are using an all-purpose flour that has one ingredient on the package hard wheat (Bob's Red Mill AP flour is an example). OR 290 grams if you are using an all-purpose flour with malted barley flour added (King Arthur and Trader Joe's AP flour are examples).*
- 400 grams unbleached all-purpose flour
- 7 grams fine sea salt
Instructions
- Add starter and water to a bowl. Whisk thoroughly until combined, with a fork. Add flour, and mix together first with the fork to start to incorporate, then with your hands until a shaggy dough is formed, and the bits of flour left just disappear. Sprinkle the salt on top and do not mix in, just leave it on top. Cover with a damp cloth.
- Autolyse: let dough sit for 45 minutes, covered and undisturbed.
- Bulk ferment + Stretch and Folds: Now you will knead the salt that is sitting on top, into the dough for about 1 min 15 seconds. There is no precise way to do this, just think of working the dough through your hands and up against the bowl, push and pull. You will start to feel the dough relax a bit around 1 minute. Continue for about 15 or 30 seconds more. Then complete your first set of stretch and folds around the bowl. Let rest for thirty minutes.
- After those 30 minutes pass, do another set of stretch and folds around the bowl. Repeat this rest + stretch and folds 2 more times.
- Now you will let sit, undisturbed on the counter and covered with a damp cloth. You will know it is finished with its bulk ferment when the dough has risen just short of doubling, is smooth and puffy on top, with a few bubbles. It will not be as jiggly as some breads that use more water. This could take about 5-7 hours at 70 degrees F. If the temperature in your home is above 70, this will take less time, vice versa. But most importantly, go off of the clues the dough gives you rather than time.
- When bulk fermentation is finished, lightly dust your work surface with flour. Put dough onto the work surface, and pre-shape the dough. Let sit for 15 minutes on your work surface.
- Then shape your dough, using this method as a guide.
- Place dough into your flour dusted banneton, (or flour dusted linen lined banneton) seam side up. (Optional, you can wait 15 minutes after placing it in banneton, and pinch the perimeters of the dough into the center to hold the shape even more, called stitching.) The dough will now go through its final rise. You can do this on the counter, which will take about 2 hours at 70 degrees F for the dough to puff up and be jiggly. It will not double. OR you can do the final rise overnight in the refrigerator, with the banneton covered in a plastic bag or with a very damp cloth. You need this for holding moisture in.
- Time to bake. Preheat your oven to 450 degrees F, with your dutch oven preheating inside the oven. When the oven is preheated, flip your dough out gently onto parchment paper and score your dough. If you did the final rise in the refrigerator, take it straight from fridge, to scoring, to dutch oven.
- Then put dough into the dutch oven on the parchment, and cover. Slide dutch oven into oven. Bake for 20 minutes, then remove cover.
- Turn heat down to 430 degrees F, and bake for 20 more minutes, until crust is golden brown and crackly. Remove from oven, and remove bread from dutch oven and place onto a cooling rack.
- Wait AT LEAST one hour to cut into bread. Otherwise, the interior will be gummy.
Notes
*Look at the ingredient list on the back of your bag of all-purpose flour to see if yours is just one ingredient, hard wheat, or if it has malted barley flour added.
Did you make this?
tag @heartbeetkitchen on instagram and hashtag it #heartbeetkitchen
May 5, 2020

Clare
May 27, 2026
Hi! I am brand new to sourdough and only have a standard loaf pan. Is it possible to bake it in there?
Carol Sterling
May 8, 2026
Amanda, your recipe has been a total game changer for me!!! Ninety seconds of working the salt into the dough totally changes the strength of the dough. Until now I never got a good rise in my bread and it was always so sticky. I am now able to get the dough I see in so many instructional videos. Everything I make now turns out so much better! Thank you!!!
Amanda Paa
May 9, 2026
So happy to hear, Carol! Yes, the strengthening of the dough up front can be so impactful for the oven spring!
Haley
March 31, 2026
How long can I let this dough ferment in the fridge? Longer than overnight? Hoping to prep about 24 hours in advance. Let me know if you think that would be okay!
Looking forward to trying it!
Amanda Paa
March 31, 2026
Yes, 24 hours will be okay!
Daphne
March 5, 2026
Hi, love your recipes and the great videos showing all the steps! I had the all purpose flour sourdough loaf yesterday and baked it this morning. The loaf tastes great and the crust is crunchy but the inside is a little wetter than I like. I wonder do you think I over proofed it or maybe my starter wasn’t mature enough. Though I have baked several times with it. I live in a rural area and can’t always find bread flour to buy. So having a loaf made with all purpose is perfect. In your expertise what do you think might cause the dough to be on the wetter side when baked?
Amanda Paa
March 7, 2026
Hi Daphne! Sourdough that turns out tacky in the crumb is a sign of underproofing. If you have a photo of the crumb that you’d like to send me to help assess further, you can do so: amanda@heartbeetkitchen.com
Pauline
March 3, 2026
I haven’t made the sourdough yet… but after seeing this post, there is no way I’m waiting any longer!
This weekend, it’s happening — flour everywhere, dough rising, the whole delicious adventure.
I’m absolutely buzzing to give it a go, and I can’t wait for my family to enjoy the tasty results too.
Annie
November 7, 2025
This has easily become my go-to recipe! It has consistently produced beautiful, delicious loaves with a great rise and oven spring! Thanks for developing this recipe!
Kathryn Greacen
October 9, 2025
Thank you! I have been making sourdough for a while but it just wasn’t ‘right’ – texture, crumb…. The autolyse seems to be the key! And I am using AP Kirkland flour which has malted barley. Love it so much I am making 4 loaves so I can share. (Btw – I only have 1 banneton so I used rice flour dusted cloths in colanders – worked great!)
Amanda Paa
October 9, 2025
Oh, so glad you had success!