
Chewy Brown Butter Sourdough Snickerdoodles
By Amanda Paa – Updated August 18, 2026
If you like your snickerdoodles intensely chewy (not dry or cakey!), these are IT. Brown butter and sourdough discard add deep flavor, and you don't need a mixer to make them - just a bowl and whisk. Because the butter is melted, it gives these cookies the dense, sink-your-teeth-in chew you crave. Rolling the dough in a mostly-cinnamon sugar coating also ensures they're not too sweet.
Jump to Recipe
This post may contain affiliate links. Please read my disclosure policy.

I’m admittedly a snickerdoodle snob. If they’re dry, cakey, or taste like a sugar cookie that got rolled in cinnamon at the last minute, I’m not interested. If I’m going to eat a snickerdoodle, I want to know it’s a snickerdoodle.
So I tested the heck out of these toasty Brown Butter Sourdough Snickerdoodles until they were exactly the cookie I wanted them to be: dense and chewy through the middle, richer and more flavorful than any other snickerdoodle I’ve eaten, with that unmistakable little tang from cream of tartar.
And I discovered that pressing down the center of each cookie with the back of a spoon right after they come out of the oven (essentially deflating them) is the trick to that irresistibly dense, gooey middle!
For flavor, I started with brown butter…
Because it’s one of the things people love most about my chewy gooey sourdough chocolate chip cookies and I wanted that same deep, toasty flavor. I also realized the melted butter was doing something else I loved: helping give these the dense, sink-your-teeth-in chew I was after.
But browning butter also means losing some of its water, so getting the amount of sourdough discard and flour right took some tinkering. Too much or too little of either changed the texture completely. Once I found the sweet spot, the discard gave me the perfect texture while intensifying the flavors (since sourdough discard is acidic).

Even the cinnamon sugar got a few rounds of testing.
I kept finding that the typical ratios were sweeter than I wanted, without nearly enough cinnamon coming through. I wanted to really taste the cinnamon without burying an already flavorful cookie under more sweetness, so I landed on 2 full teaspoons of cinnamon with just enough sugar to coat them.
And don’t skip the tiny bit of nutmeg!
You might look at this recipe and wonder if that 1/4 teaspoon of nutmeg really matters. I promise it does. You can’t pick it out when you take a bite — and I don’t want you to! It’s just there in the background making all those warm flavors hit a little differently, in that oh my gosh, why are these so good? kind of way.


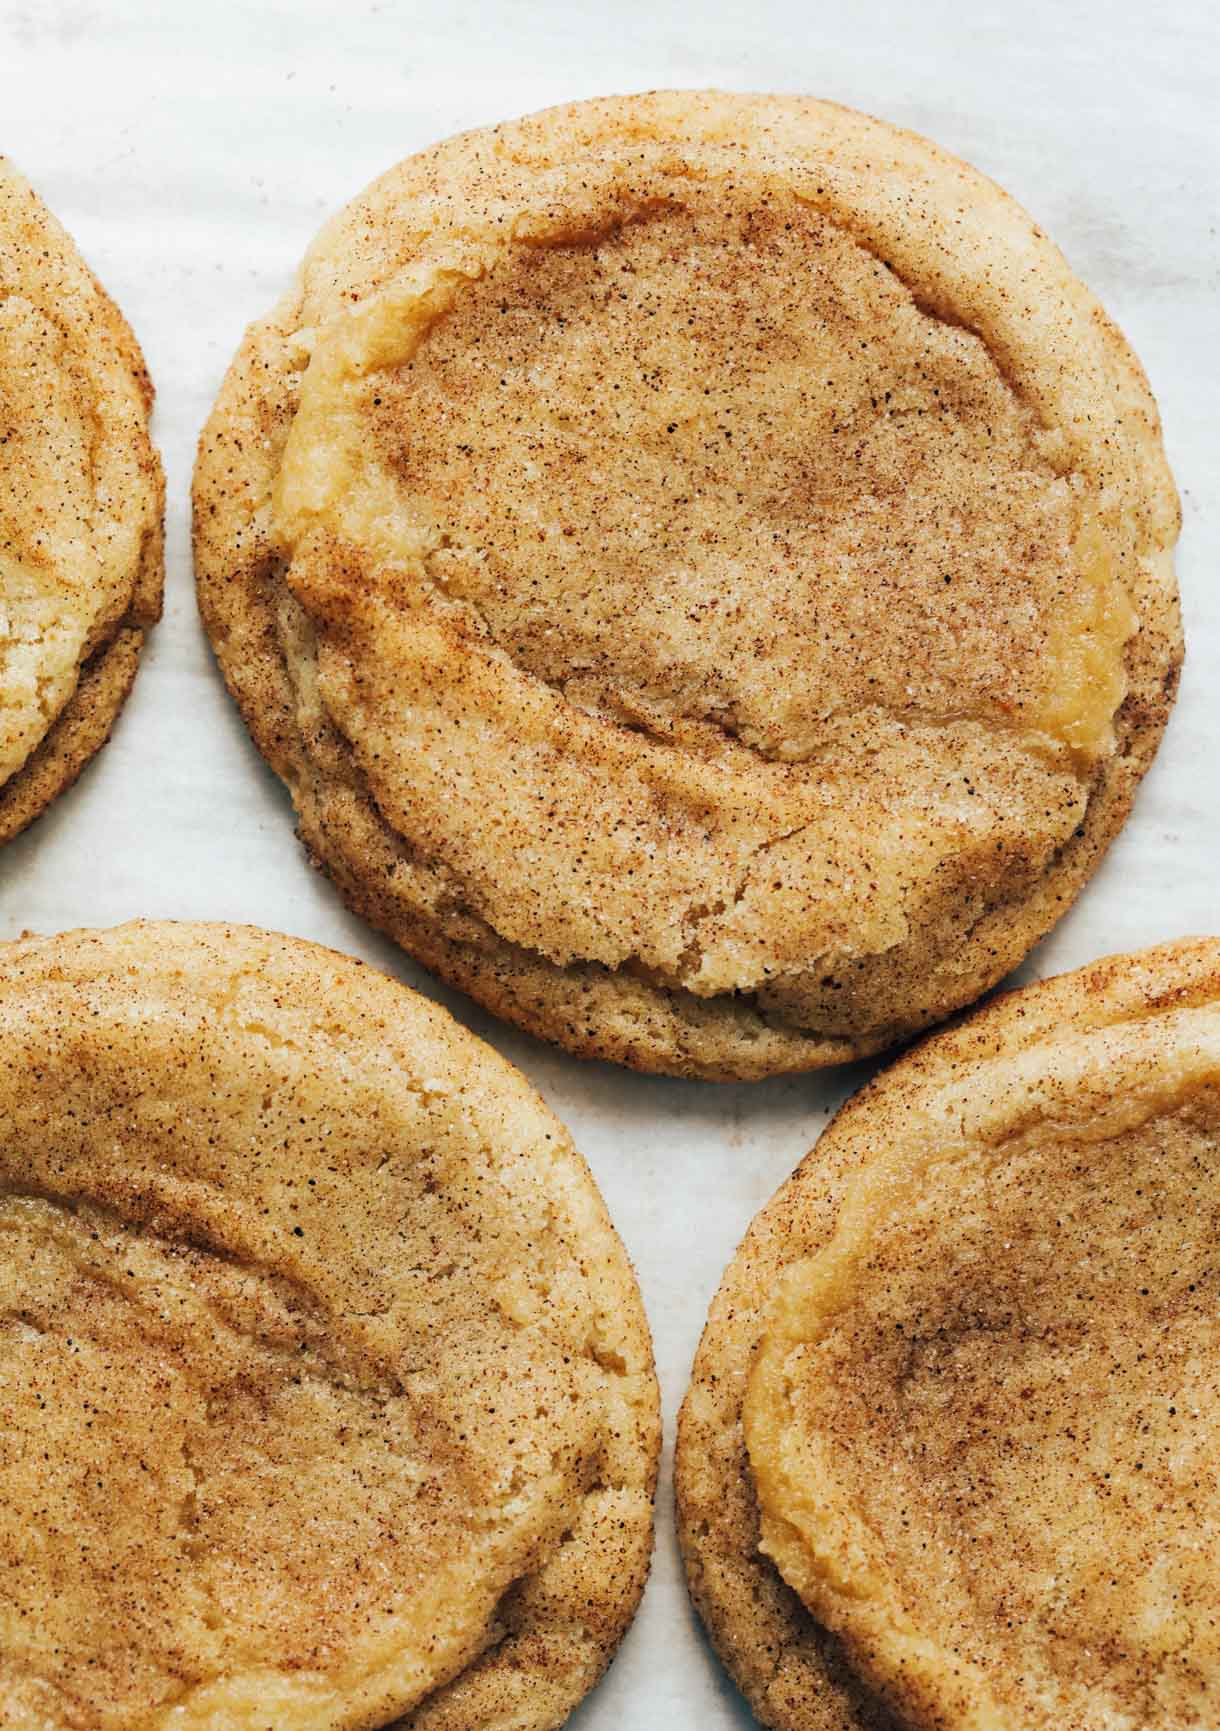
Chewy Brown Butter Sourdough Snickerdoodles
If you like your snickerdoodles intensely chewy (not dry or cakey!), these are IT. Brown butter, sourdough discard, and a cinnamon-forward coating give them deep flavor without too much sweetness, plus that dense, sink-your-teeth-in chew. No mixer needed, just a bowl and a whisk.
Yield: 18 cookies
Equipment
Ingredients
- 127 grams (9 tablespoons) unsalted butter (mine weighed 103g after browning)
- 185 grams granulated sugar
- 100 grams brown sugar
- 80 grams sourdough discard
- 1 large egg
- 2 teaspoons pure vanilla extract
- 240 grams all-purpose flour
- 1/2 teaspoon baking powder
- 1/2 teaspoon baking soda
- 1 teaspoon cream of tartar
- 1/4 teaspoon nutmeg
- 3/4 teaspoon fine salt
Cinnamon Sugar (mix together)
- 3 tablespoons granulated sugar
- 2 teaspoons ground cinnamon
Instructions
Brown the Butter:
- In a small saucepan, melt the butter over medium heat. Cook for several minutes to brown the butter. It will go from simmering to bubbling to foaming, and you will begin to see brown flecks on the edges of the pan and the bottom. It will smell nutty and delicious. Once you can see a good amount of brown specks, remove from heat and pour butter and scrape all the bits into a large glass mixing bowl that you will use for the cookies.
- Now that the brown butter is in the mixing bowl, add sugars and stir for about 30 seconds to combine. Let sit for 5 minutes. Then add sourdough discard and stir to incorporate a bit. Then add egg and vanilla, and switch to a whisk, whisking mixture until it is cohesive.
- In another bowl, whisk together flour, baking powder, baking soda, cream of tartar, nutmeg, and salt. Add half the flour mixture to the wet mixture, and stir with a spatula, about 15 times. Then add remaining flour and stir gently to incorporate until no dry streaks remain.
- Cover and refrigerate for 45 minutes. When that time is up, preheat your oven to 375 degrees F. Prepare a sheet pan with parchment paper, and scoop 55 gram dough balls (I usually bake 8 cookies at a time). Roll your dough balls in the cinnamon sugar mixture so they are fully coated.
- When you put the dough balls in the oven, turn heat down to 350 degrees F. Bake for about 12-13 minutes, until edges are a little bit brown and middles are still soft and they are puffed up. Set baking sheet on counter and use the back of a spoon to press down the middle of each cookie. This creates that irresisitble gooey texture.
- Let cookies cool on pan for 5 minutes. This is important, as they will finish baking here. Then move cookies to a wire rack to cool. Top with a light sprinkle of flaky salt.
Notes
- You can refrigerate the dough for up to 36 hours. The longer they are in the fridge, the more you will be REWARDED with a more intensified the flavor and goodness.
- I highly recommend using an inexpensive oven thermometer when you are baking, as no oven is calibrated exactly precise, even one that is brand new. Your other likely runs hotter or cooler than it actually reads, and this can determine how much your cookies spread or do not spread and if they will look and taste like the recipe was written for. Using an oven thermometer allows you to slightly adjust the temperature to make it correct.
- The dough freezes well for about a month! I prefer to scoop the dough into balls and freeze them that way, instead of big chunk of dough. Take the frozen dough out of the freezer and let it come to room temperature before you bake the cookies.
Did you make this?
tag @heartbeetkitchen on instagram and hashtag it #heartbeetkitchen
August 18, 2026

Jim
September 30, 2026
I think I have made all of your sourdough discard cookie recipes, except for the gluten-free, and these are just as good as the others. Very flavorful and chewy and not overly sweet considering all the sugar. Great cookies!
Imelda
September 20, 2026
The best ever snicker doodles cookie I ever have! Thank you for sharing this amazing recipe.
Amanda Paa
September 20, 2026
I’m so glad you enjoyed them!
Tatiana
September 14, 2026
This recipe is amazing! I keep coming back to you as such a great resource for sourdough recipes. I was completely sold on your chewy sourdough PB cookies, and this one is another keeper! Absolutely delicious and definitely going into my regular rotation.
Amanda Paa
September 14, 2026
Hello! This makes my day. I’m so glad you like these! Developing sourdough cookie recipes is probably my most favorite category, and I have no plans of stopping!