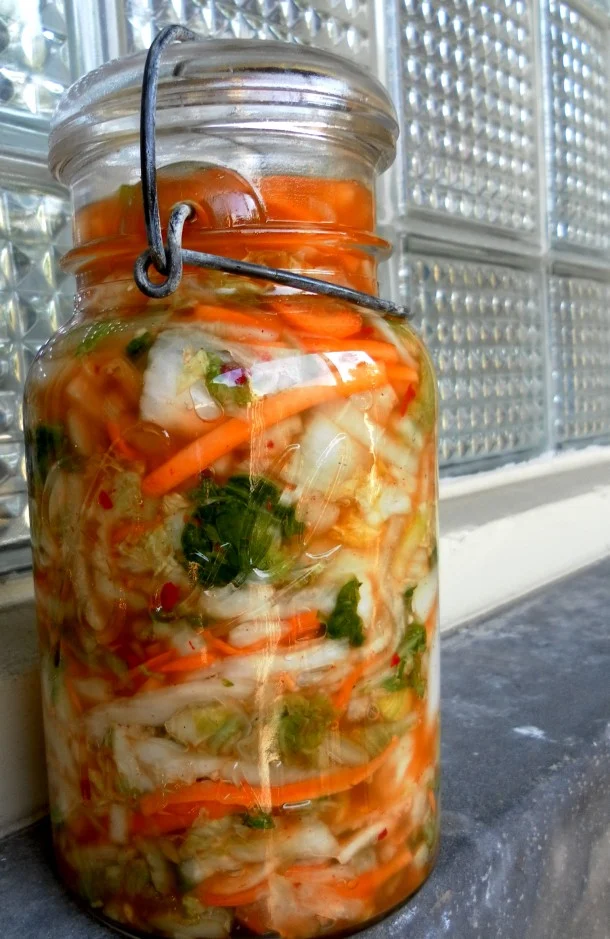
Step-by-Step Homemade Kimchi Recipe
A step by step recipe for making homemade Kimchi, a fermented food made with salted, fermented vegetables! Napa cabbage is the star.
Yield: 10
Ingredients
- 6 1/2 pounds napa cabbage
- 1 daikon radish
- 5 carrots
- 1 green pepper
- 2 leeks
Kimchi Paste
- 4 cloves of garlic
- 3/4 tablespoon of dried ground alpeppo pepper
- 1 1/2 tablespoons of freshly grated ginger
- 1 tablespoon sugar
- 2 tablespoons gluten-free soy sauce or tamari which is naturally gf
- 1/4 cup filtered water
Instructions
- Core the napa cabbage just like a regular cabbage. Cut in half lengthwise, then in half again so you have four quarters, then remove the core from the bottom of each quarter. Chop into 1 inch pieces. Julienne the daikon radish, meaning very thinly slice into sticks.
- Place the vegetables into very large bowl or food grade bucket that you will have enough room to cover with brine and submerge the mixture.
- Dissolve 4-5 tablespoons of kosher salt in about 10 cups of filtered water to create your brine. Pour over
- cabbage and daikon, then press down with plate that barely fits inside container so that brine rises above mixture. I used a heavy pot filled with water to keep the plate in place and the mixture fully covered.
- Let this rest for about 8-12 hours on the counter.
- In the meantime, julienne 5 carrots and 1 green pepper, core and seeds removed. Thinly sliced 2 leeks, including most of the green part except the very top, which can be tough.
- To make the paste puree the paste ingredients in a food processor until smooth.
- Once cabbage/daikon mixture has rested in brine for about 12 hours, drain brine off into a separate container to keep in case I needed a little extra after packing the jars. Squeeze the vegetables to get extra brine out, and mix in the additional veggies.
- Put rubber gloves on your hands. Pour the paste on top of the mixture and thoroughly work it in, coating every inch of it!
- Finally tightly pack into a crock or glass jars so the brine rises above the top of the kimchi and put cover on. If you are not getting enough brine from pressing the kimchi down, feel free to add some of the brine you drained off.
- Let ferment on the counter for about 1-2 days, (if room temperature is around 70 degrees F), depending on how you like it to taste. Some people put it in the refrigerator right away because they like a milder version, however you will not get any of the probiotic components by doing this. I taste mine every 12 hours or so to make sure I like how it is coming along. Be careful when opening the jar though because the live bacteria will cause lots of bubbles and fizz!
- Once the kimchi meets your taste standards, place in refrigerator, where it will last 4-6 months and continue to slowly ferment.